How to Install a Clothesline
If you are looking for the ultimate guide on how to install a clothesline, you definitely came to the right place.
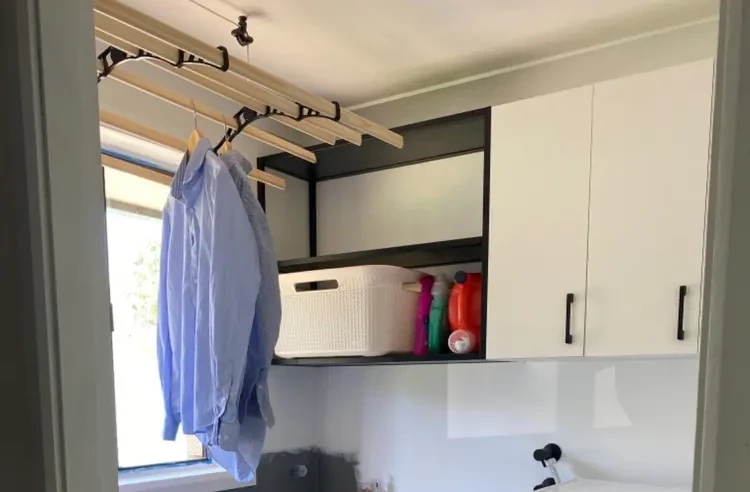
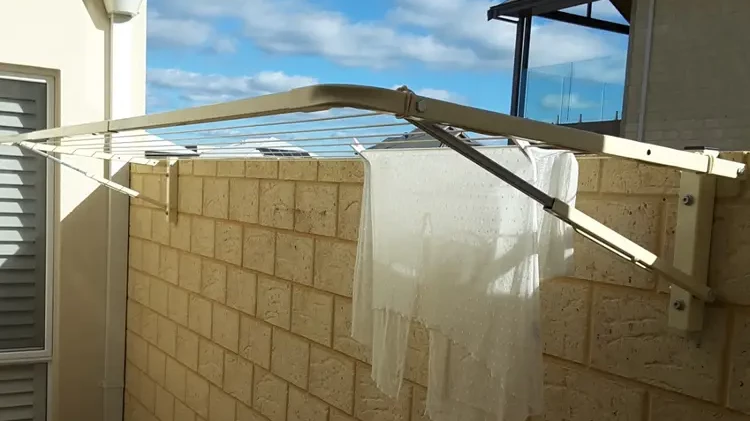
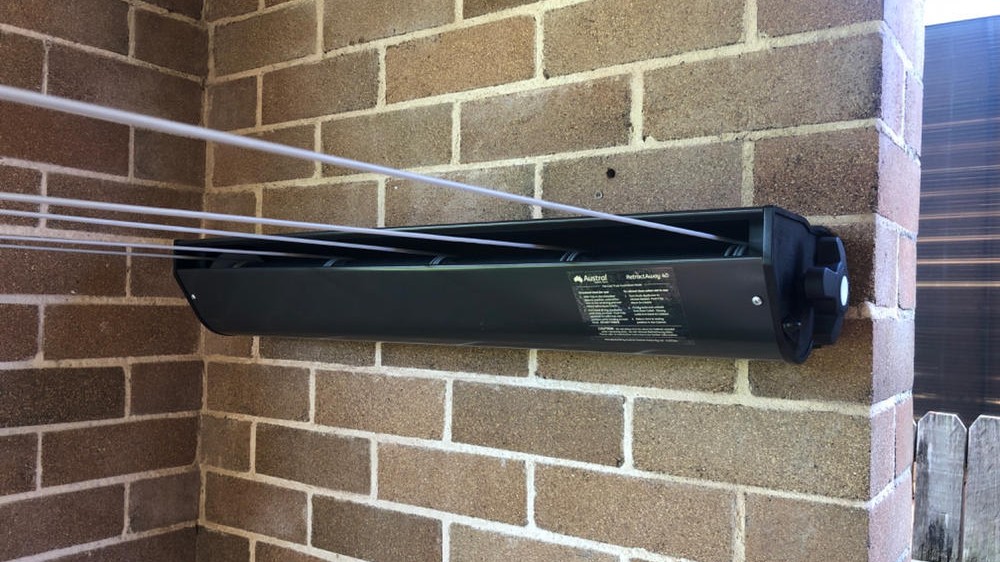
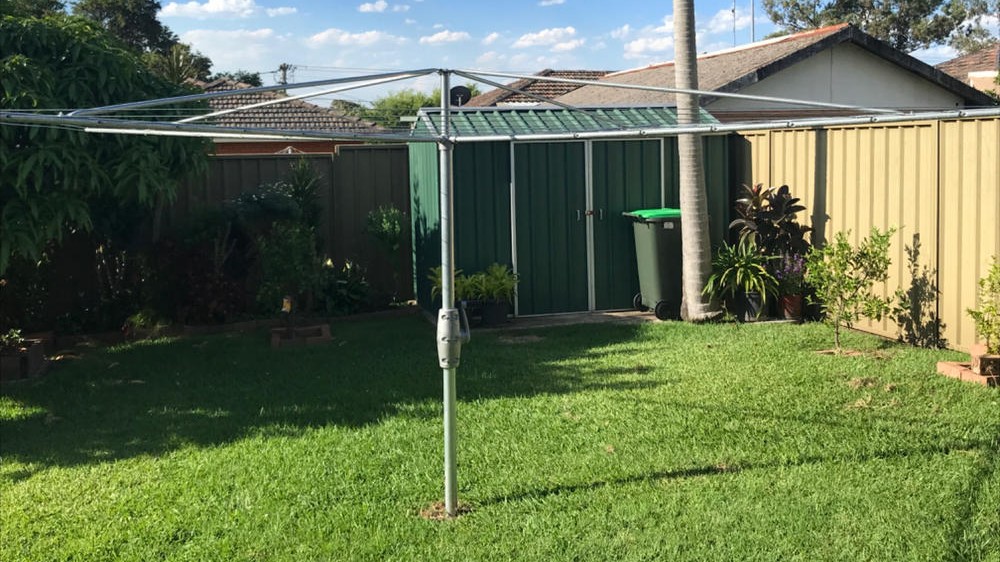
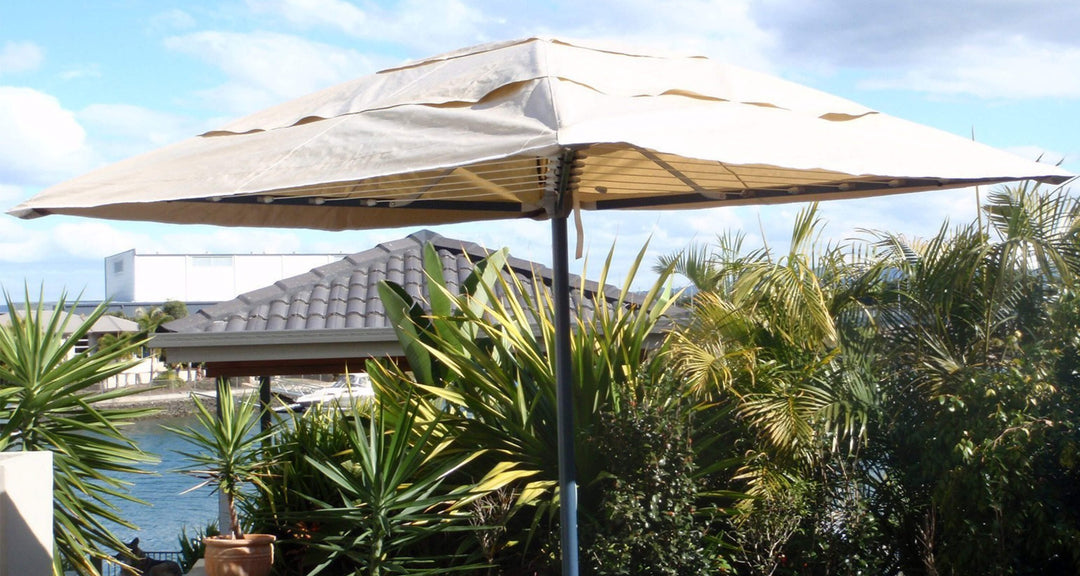
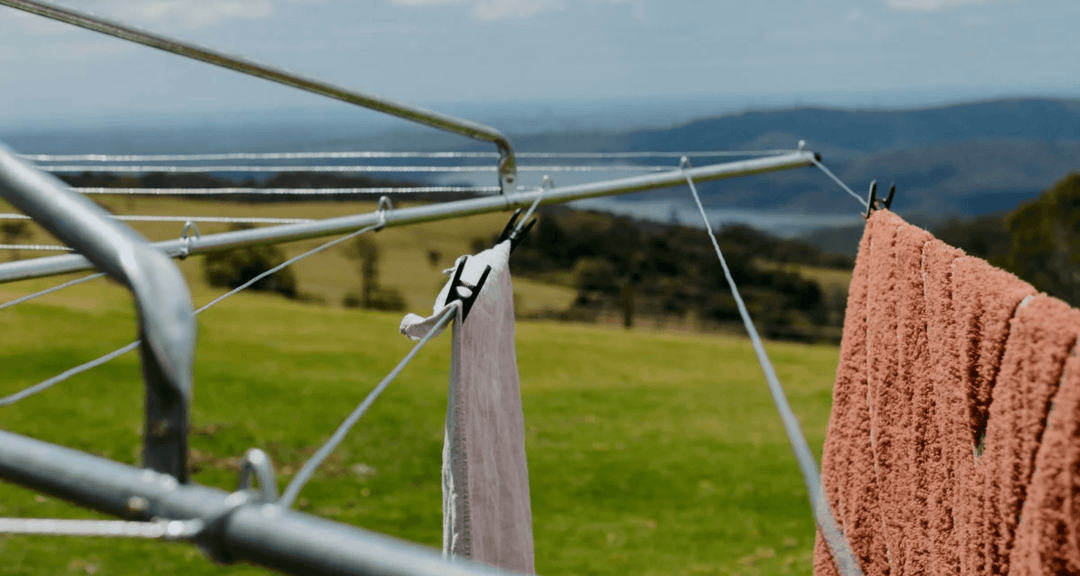
We will walk you through the basics of installing a fold down, rotary clothes hoist, retractable, and ceiling clothesline.
This article contains pretty much everything you will need for you to get started on your new DIY project.
From a list of all the tools you will need all the way to maintenance tips, we've got you covered.
Topics in This Article:
Introduction
A clothes line has many advantages over an electric tumble dryer when drying clothes.
It's gentler on fabrincs, more economical, better for the environment, helps improve the indoor air quality of your home, etc.
As you can see, the minor inconveniences that come with using a washing line are largely outweighed by its significant positive impact over using a tumble dryer.
The Benefits of Using a Clothesline Instead of an Electric Dryer:
-
Energy Savings - Line drying only uses energy from the sun and natural airflow, while clothes dryers consume a lot of electricity to dry a single batch of clothes.
-
Cost Savings - Airers are less expensive to own and minimises wear and tear on your electric dryer when drying clothes thereby avoiding service calls and additional expenses.
-
Gentler on Clothes - Using a dryer can cause shrinkage, fading, and micro-tearing on clothes, leading to pilling and fibre breakage over time. Line drying is simply a gentler alternative.
-
Less Ironing - When fabric dries, water naturally moves to the lower part of the fabric, stretching out the garments and allowing gravity to do most of the "ironing" for you.
-
Better for the Environment - Using electric dryers increases the demand for electricity produced through fossil fuels, contributing to greenhouse gas emissions, whereas line drying requires no electricity.
-
Improved Indoor Air Quality - Dryers release dust and allergens inside your home, whereas line drying avoids exposing your family's health to these issues.
-
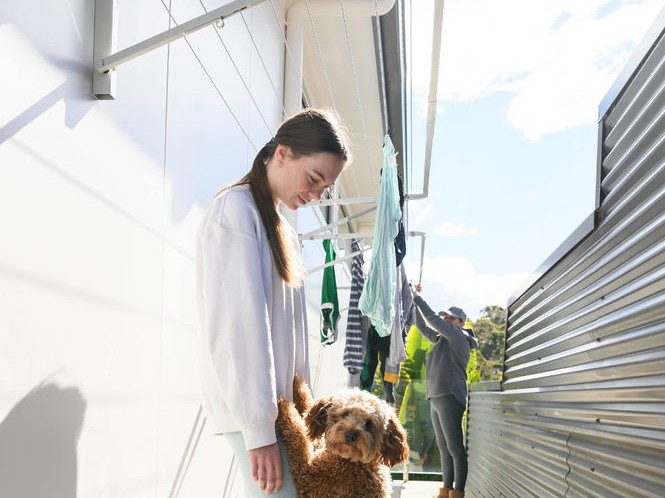
Aesthetics - A rotary clothesline provides ample space for larger families, and a retractable clothesline is discreet while still being useful -- more practical alternatives without sacrificing cost and aesthetics.
Why You Should Learn to Install Your Own Clothesline?
A DIY clothesline installation can help save you money by avoiding the need for professional installation service.
It's more convenient too so you can get it done at a time that is most suitable for you -- no need to bother with third party services or waiting for a professional to arrive.
Another great thing is it can give you a sense of accomplishment and satisfaction, you'll be able to see the fruits of your labor and enjoy the benefits of line drying your clothes.
Preparations for Installing a Clothesline
First and foremost, it's best to have the manufacturer's instructions (usually included with the user's manual) ready for your specific clothes line prior to the installation process.
Consider that as your best friend as we go over the steps required from preparation all the way to installation of your clothes line.
These steps are suitable for new clothesline installs but if you have an existing clothesline, you can omit some of the steps we have included below.

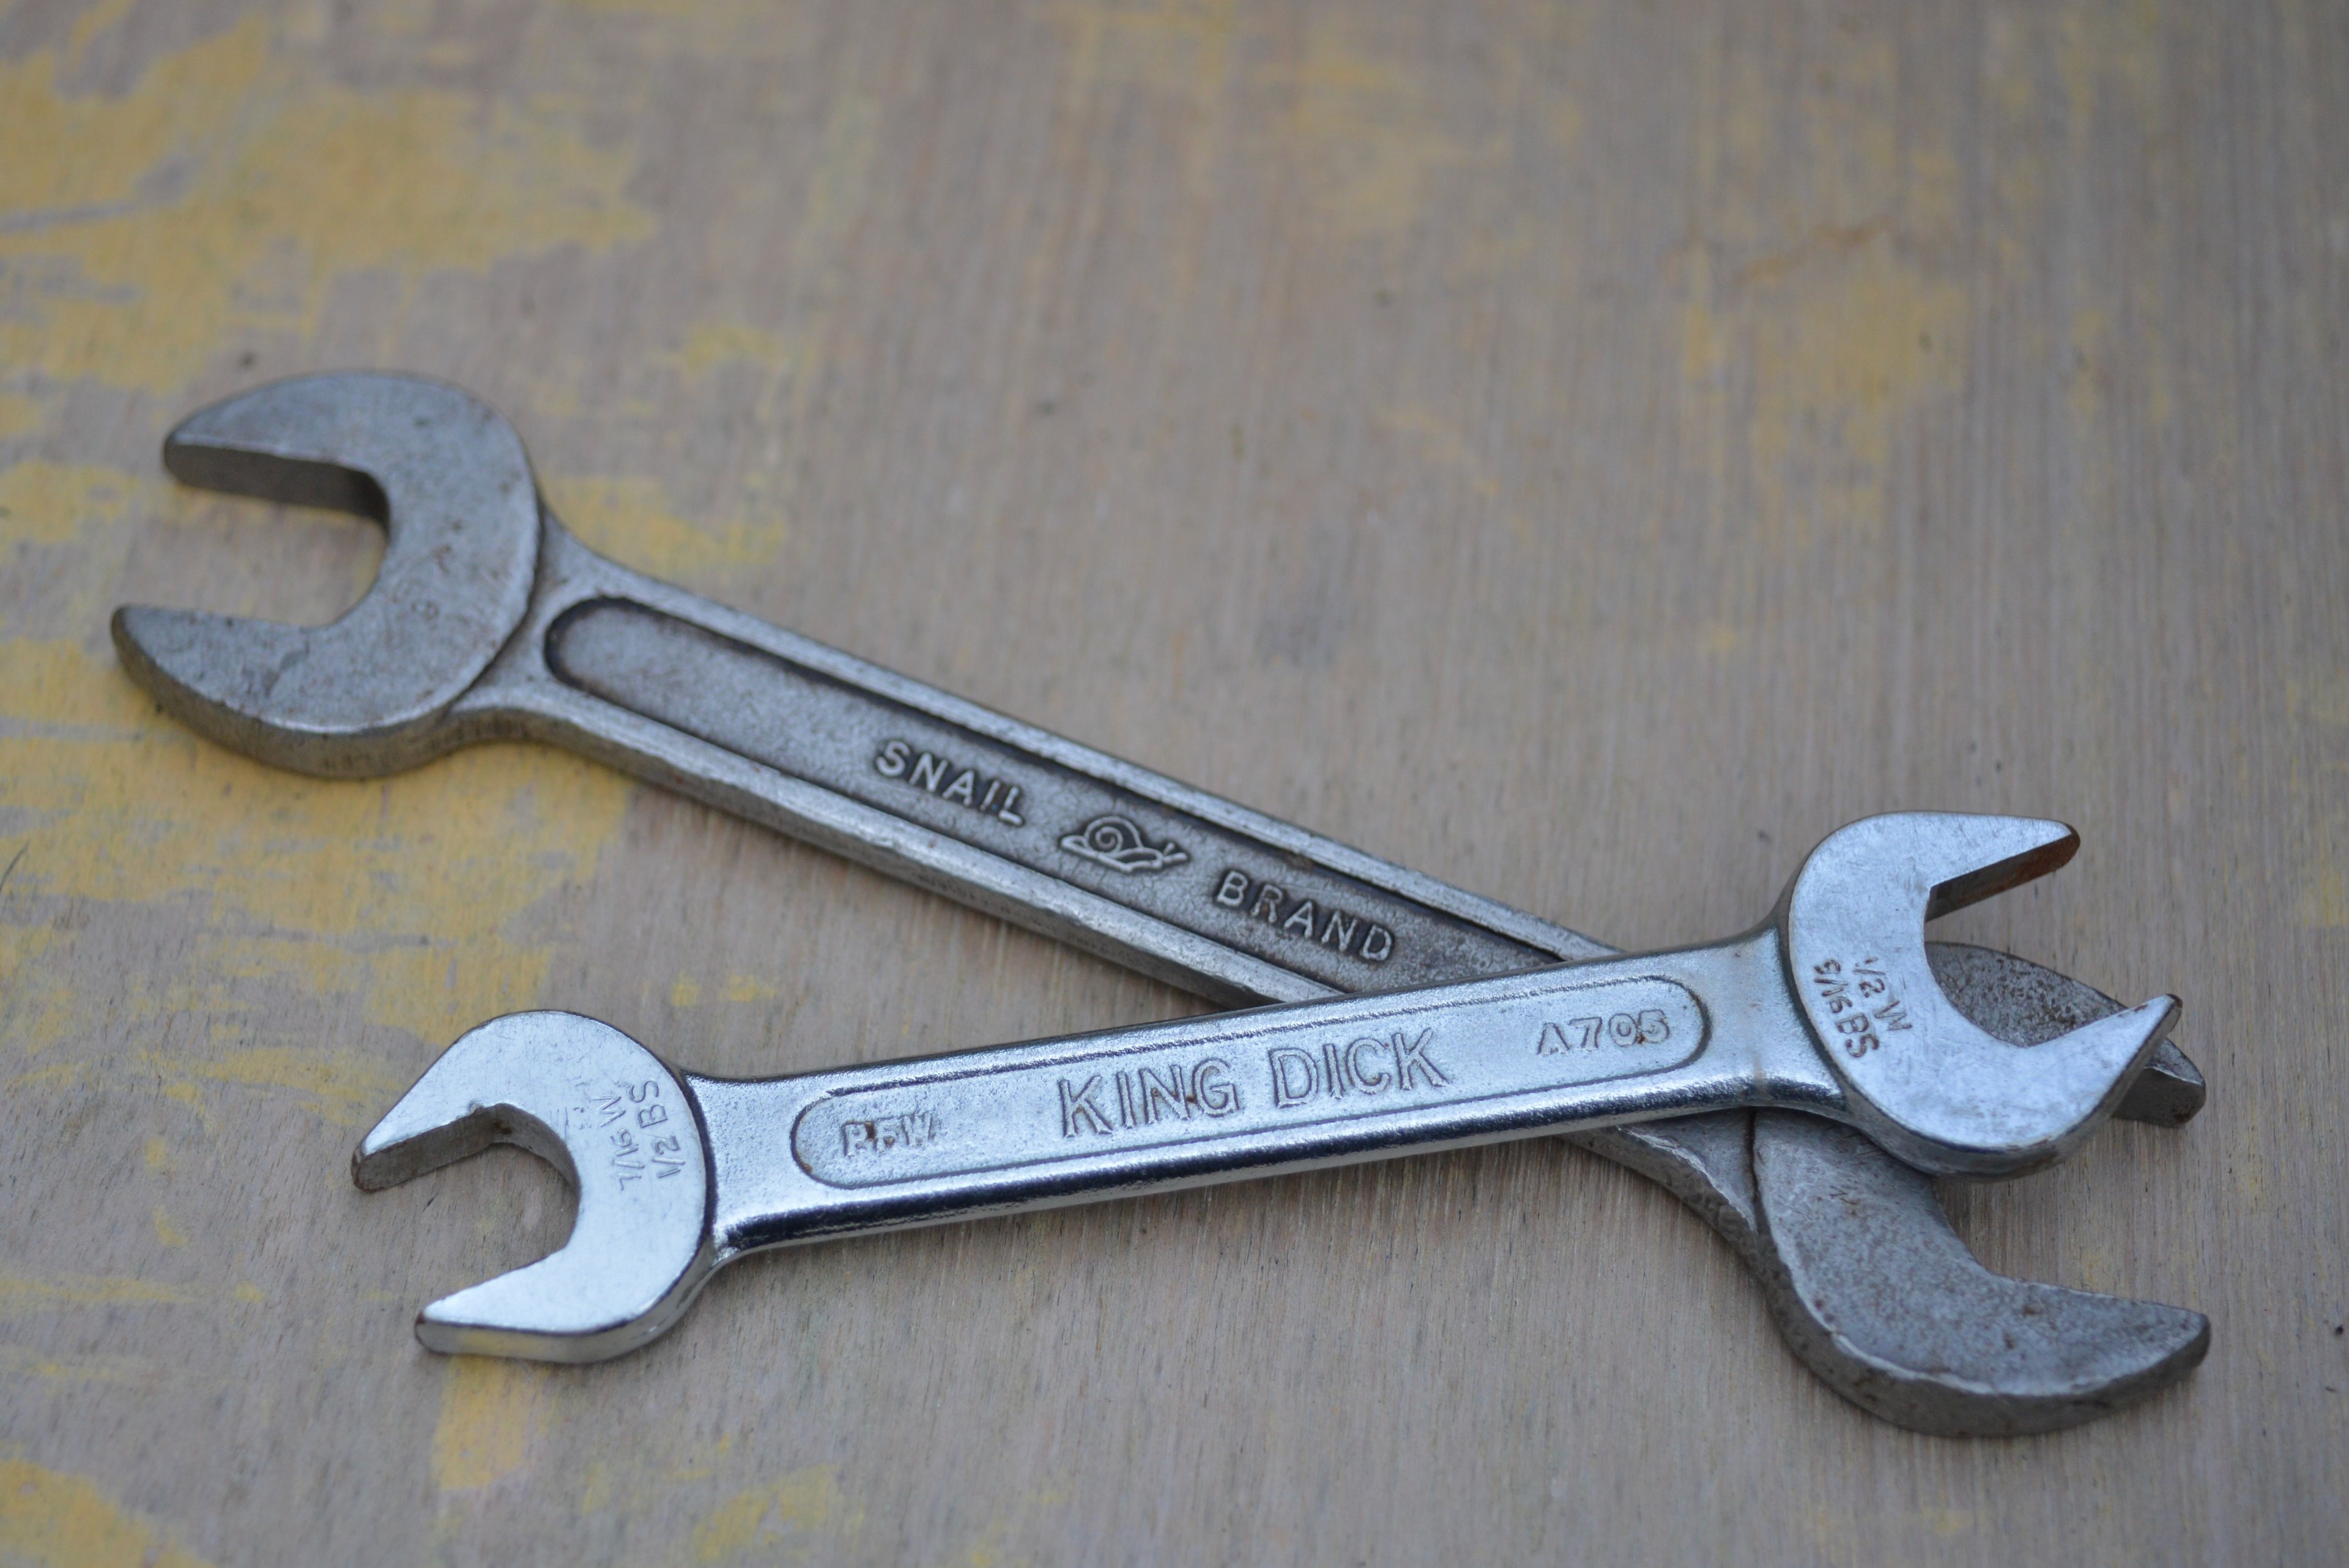
Tools Required for Installing a Clothesline:
-
Drill
-
Necessary Screws and Bolts (Usually included with your new clothes line)
-
Screwdriver (Size and type may vary depending on manufacturer/model)
-
Levelling Tool or Spirit Level
-
Pliers
-
Measuring Tape
-
Pencil
-
Stud Finder (For wall and ceiling mounted clotheslines)
-
Ladder
Other Materials You May Need for Installing a Clothesline:
-
Quick Setting Concrete Mix
-
Coarse Gravel/Aggregates
-
Post Hole Digger
-
Ground Mount Kit/Clothesline Poles
-
Ground Socket
Choosing the Right Location to Install a Clothesline
Finding the right location to install a clothes line can make or break your outdoor line drying experience.
It also has a significant impact on the overall effectiveness and efficiency of your clothes airer.
One of the key factors to consider when choosing for a spot is sunlight exposure.
An area that gets at least six hours of direct sunlight each day is most ideal, this will help dry your clothes faster and greatly reduces the risk of mould and mildew growth.
Wind is also an important consideration when selecting a location because clotheslines rely on good air flow to get its job done efficiently.
Choose an area with sufficient wind that is not obstructed by tall structures like sheds, fences, shrubs or trees mostly if you have a clothes line with dense line space.
Another key factor to consider is space, a big backyard that can comfortably accommodate the size of your clothes line and the amount of laundry you typically hang in one sitting is a good starting point.
The clothesline position or height from ground level is another important factor to consider.
It should be high enough to accommodate long articles yet low enough not to strain your neck or back.
Choosing an area that is easily accessible to your main back door or laundry room if possible because this helps keep you motivated to use your clothes line in the long run.
Privacy is also a concern for many people so a location that is not visible from the street or neighbouring properties is a must, you wouldn't want passers-by to see your underwear, right?
Finally, consider the ground conditions when selecting a location for freestanding clotheslines like a Hills Hoist or Retractable and fold-down clothesline that uses a Ground Mount Kit.
The ground should be level and stable to prevent the clothes line from falling over.
Avoid areas with soft or muddy ground which can instability and increase the risk of accidents.
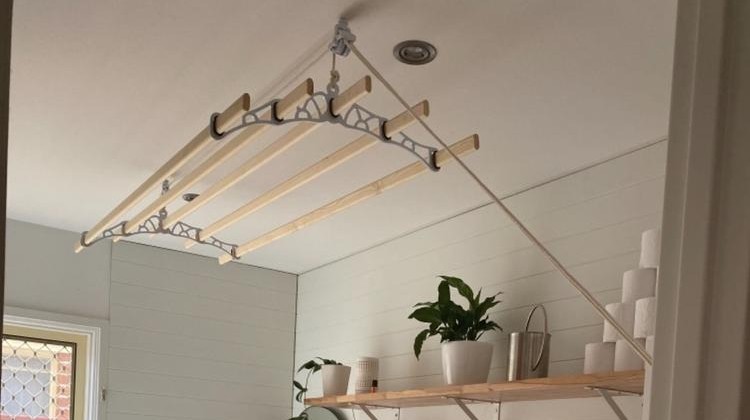
When installing a pulley ceiling mounted clothesline, it's best to find an eave or ceiling with joists that can support the weight of a fully loaded airer.
For wall-mounted clotheslines, you can refer to this article: Mounting Clotheslines on Modern Surfaces.
That article will help ensure that you won't end up damaging your wall or clothes line.
Safety Precautions and Checking for Obstructions
When installing any type of clothesline, it's important to check for obstructions and to take the necessary precautions to ensure that the clothes line is secure and safe to use.
This goes without saying that your safety should be the number one priority mostly when you are doing the installation yourself.
We've outlined the safety measures you should pay attention to when installing a specific type of clothesline.
Read on to guarantee your peace of mind (and those of your loved ones, of course) before moving on to the next topic!

Wall-mounted and Ceiling Clotheslines
Before installing a wall-mounted clothes line, check for any electrical wires or pipes that may be hidden behind the wall or ceiling.
Use a stud finder to locate the wooden studs in the wall, ceiling, or eave and ensure that the brackets are securely anchored into the studs and aren't resting on the drywall.
Failure to do so can cause accidents or electrocution when using the clothes line.
Rotary Clotheslines
Ensure that the ground where the clothesline will be installed is level and free of any underground pipes or cables.
A properly installed rotary clothesline should be stable and can easily support the weight of multiple loads of wet laundry.
Retractable Clotheslines
Before installing a retractable clothesline, check for any obstructions that may be in the way of the clothesline's path when it is extended.
This includes overhanging tree branches, awnings, or nearby structures.
Ensure that the wall brackets are installed securely using appropriate screws and wall plugs, check that the clothesline is level before use, too!
General Safety Precautions to Keep in Mind
When installing any type of clothes line, avoiding contact with electrical wires or other hazards should be at the top of your list.
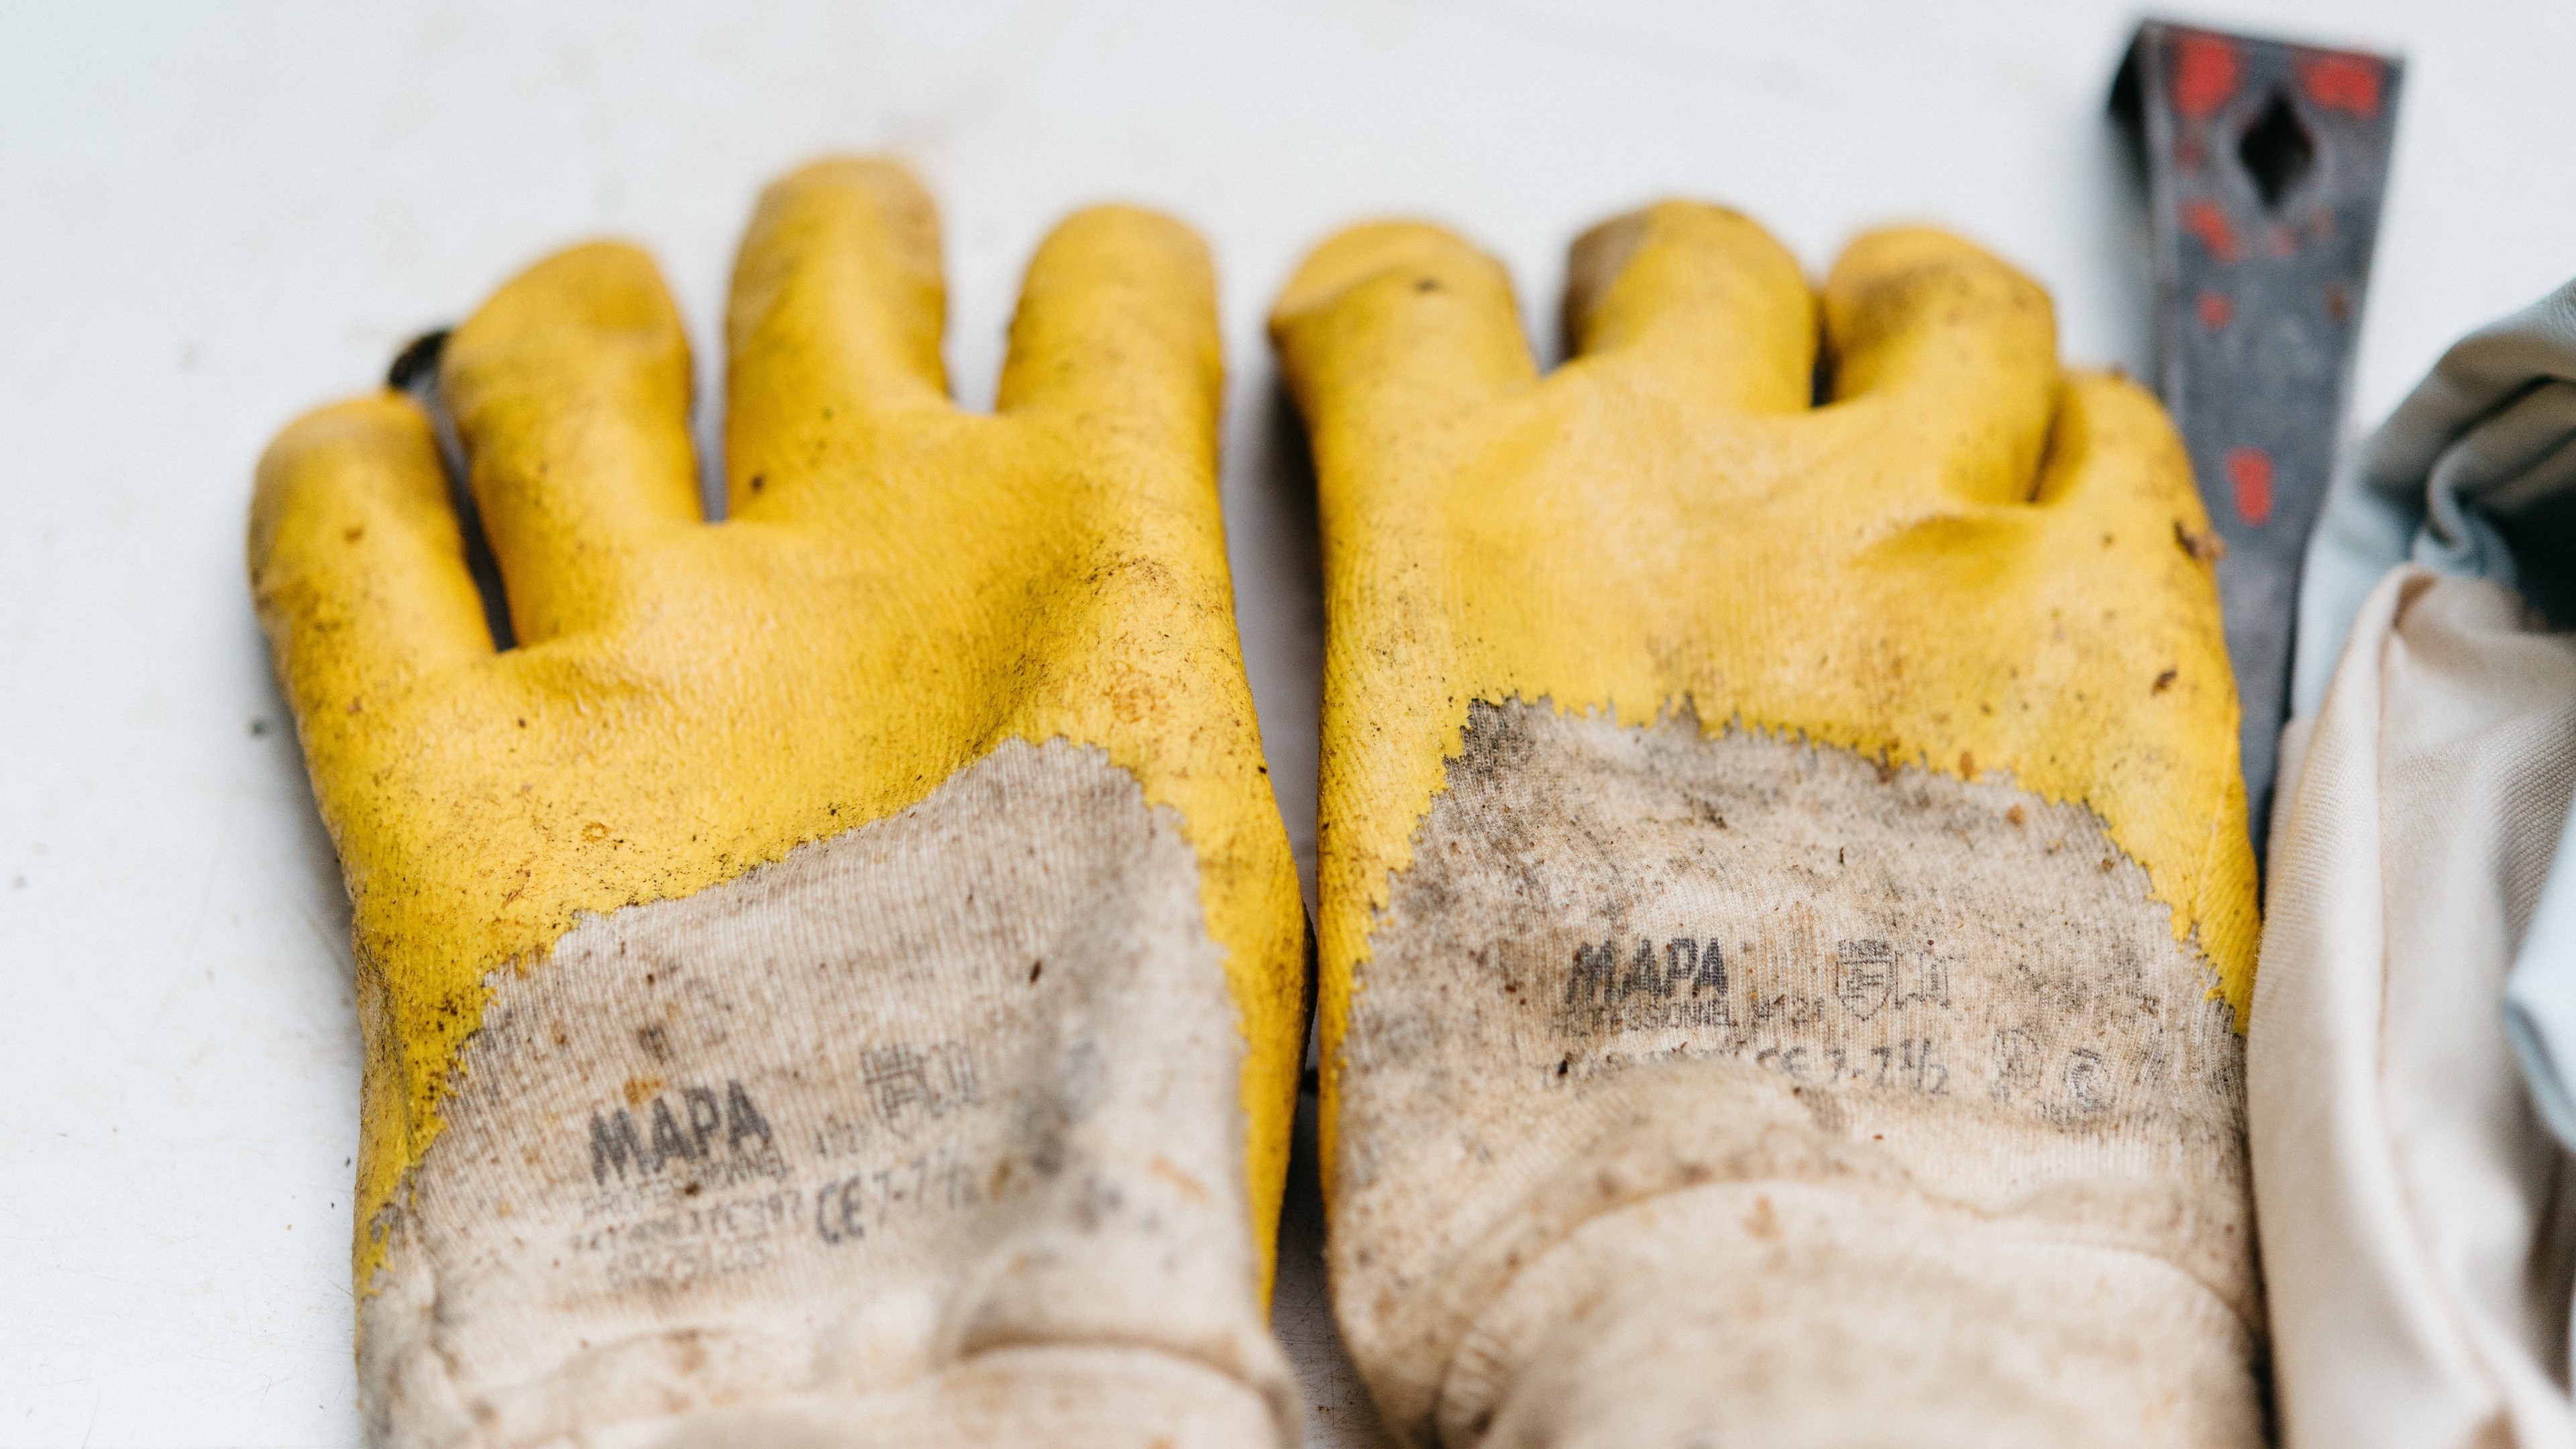
Using appropriate protective equipment such as gloves and safety glasses are a must so have a look at your home's electrical and plumbing diagram prior to starting this project.
By following these guidelines, you should be able to install and use your clothes line safely and effectively in no time.
Measuring and Marking the Spot for Installation
Putting in mind the aforementioned tips for selecting the best clothesline location and necessary precautions to ensure your safety, let's move over to the next step.
Below are general guidelines on measuring and marking your preferred spot for installing a clothesline:
Preparing for Fold Down Clothesline Installation
-
Choose a location on the wall where you want to install the clothesline at a height that's convenient for you.
-
Use a measuring tape to determine the required distance between the wall brackets.
-
Mark the center point of the location where you want to install the clothes line.
-
If not installing on a concrete wall, a stud finder and secure the templates provided (depending on brand/model) for the brackets and ensure it's perfectly levelled using a spirit level.
-
If there's no template provided, measure the distance between the mounting holes of the bracket and then mark the wall accordingly.
Preparing for Retractable Clothesline Installation
-
Choose a location on the wall where you want to install the clothes line at a height that's convenient for you.
-
Use a measuring tape to determine the length of the clothesline at your preferred line length/extension while taking into account the minimum/maximum extension of your specific retractable clothesline.
-
Mark the center point of the location where you want to install the clothesline.
-
Measure and mark the two end points of the clothesline on both surfaces (or on the ground if using a post for the receiving bracket) using the centre point from step 2.
-
If not installing on a solid concrete or brick wall, use a stud finder and secure the templates provided (depending on brand/model) for the mounting holes and receiving bracket of your retractable clothesline and ensure it's perfectly level using a spirit level.
-
If there's no template, measure the distance between the two mounting holes of the cabinet and mark the surface you want mount it to accordingly.
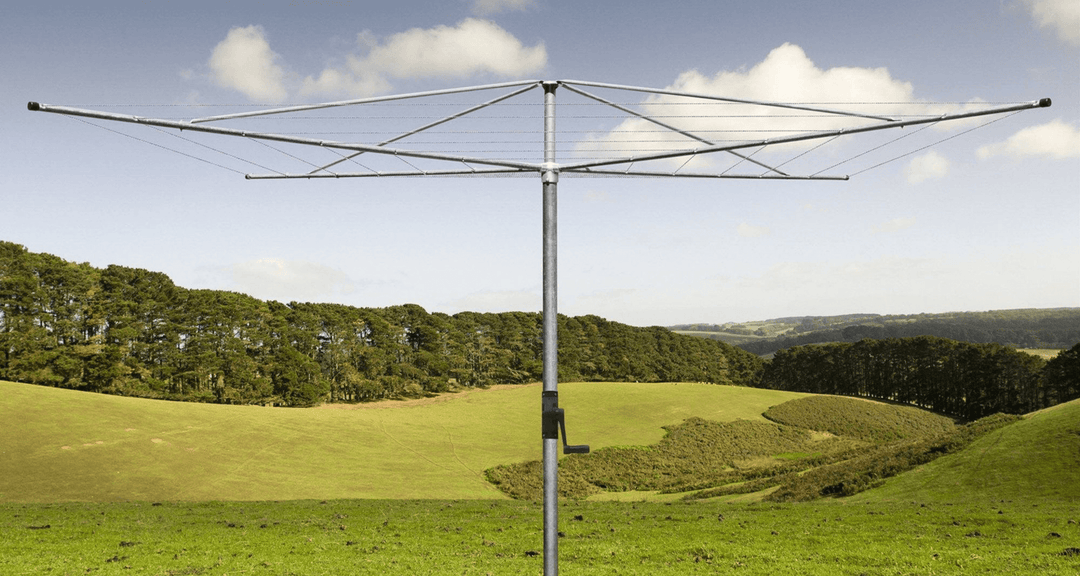
Preparing for Rotary Clothes Hoist Installation
(Also Applicable for Retractables/Fold Downs with Ground Mount Kit or Clothesline Post)
-
Choose a location with adequate space for the clothes line to rotate/extend freely with a bit of room to spare.
-
Use a measuring tape to determine the diameter of the clothesline's frame/fully extended lines.
-
Mark the centre of the location where you want to install the clothesline's ground socket or bottom main standard. (Rotary Hoists)
-
Mark both ends if installing a ground mount kit for a fold down or clothesline posts for post-to-post configuration of a retractable, ensure that both ends are perfectly straight/levelled.
-
Mark the preferred location for the clothesline post if installing a retractable in a wall-to-post situation, taking into account the minimum and maximum line extension of your retractable clothesline.
Preparing for Ceiling Mounted Clothesline Installation
-
Choose a location on the ceiling where you want to install the clothes line taking into account the rope length that comes with your clothesline, purchase a longer rope if necessary.
-
Use a measuring tape to determine the appropriate distance between each pulley based on the distance between the cast iron ends/brackets of the clothesline.
-
Mark the center point of the location where you want to install the clothesline.
-
Use a stud finder to locate the wooden joists in the ceiling then using a drill, make pilot holes where you want to the pulleys installed.
-
Use a stud finder to locate the studs in in the wall (if not installing on concrete wall) for the cleat then drill a pilot hole.
Step-by-Step Guide on How to Install a Clothesline
Once you're done with the preparations for your specific airer, we can proceed with the rest of the steps necessary to complete your clothesline install.
Do bear in mind that the details provided here is just a general approach for every category mentioned.
Some steps may or may not be advisable for certain clotheslines so it's best to consult the installation guide specific to your clothesline model.
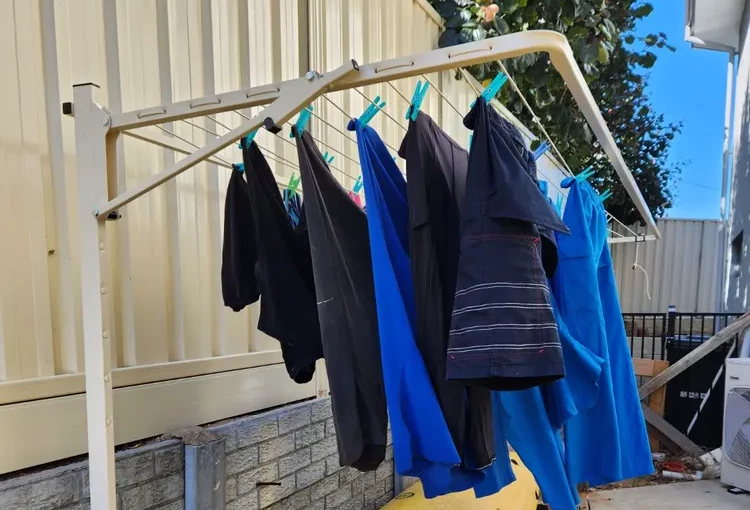
Installing a Fold Down Clothesline
-
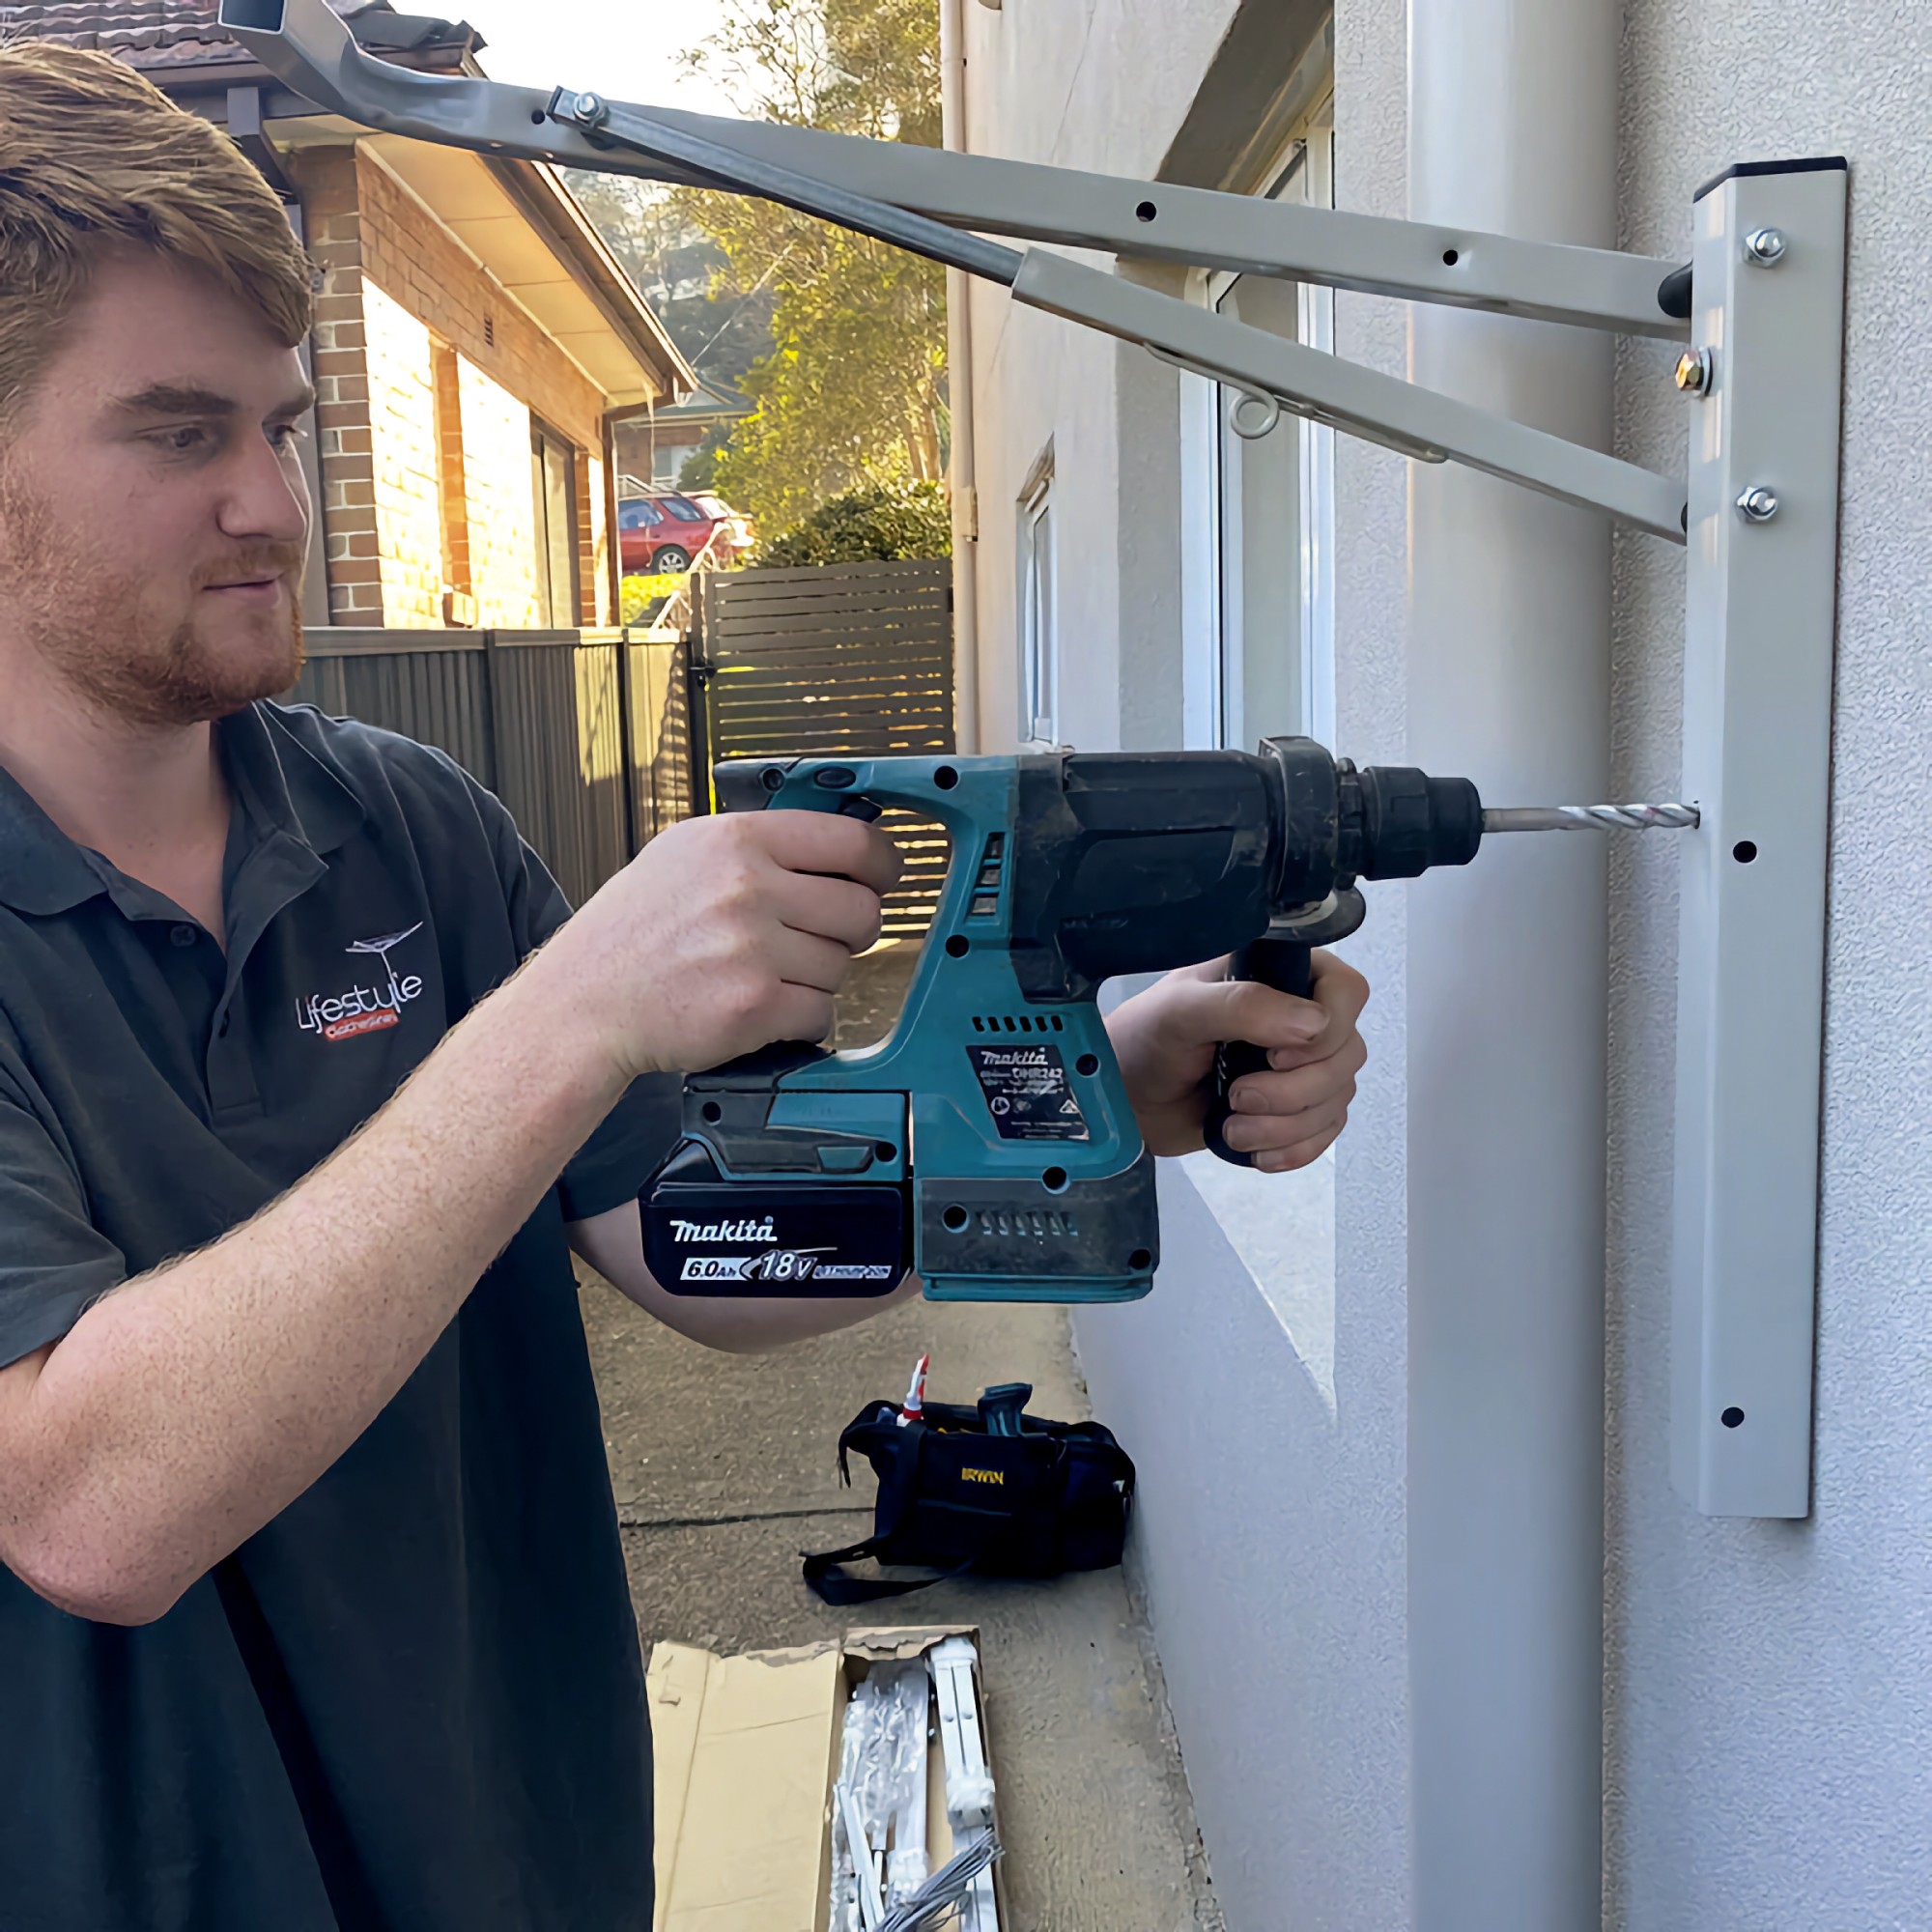
Drill into one of the marked spots using the appropriate size and type of drill bit (Masonry or Wood), a rotary hammer drill can make this process easier if drilling into concrete or masonry.
-
Use one of the supplied wall plugs and screws if mounting on brick walls/brick veneers.
Limit use of Dynabolts on poured concrete walls only since they may cause severe damage on brick walls, leave one of the brackets hanging for now.
-
Hook the measuring tape onto the side of the bracket then measure out the hole for the other bracket, verify the distance and levelling then make adjustments if necessary.
-
Repeat steps 1 and 2 then proceed with the full assembly of the clothesline per the manufacturer's instructions.
-
For installing the clothes line cord, check out this article: How to Restring a Clothesline.
-
Drill the remaining holes and finish the installation.
-
Double check all the components of the airer and don't forget to install the end caps to protect the inner parts of the frame and brackets from the elements.
-
Test your clothesline by loading some clothes and adjust the tension accordingly.
Installing a Retractable Clothesline
-
Drill into one of the marked spots using the appropriate size and type of drill bit (Masonry or Wood), a rotary hammer drill can make this process easier if drilling into concrete or masonry.
-
Use the supplied wall plugs and screws, leaving a few millimetres of overhang for the cabinet of the clothesline to hang onto then attach/install the cabinet.
-
Repeat step 1 if mounting the bracket onto a brick or concrete wall.
-
If using a clothesline post that does not have height adjustment, place the post against the cabinet and measure the length from the top of the pole all the way to the part of the cabinet where the spreader arms are situated.
-
Using a post hole digger, dig a hole as deep as the measurement you've taken from step 4.
Leave a bit of extra height to compensate for when you push the pole in for support as you prepare the concrete footing.
-
Add water to the cement mix according to package instructions and pour it into the hole.
Make sure that you're evenly distributing the mixture around the post while being careful to avoid air pockets.
Refer to package instructions if quick setting concrete mix is used.
-
Use a spirit level and a few gentle nudges against the post to ensure that it's at the perfect position.
-
Once the concrete has set, install the receiving bracket and test your clothesline.
Installing a Rotary Clothes Hoist
-
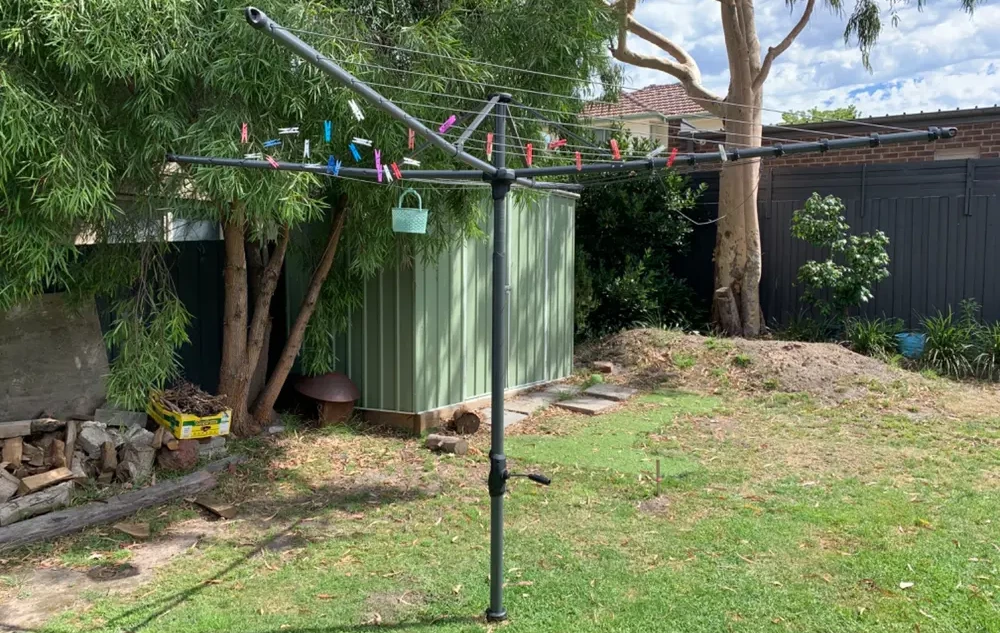
Dig a hole into the soil with the required depth and width per the installation manual of your specific clothesline using a post hole digger, dig deeper if want the clothesline to sit lower for your convenience.
Note: Most manufacturers recommend a 250mm wide hole with a depth of 600 to 650mm for models that use ground sockets.
A fixed rotary hoist usually requires a 200mm wide hole with a depth of 800mm.
Check your clothesline's installation manual for the correct values.
-
Measure the hole depth and pour in the recommended amount of coarse gravel or aggregates to ensure proper drainage and to preserve the lifespan of your rotary hoist's main standard.
Measure the hole again and subtract it from the actual depth of the hole to find out the height of the gravel.
Note: Removable rotary hoists that use a ground socket usually require at least 230mm of gravel while fixed rotary hoists need around 150mm.
Check your clothesline's installation manual for the correct values.
-
For Folding Rotary Hoist - Slide the locking collar onto the main pole, push the locking pin through the hole at the bottom of the main pole and attach O-rings to either ends of the pin.
Screw the locking collar onto the ground socket then gently push the whole assembly into the hole you've just prepared until the neck of the ground socket sits at least 10mm above the ground level.
Use a spirit level to ensure that it's properly erect.
For Fixed Rotary Hoist - Assemble the main and secondary standard then insert it into the hole applying some pressure as you twist the assembly into the gravel, use a spirit level to ensure that it's in proper position.
-
Add water to the cement mix according to package instructions and pour it into the hole making sure that you're evenly distributing the mixture around the post while being careful to avoid air pockets.
Refer to package instructions if quick setting concrete mix is used.
-
Follow your instruction manual for the full assembly of your airer.
For a comprehensive guide on installing the clothes line cord and keeping it tight, check out this article: How to Restring a Clothesline.
Installing a Ceiling Mounted Clothesline
-
Screw the pulleys into the pilot holes you've drilled earlier, you can apply some dishwashing liquid onto the grooves to make this process easier.
-
Install the cleat onto the wall and prepare the system for hanging by threading the rope and making sure that all the pulleys are in proper position.
-
Complete the assembly and calibration of the rope for proper operation of the clothesline per the instruction manual.
Clothesline Maintenance and Care Tips
Now that you're done installing your own clothesline, give yourself a pat on the back and learn how to care for your new investment.
To ensure that all your hard work don't go to waste, it is a must to give your investment a little tender loving care every now and then.
Below is a short list of things you can do to guarantee that your clothes airer will last as long as possible.
Clothesline Care and Maintenance Tips:
-
Inspect your clothesline regularly for signs of wear and tear, look for frayed or damaged lines, loose nuts and bolts, cracking plastics or moving parts that require lubrication.
-
If you see any damage, replace or repair the faulty part right away to avoid compromising the whole unit.
-
Keep your airer clean by wiping it down with a damp cloth or sponge every now and then, this removes any dirt, grime, or mildew that may have accumulate on the frame or lines.
-
If your clothesline is made of metal and you're starting to see some chips or cracks on the frame, sand it down and apply multiple coats of spray paint to prevent corrosion.
-
Remove clothes from the line as soon as they dry, as leaving them out in the sun and weather for extended periods of time can cause the lines to weaken and fray.
Final Words
Installing a clothesline yourself is a very rewarding experience and the whole process gives you a newfound understanding on how to keep it in perfect working order since you pretty much started from scratch.
The best thing about it is not just the sense of personal achievement, but also the fact that you will feel motivated to regularly inspect and maintain your clothesline since you worked hard on it.
You are now one of the many proud users of an incredibly eco-friendly product that truly makes a difference.
Now, all that's left to do is to enjoy the energy savings and bask in the idea of helping our planet heal due to reduced reliance on fossil fuels, not to mention, longer lasting clothes you worked so hard for.
 Fold Down

 Rotary Hoist
 Retractable
 Portable
 Ceiling Airer
 Covers


