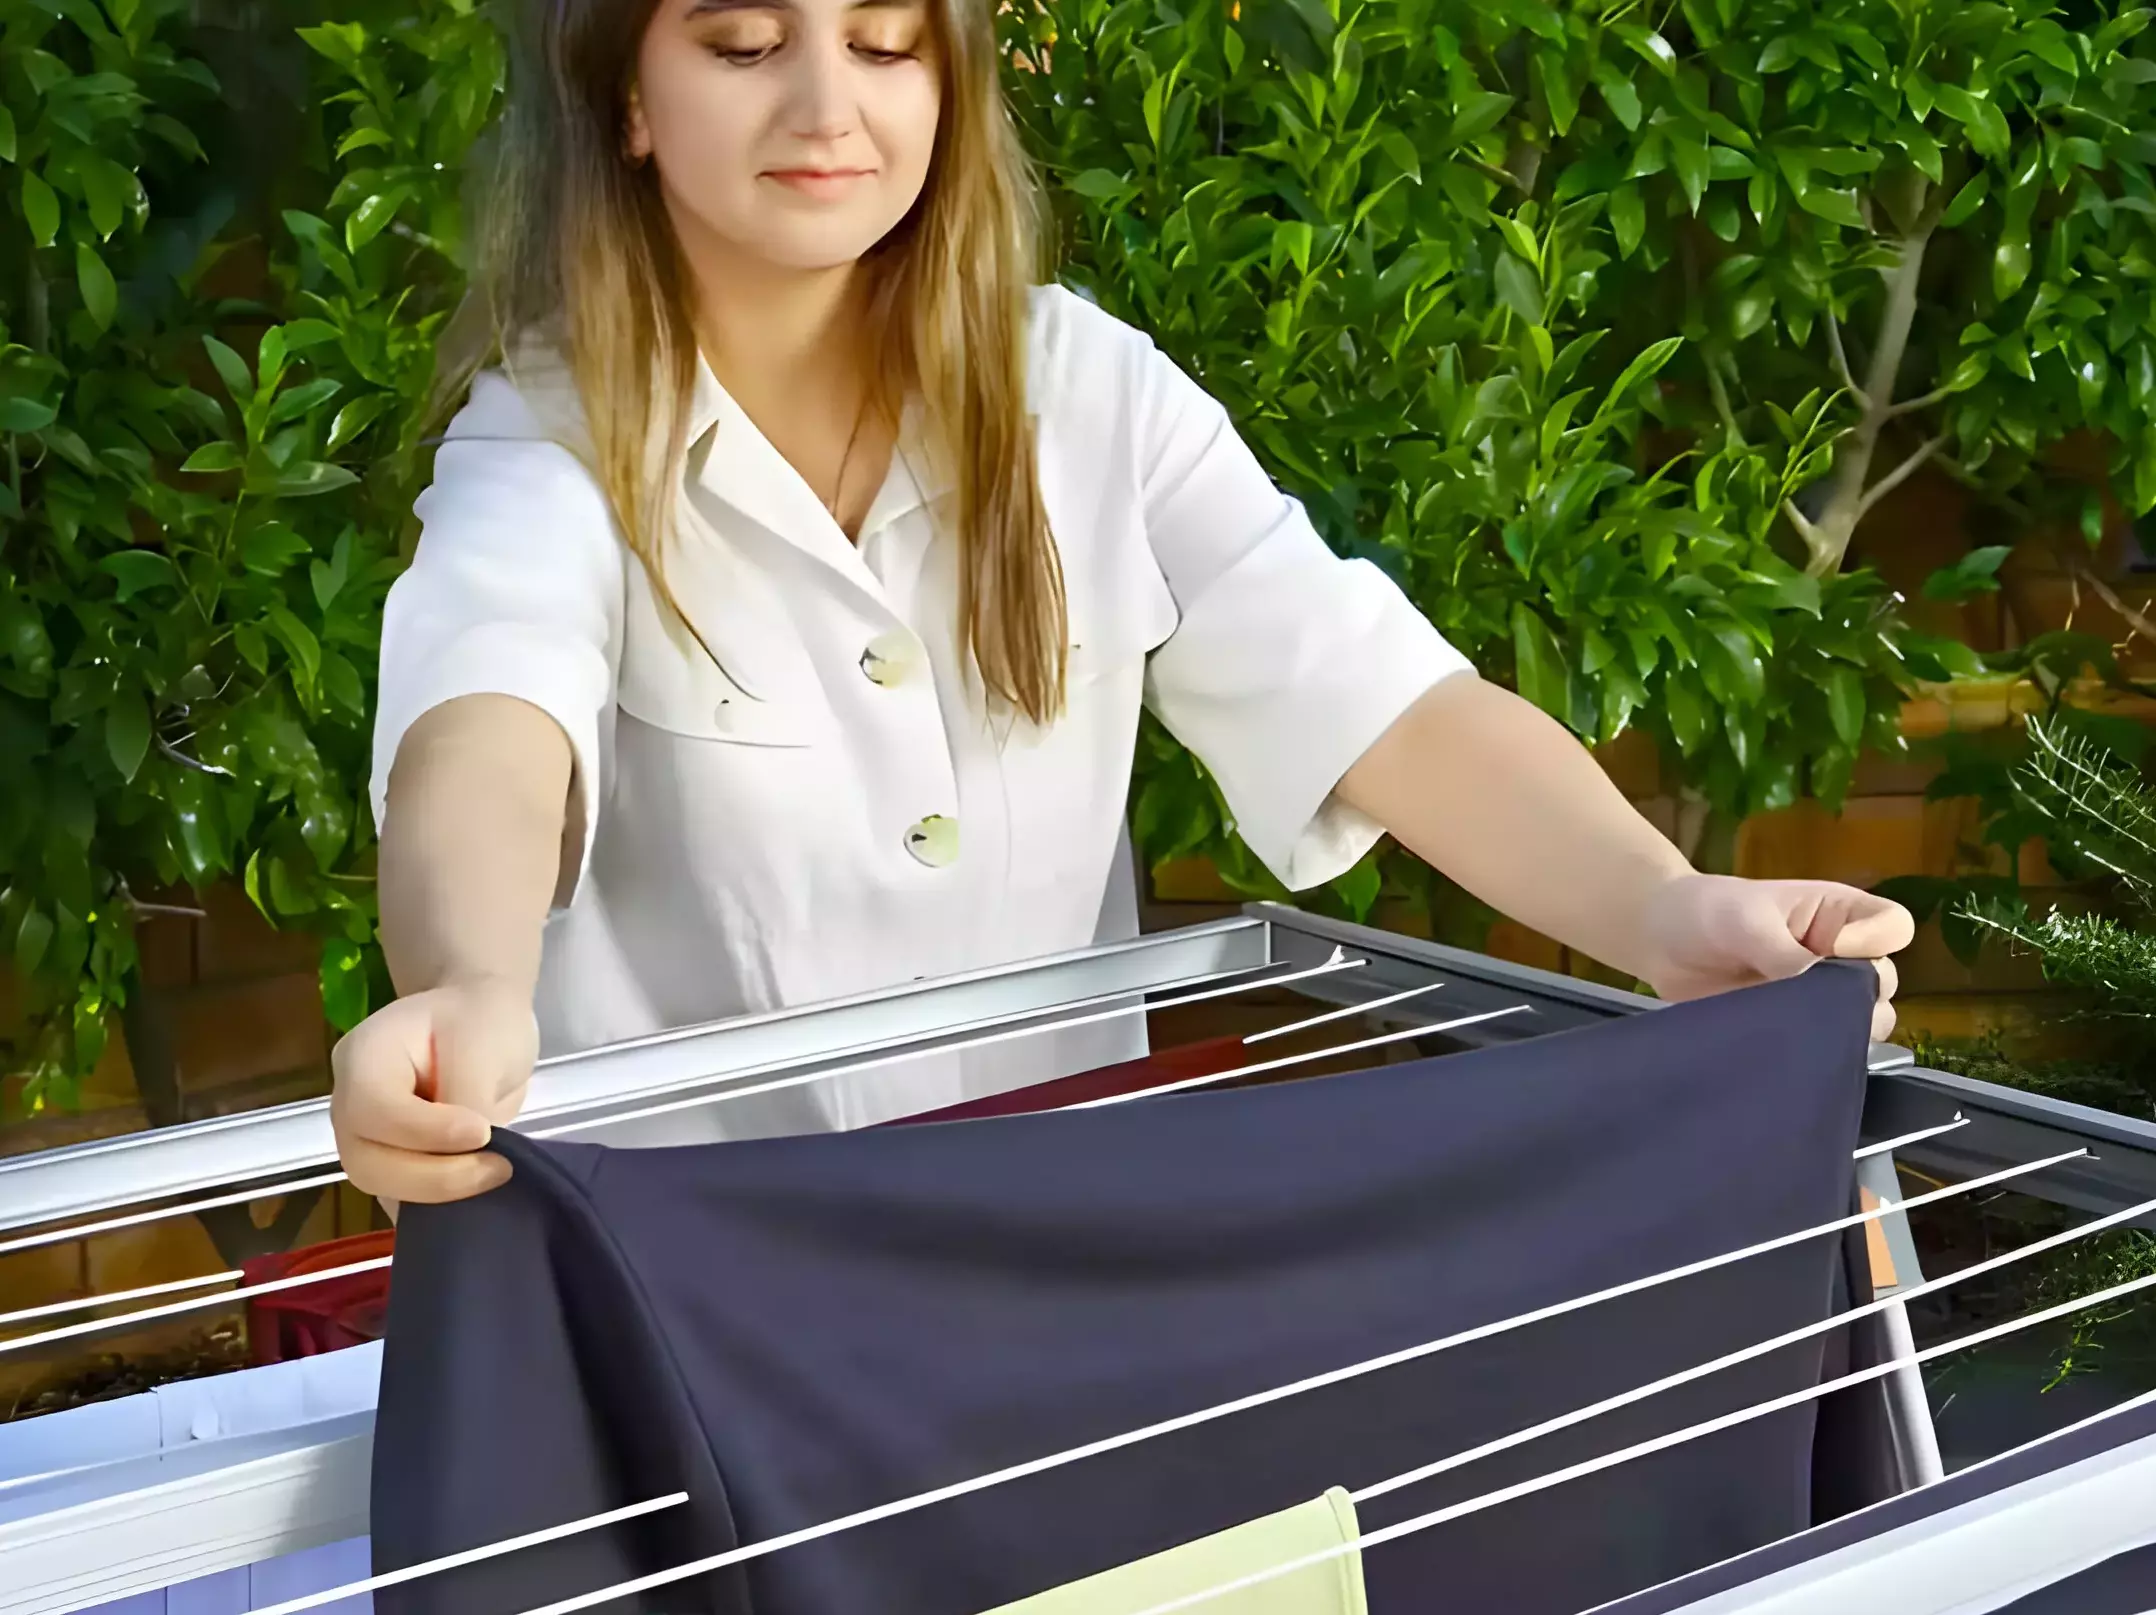
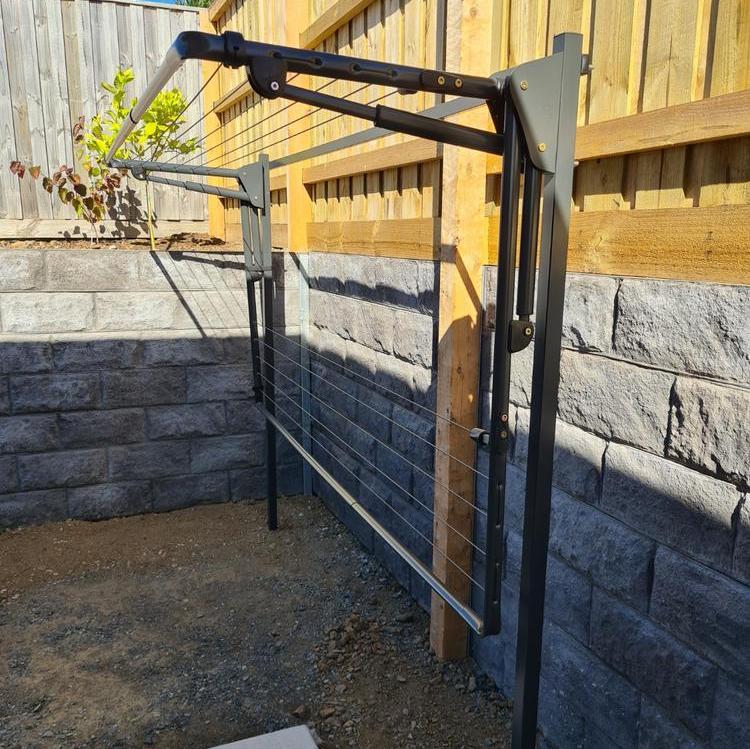
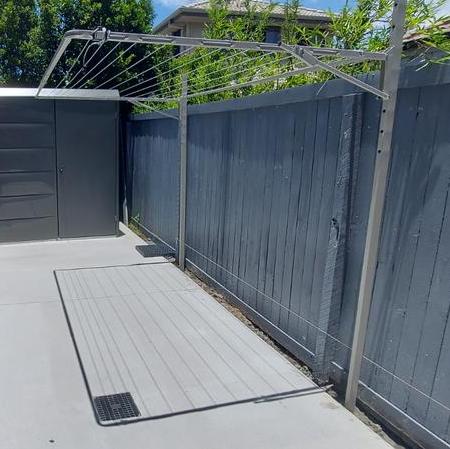
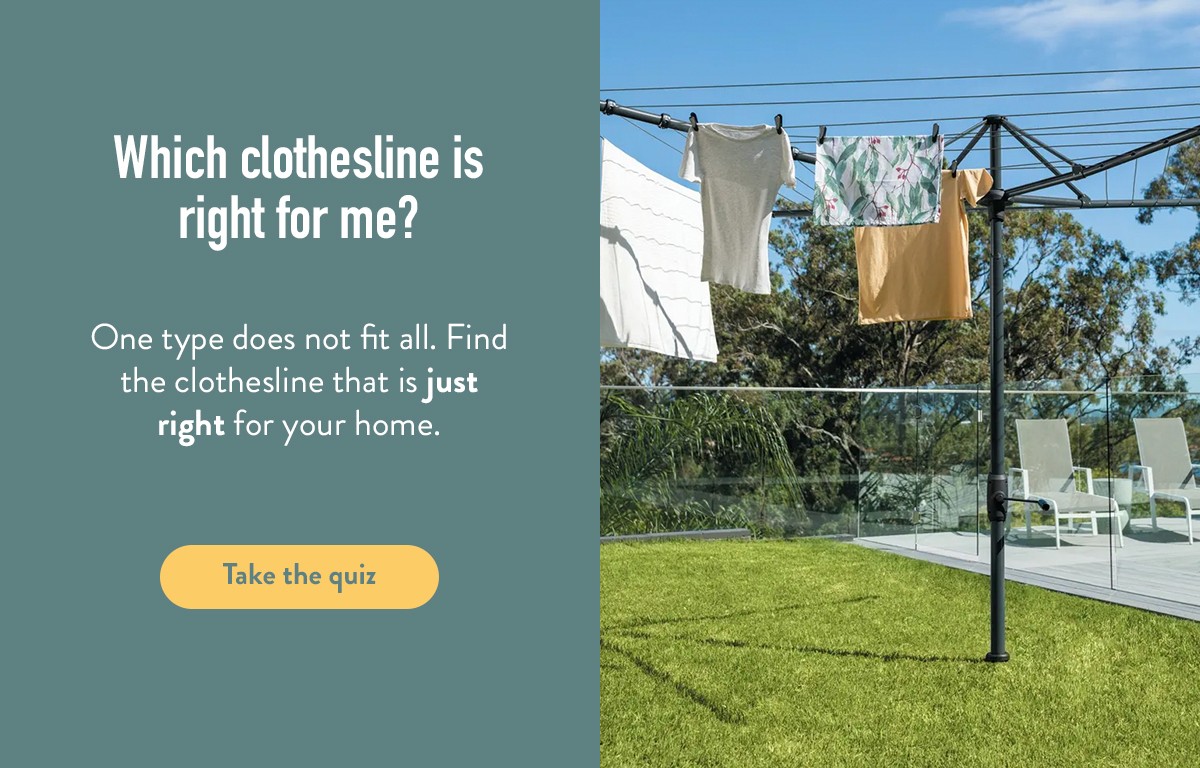
Fold Down

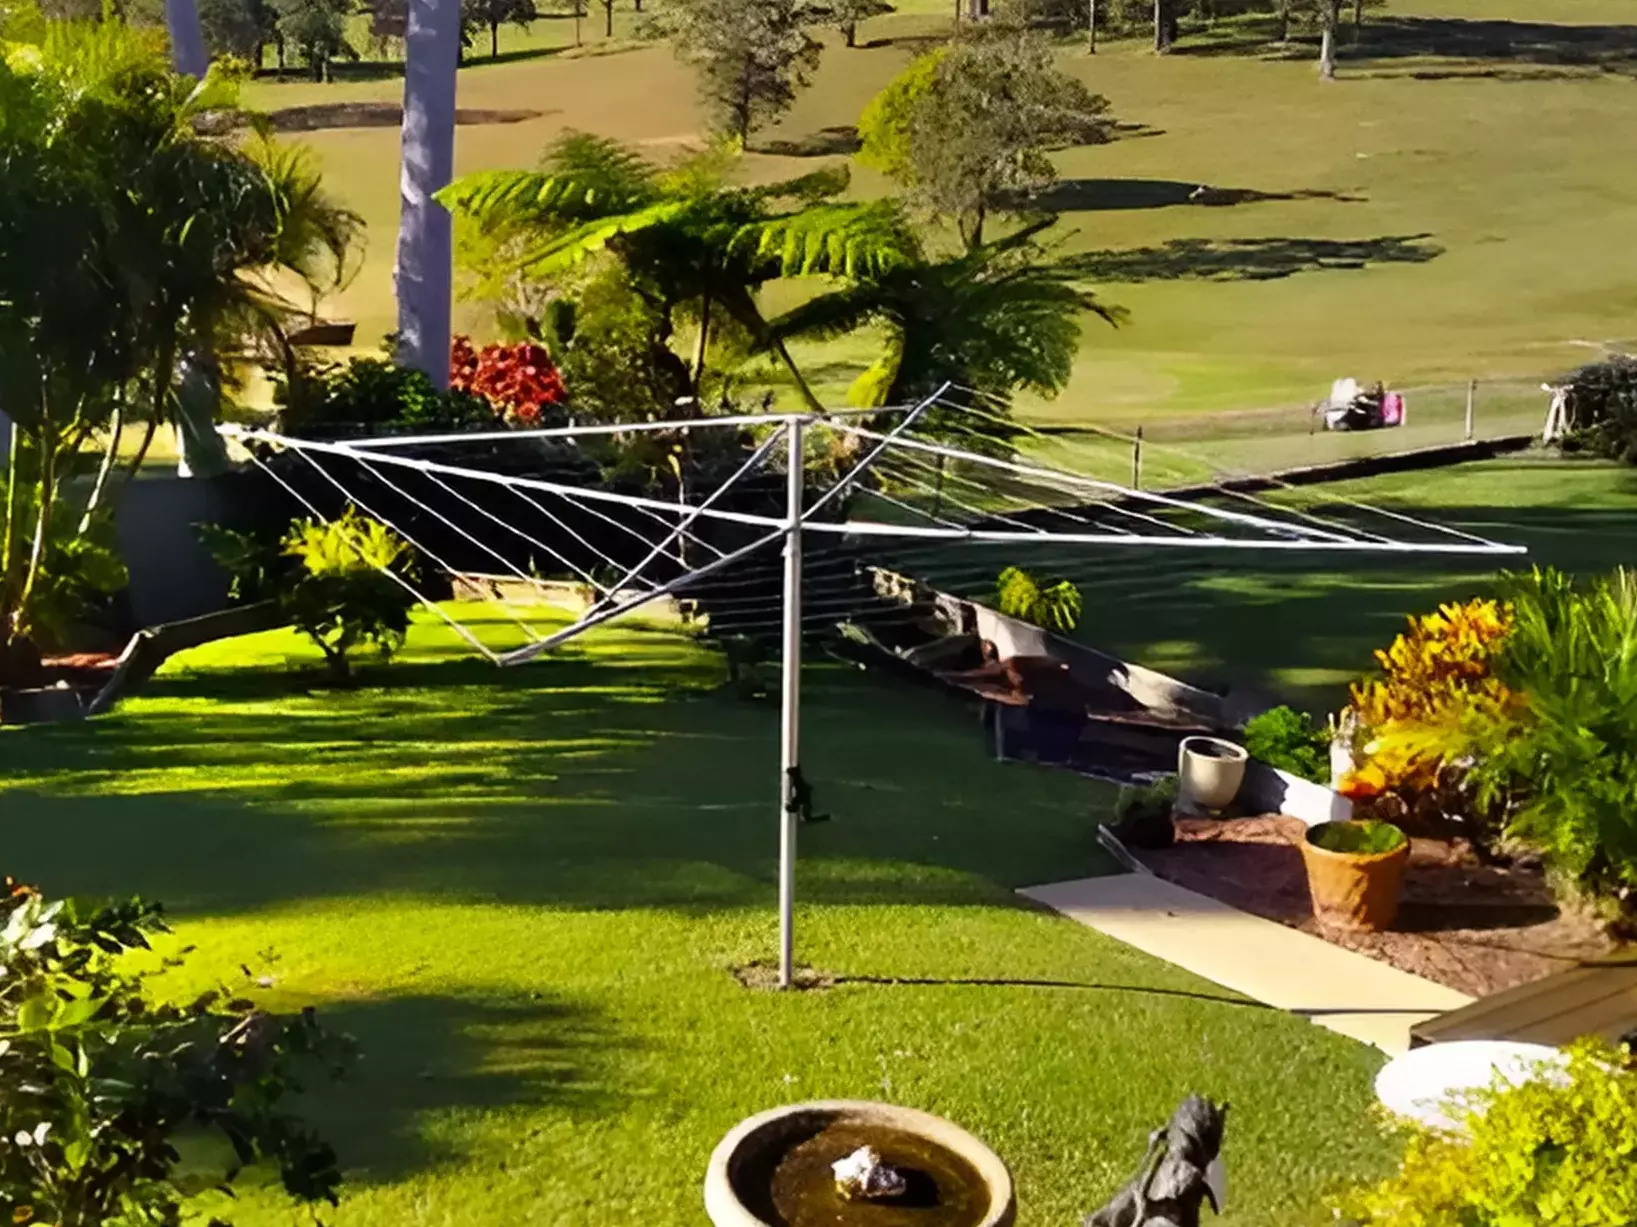
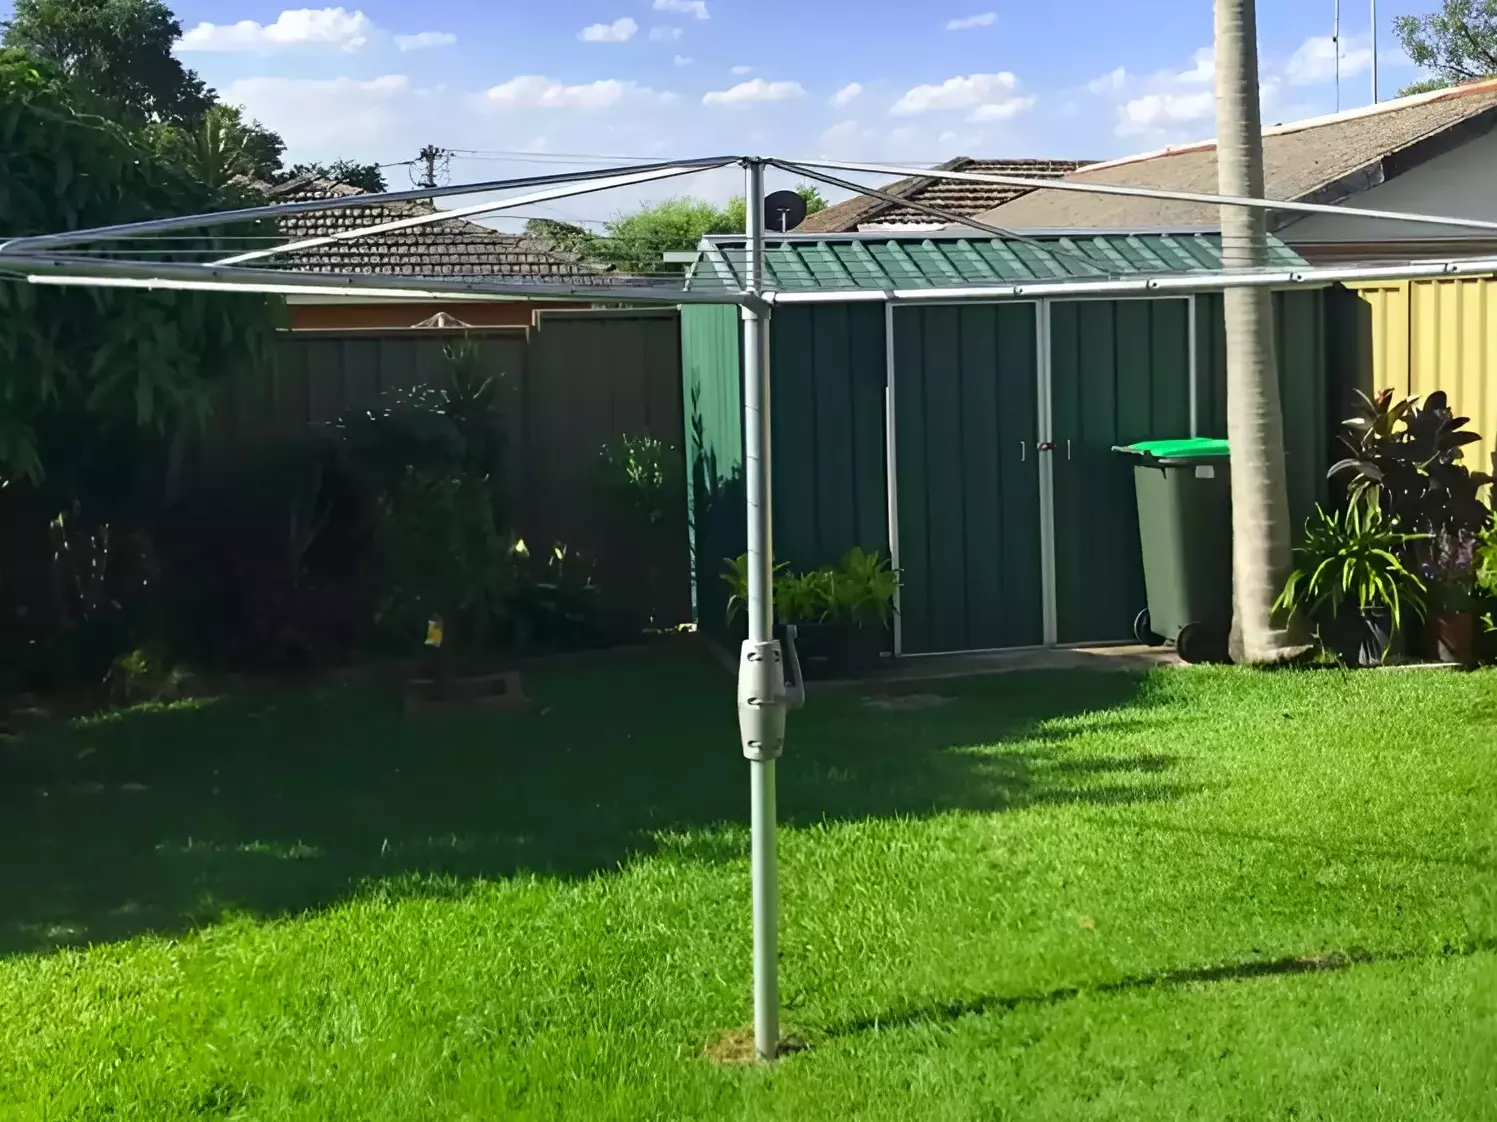
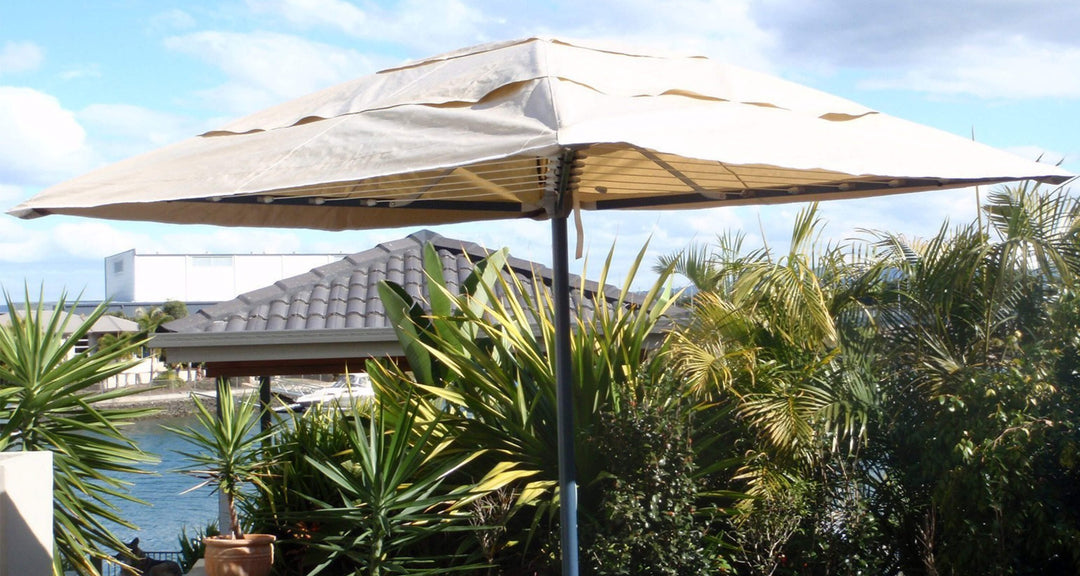
 Rotary Hoist
 Retractable
 Portable
 Ceiling Airer
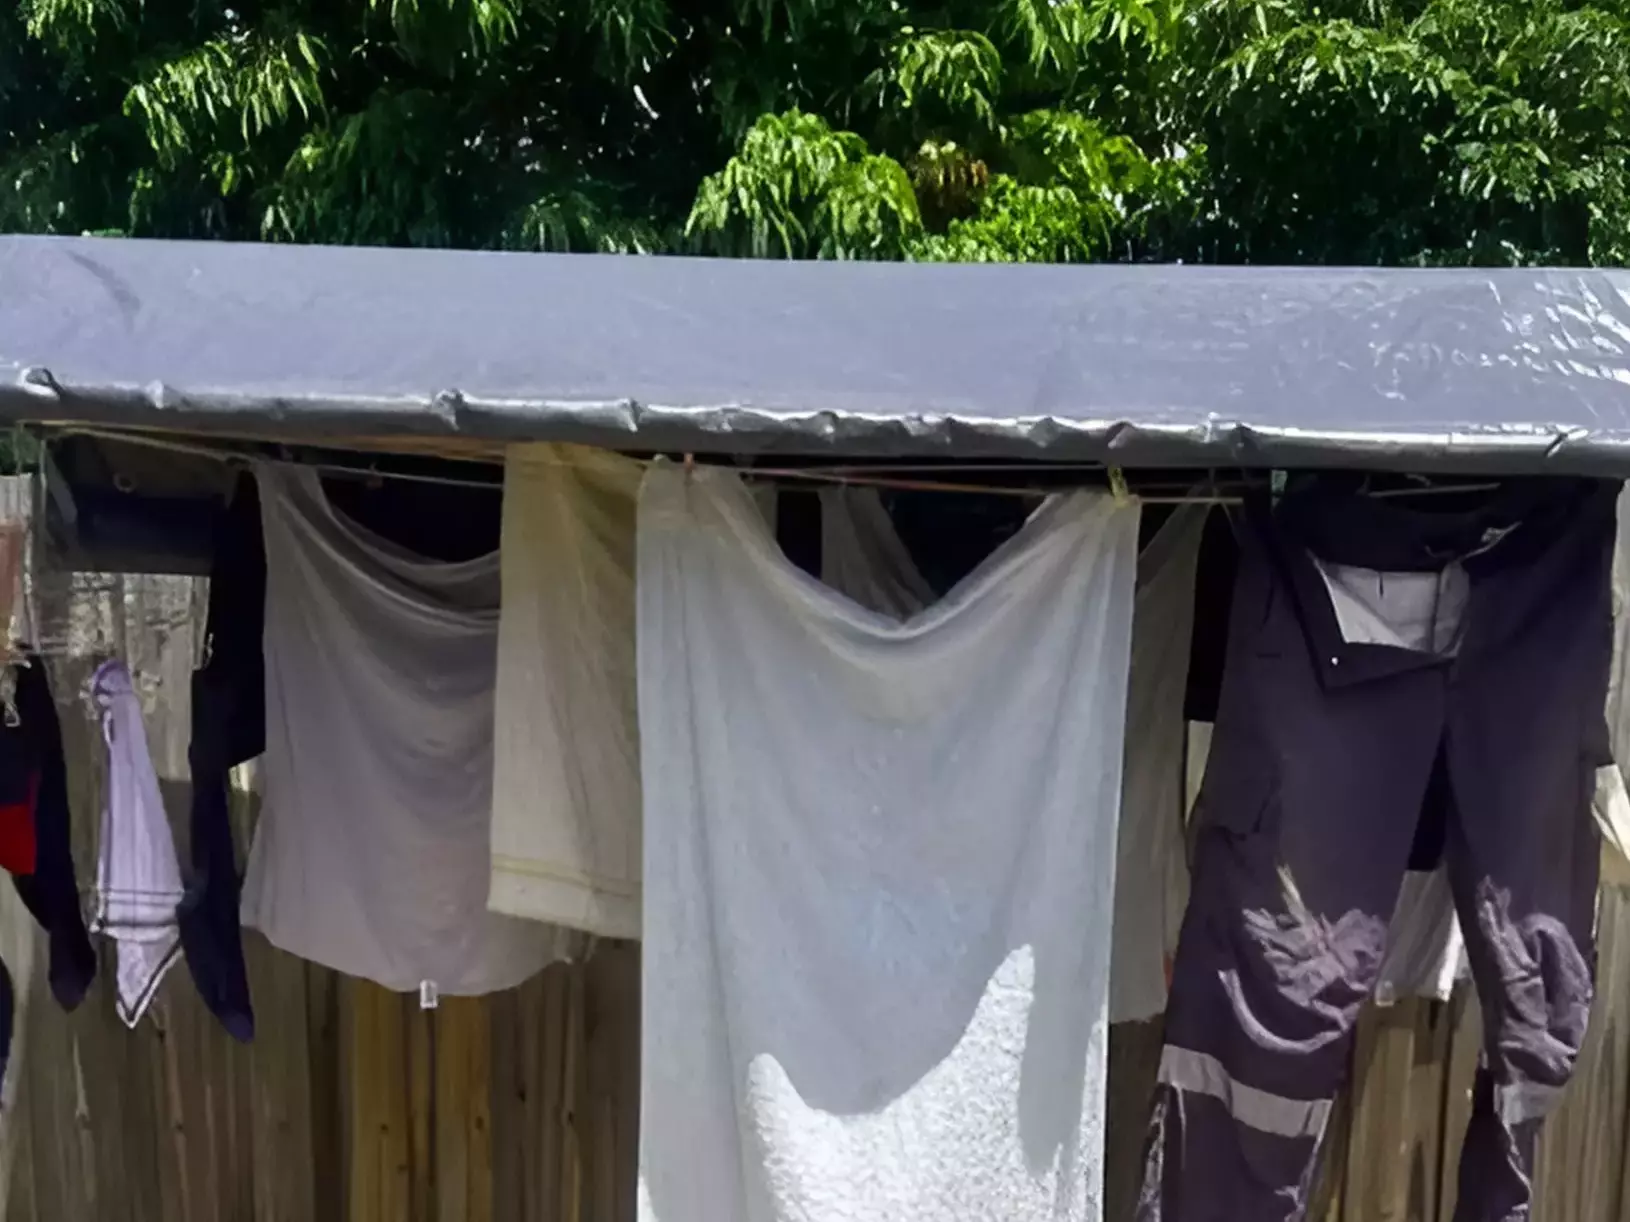
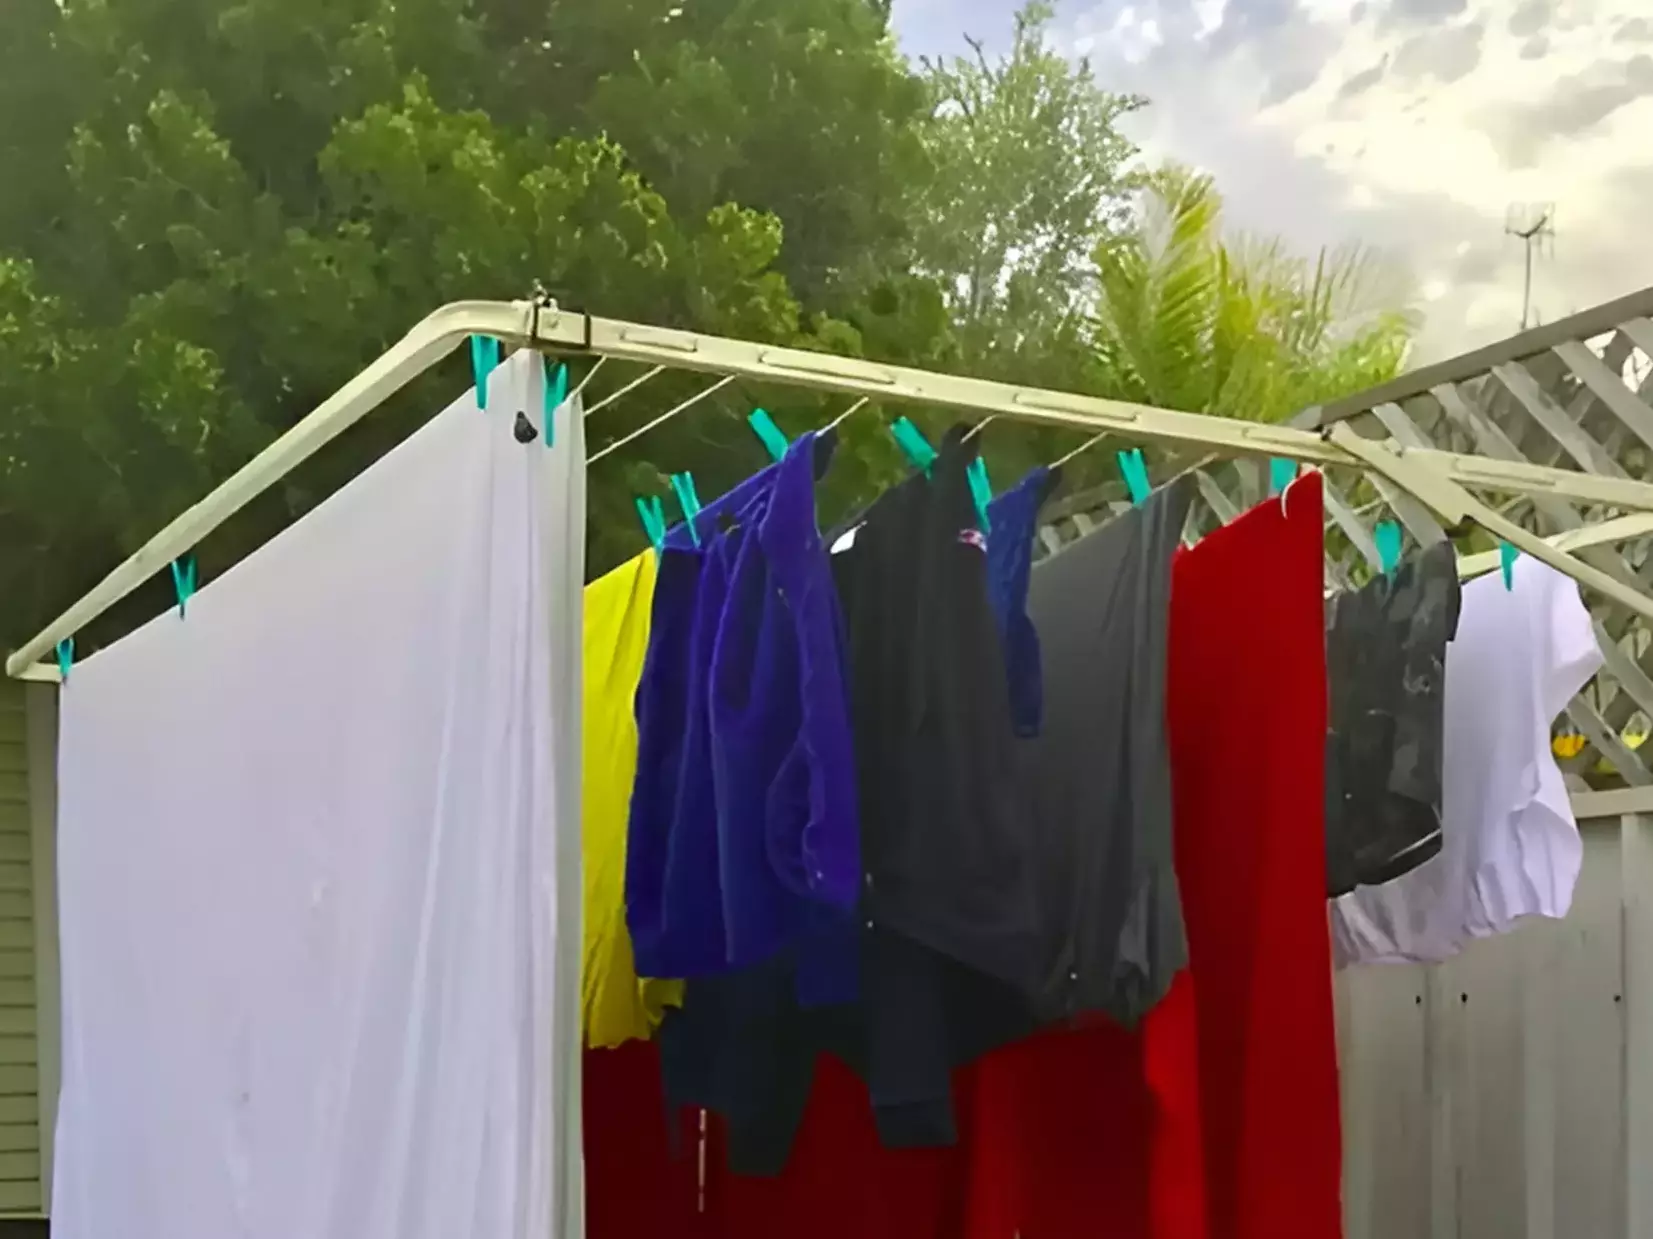
 Covers


Ground Mount Clothesline Installation: Step by Step Guide
Installing a ground mount clothesline was initially intimidating, but it turned out to be a surprisingly rewarding experience.
Like many of you, we appreciate practical solutions that also benefit the environment, and setting up our clothesline was a step in that direction.
However, improper installation can lead to unstable clotheslines that sag or collapse, leaving clothes dirty or damaged.
This can be frustrating and costly, especially when dealing with damaged laundry or frequent repairs.
The good news is, these issues are entirely preventable with the right guidance.
By following the installation guide in this article, you can ensure your ground mount clothesline is installed correctly, offering a durable and efficient solution for your laundry needs.
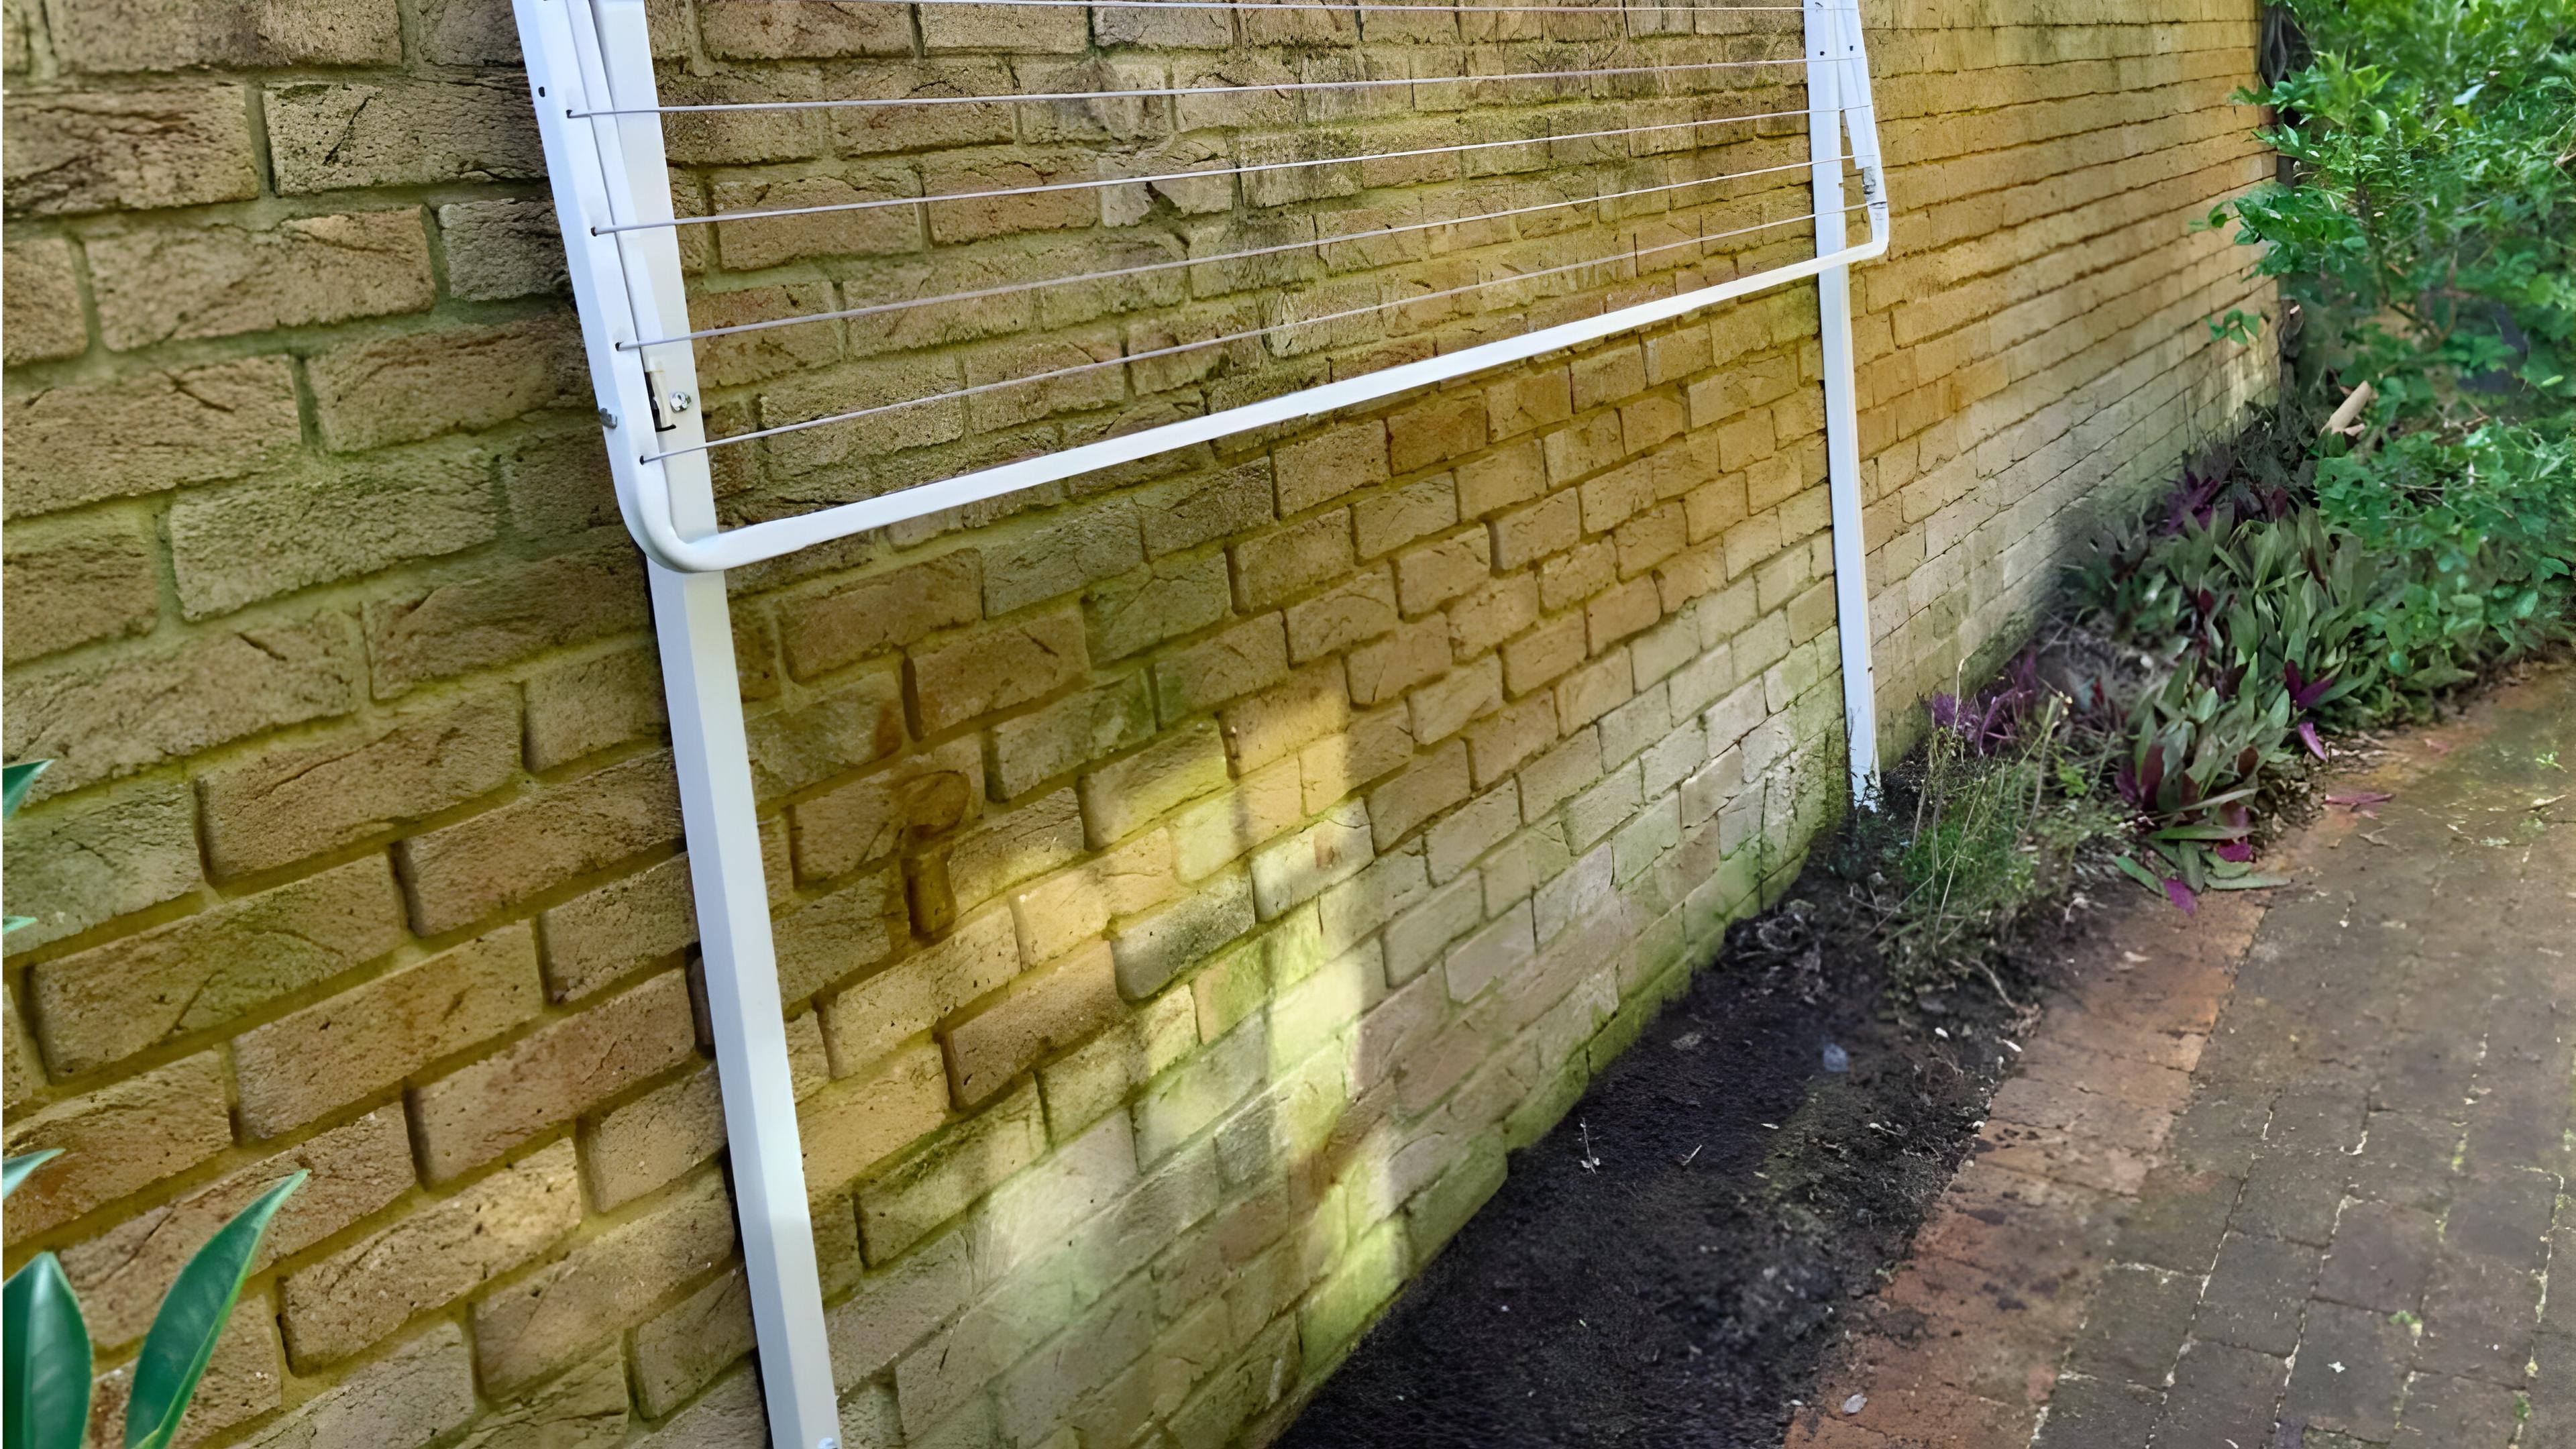
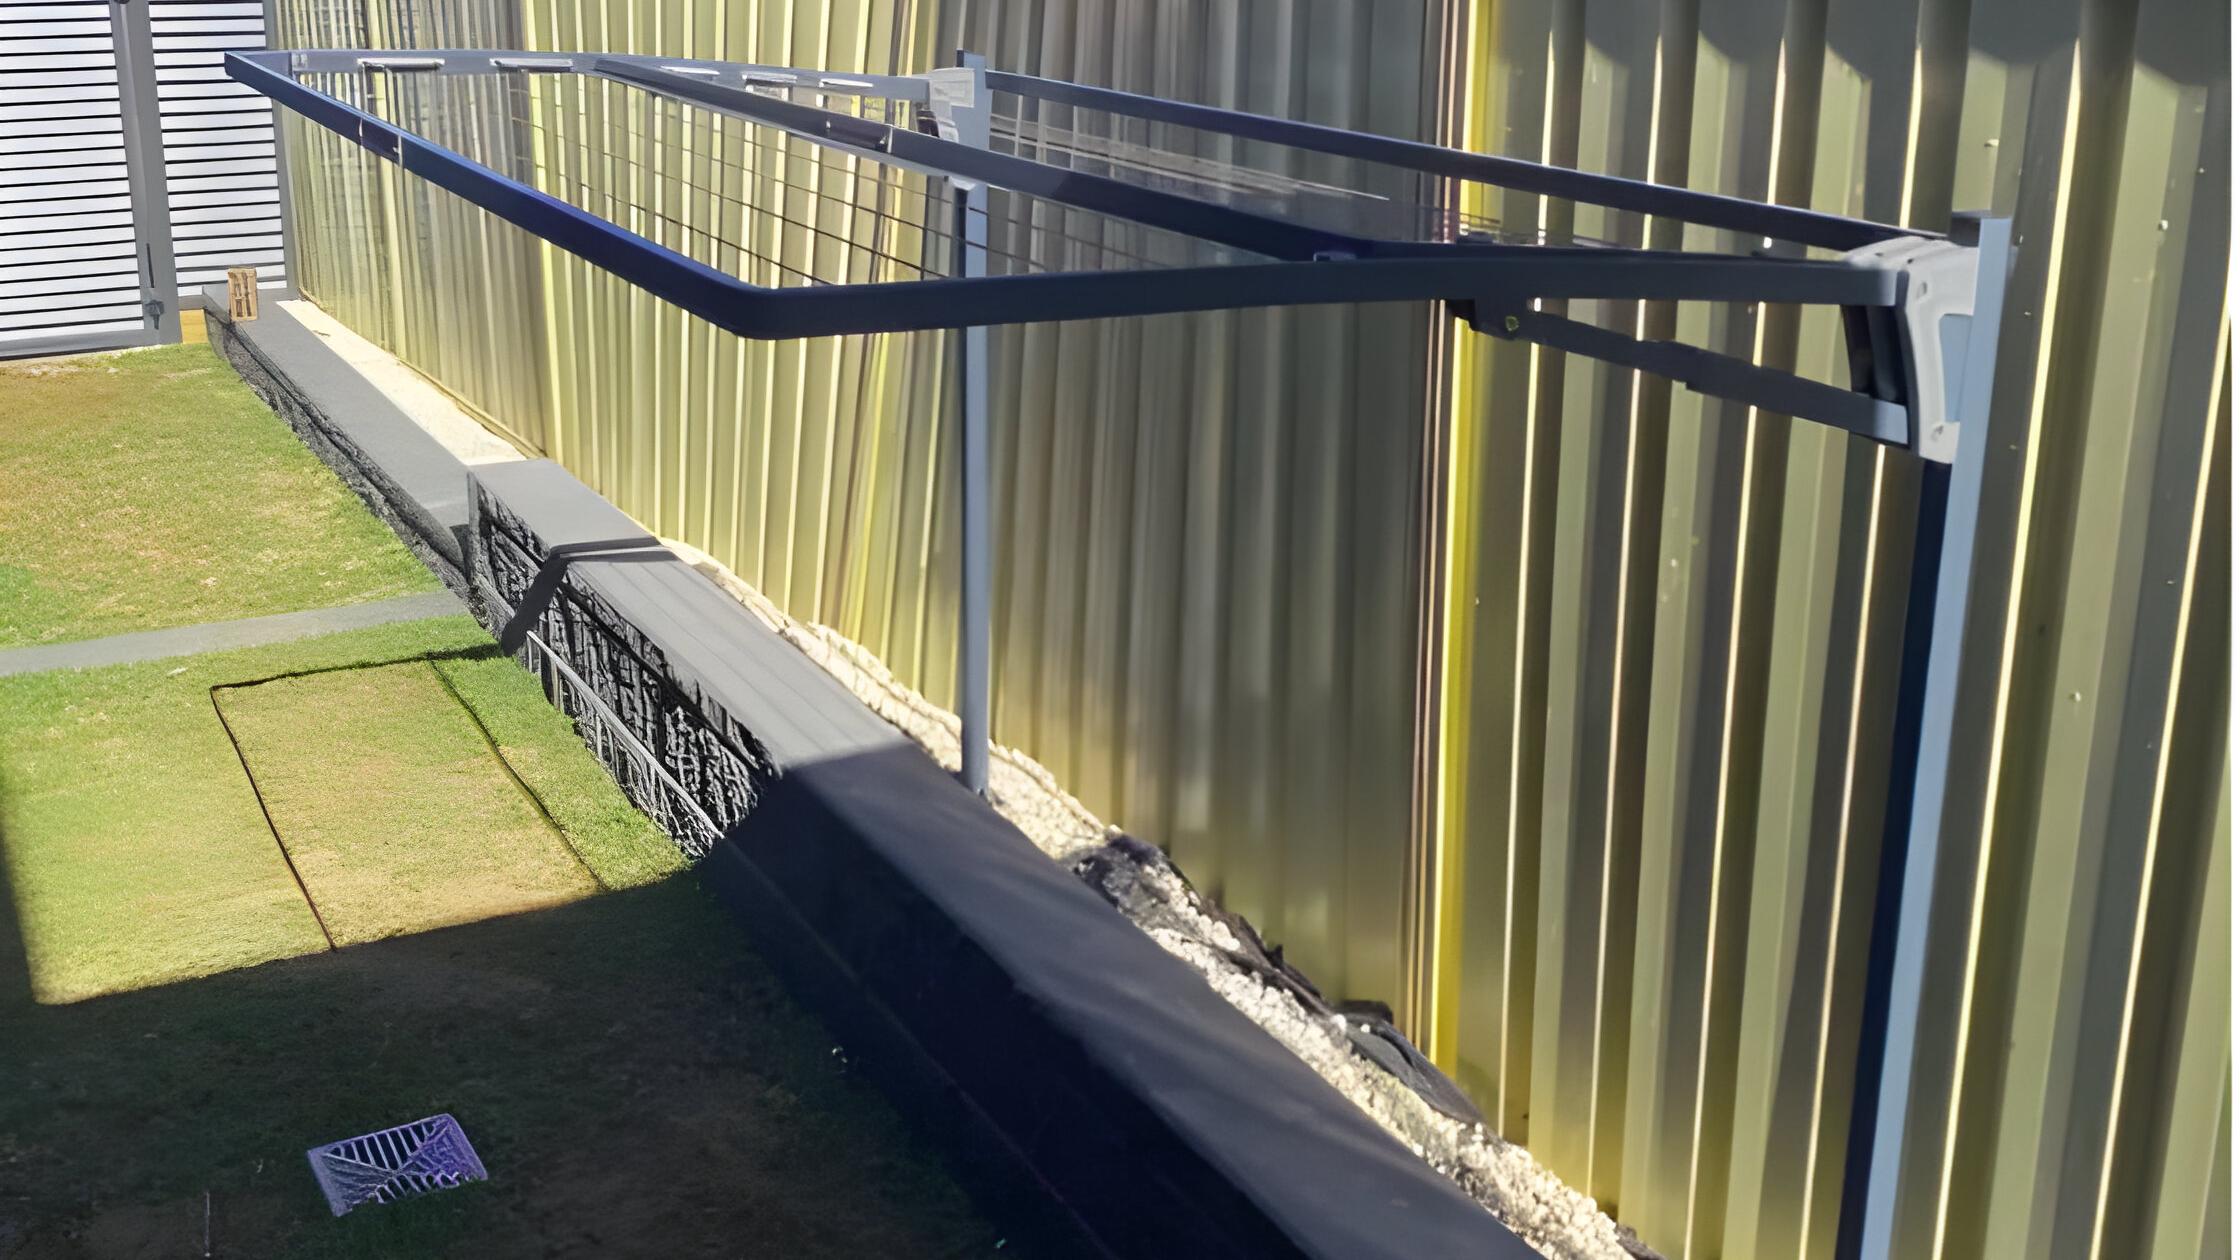
The Austral Ground Mount Kit offers versatility and customisation options, including compatibility with standard soil/grass and plated concrete slab foundations.
Short Summary
-
Preparation is crucial for an efficient clothesline installation, requiring specific tools such as a drill, tape measure, and concrete mix for stability.
-
Selecting an optimal location involves ensuring adequate sunlight, airflow, and sufficient space, while avoiding wet or shaded areas.
-
Regular maintenance, including inspections and cleaning, is essential for prolonging the lifespan and effectiveness of the clothesline.
Topics in This Article:
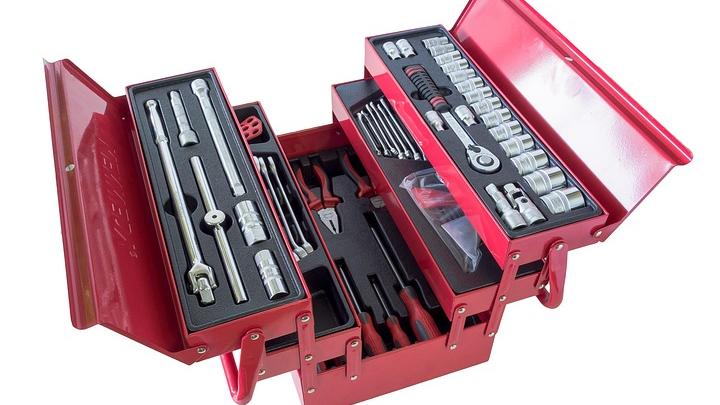
Tools and Materials Needed
Gathering all the necessary tools and materials before starting your clothesline installation ensures a smooth and hassle-free process.
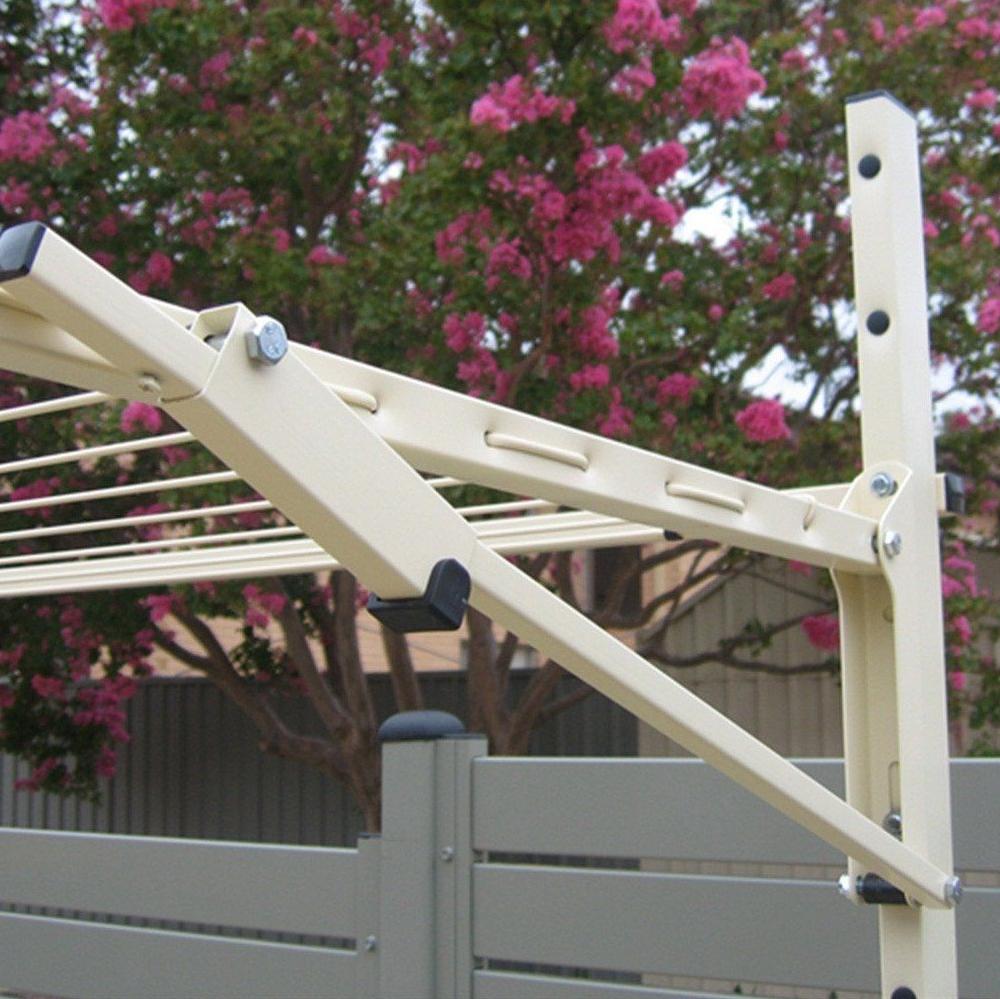
The adjustable components of the clothesline frame allow for easy height re-positioning, enhancing user convenience and the overall functionality of the product.
From our experience, we learned that being well-prepared can save us a lot of time and frustration.
We remember the annoyance of having to pause mid-installation because we didn’t have the right tools on hand.
I’m sure many of you can relate to that moment of realisation when you have to make an unexpected trip to the store.
By having everything ready, the installation became more enjoyable and rewarding.
It’s a small step that makes a big difference, and we highly recommend it to anyone setting up a ground mounted clothesline.
Need Help Installing a Clothesline?
Professional Clothesline Installation Service
Lifestyle Clotheslines is now offering a clothesline installation service for all outdoor clothesline products purchased through our website.
We have a dedicated team of installers throughout Sydney, Melbourne, Brisbane, Adelaide, Perth and Canberra...
...plus many other major cities in Australia, who take the hassle out of installing your new clothes line.
If you are not sure about an installation please feel free to give us a call on 1300 798 779 and discuss your needs with one of our expert clothes line customer support staff.
Customer "Kay" shared:
"Very happy with the clothesline installation. Kristian was punctual, efficient and friendly.
I appreciated the removal of the old steel clothesline."
List of Required Tools
When we decided to install a ground mount clothesline, we felt a bit intimidated by the whole process.
The idea of digging post holes and dealing with concrete was something we had never done before.
But like many of you, we were motivated by the prospect of fresh, sun-dried laundry.
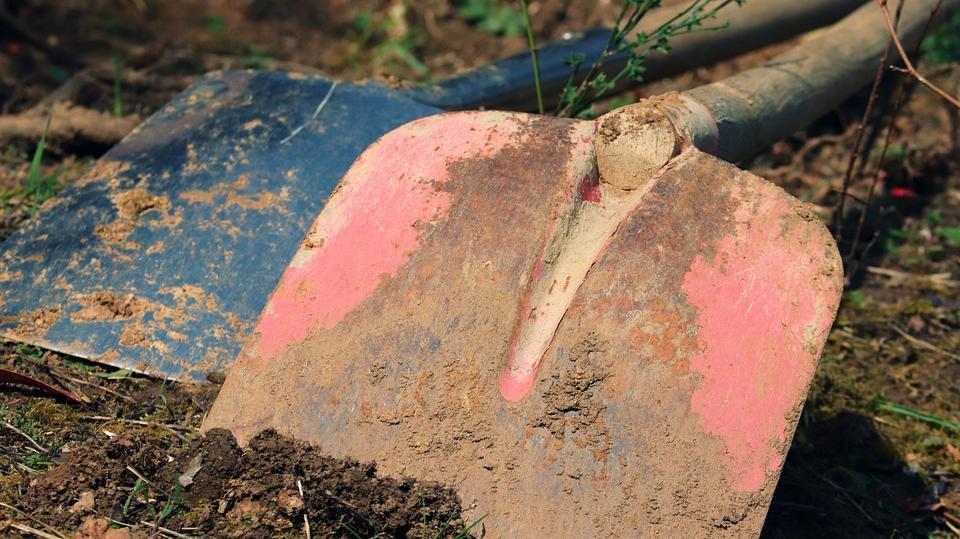
Gathering our tools—a drill, tape measure, and a shovel—we took it one step at a time.
There were definitely moments when we wished we had more hands or an extra bag of concrete mix, but the satisfaction of seeing the clothesline standing strong made it all worthwhile.
It's a project that not only taught us something new but also brought a sense of accomplishment and a touch of nostalgia to our everyday routine.
Materials
Setting up a ground mount clothesline seemed intimidating at first, especially with the thought of digging post holes and mixing concrete.
Like many of you, we were motivated by the idea of fresh, sun-dried laundry, so we gathered the necessary materials, including a clothesline ground mount kit and quick-setting concrete.
As we worked, there were definitely times we wished for an extra set of hands, but the satisfaction of seeing the clothesline standing strong made it all worthwhile.
It’s a project that many can relate to—one that teaches you something new and brings a sense of accomplishment.
For those considering this eco-friendly solution, the effort is truly rewarding.
Embracing the challenge was a step towards a practical and sustainable lifestyle that we’re sure many would appreciate.
Ground Mount Kits for Major Clothesline Brands:
Hills Folding Frame Ground Mount Kit
Easily turns your Hills Folding clothesline into a freestanding one!
Eco Ground Mount Kit
Effortlessly converts Eco fold down clotheslines into freestanding unit!
Austral Ground Mount Kit
Specifically designed to match the best Austral fold down clotheslines.
Selecting the Ideal Location
Finding the right spot for a clothesline can be a bit of a puzzle, can't it?
We spent a good afternoon wandering around our yard, trying to find that sweet spot with plenty of sunlight and a nice breeze.
It's a bit like a treasure hunt, making sure there's enough room for the line to extend fully without bumping into trees or fences.
After a few attempts, we finally found a perfect place that had just the right amount of airflow.
Seeing the clothesline standing there, ready to dry our laundry, was a small victory.
I'm sure many of you have felt the same satisfaction when a little planning pays off in such a practical way.

Choosing a Sunny and Windy Spot
Installing a ground mount clothesline was a bit intimidating at first, and we’re sure many of you can relate to the nerves of starting a new DIY project.
The depth of the holes for the posts depends on the desired finished height, which affects the final positioning and functionality of the clothesline.
The thought of digging post holes and dealing with concrete was overwhelming, but the allure of fresh, sun-dried laundry kept us going.
Like many of you, we spent time pacing around the yard, searching for that perfect spot with ample sunlight and a gentle breeze.
It was a bit of a puzzle, trying to ensure there was enough space without any obstructions like fences or trees.
We had moments where an extra pair of hands would have been helpful, but seeing the clothesline finally standing strong was incredibly rewarding.
This project not only taught us new skills but also left us with a feeling of accomplishment that we’re sure many of you would appreciate, especially when you experience the simple joy of sun-dried clothes fluttering in the breeze.
Ensuring Enough Space
When we embarked on the journey of installing a ground mount clothesline, we were initially daunted by the idea of digging post holes and tackling concrete.
We found ourselves wandering around the yard, tape measure in hand, trying to pinpoint that ideal spot with ample sunlight and a gentle breeze.
It felt like a puzzle, making sure there was no interference from trees or fences.

We had those moments where an extra set of hands would have been a blessing, especially when wrestling with the concrete.
However, the satisfaction of seeing the clothesline standing firm, ready to embrace freshly washed laundry, was worth every effort.
It's a project that not only taught us new skills but also brought a sense of fulfillment that we're sure many of you would appreciate, especially when you experience the simple joy of sun-dried clothes fluttering in the breeze.
Avoiding Wet or Shaded Areas
Avoid placing the clothesline in wet or shaded areas, as these conditions can prolong drying times and increase moisture.
We learned this the hard way when our initial spot left our clothes damp for hours.
Placing the clothesline away from trees prevents sap damage and hinders drying efficiency due to shade.
We once had to rewash an entire load because we underestimated the impact of tree sap and shadows.
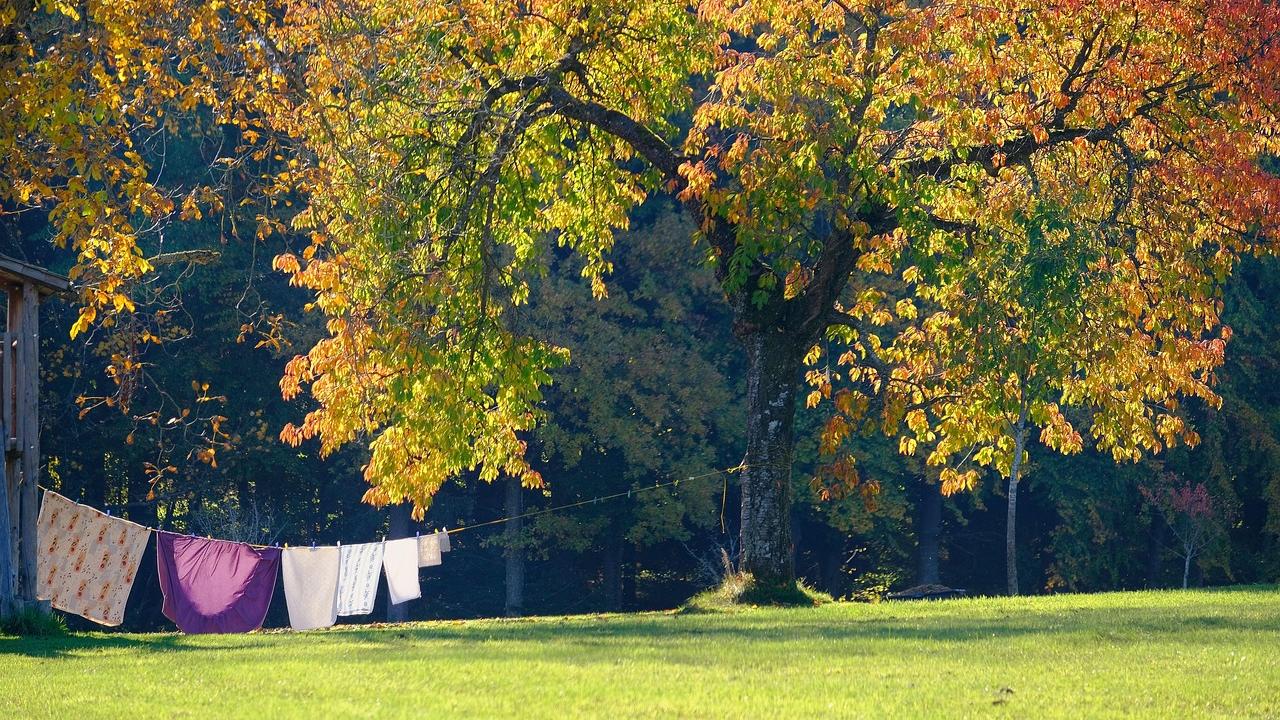
Select a spot with plenty of sunlight and airflow to ensure your clothes dry quickly and efficiently, maximising the effectiveness of your ground mounted clothesline installation.
Marking the Installation Area
Marking the installation area was the first step in our journey to setting up a free-standing clothesline, and we bet many of you can relate to the mix of excitement and nerves that comes with starting a new project.
With a tape measure in hand and stakes ready, we carefully marked the area, making sure it was clear of obstacles and had enough support.
It was a small triumph to see everything lined up just right, knowing that this effort would lead to fresh, sun-dried clothes.
We could almost picture the satisfaction of hanging laundry on a sturdy line, a simple yet rewarding task.
Isn't it amazing how these little projects can bring such a sense of accomplishment and connection to our daily lives?
Measuring for Placement
As we measured the distance between the clothesline posts, we realised just how crucial it was to get this right.
We've all been there, trying to ensure everything lines up perfectly, whether it's hanging a picture frame or setting up a clothesline.
With a tape measure in hand, we marked each point, feeling like DIY enthusiasts on a mission.

Visualising the layout with stakes was like planning a small garden project, bringing a sense of order and purpose.
It was satisfying to know that these simple steps would soon lead to the joy of sun-dried clothes fluttering in the breeze.
It's those little victories in our everyday tasks that make them so rewarding.
Marking the Spots
Marking the spots for digging post holes was surprisingly satisfying, a bit like piecing together a puzzle in our own backyard.
We recall the mix of excitement and nerves as we carefully used stakes and a spirit level to ensure everything was just right.
It was almost therapeutic, transforming what seemed like a daunting task into a rewarding DIY project.
I'm sure many of you have felt that same sense of accomplishment when a plan starts coming together perfectly.
Aligning the spots in harmony with our yard's layout added a touch of personal flair, making it feel like more than just a chore.
It's a feeling we bet many of us share, where the initial anxiety turns into a proud moment of achievement.
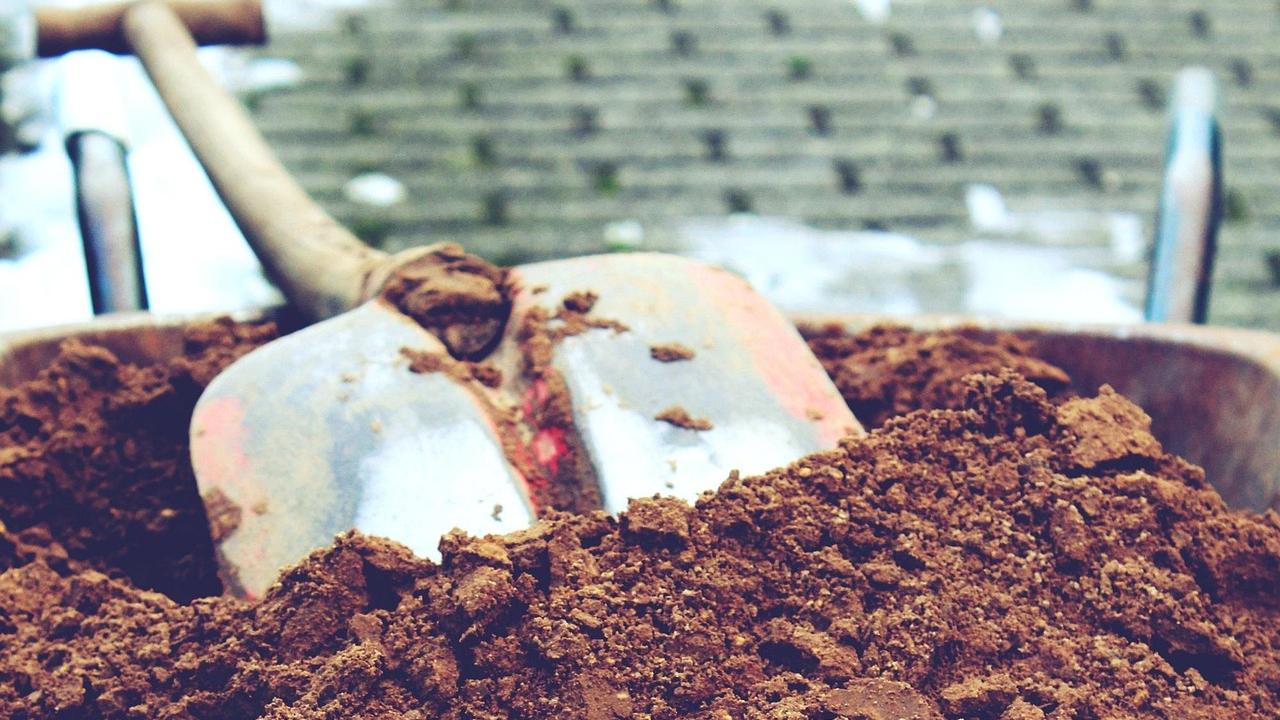
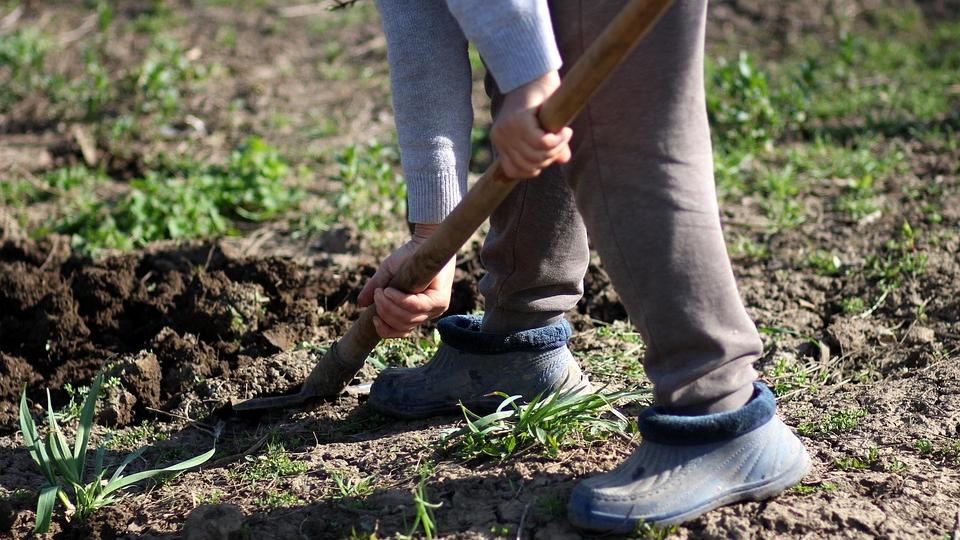
Digging the Ground Mount Posts Holes
Digging the post holes was a critical step to ensure the stability of our clothesline, and we bet many of you have faced similar DIY challenges.
Installation requires two holes dug with a diameter of 200-250mm and a depth of approximately 400-500mm to accommodate the posts.
Standing there with a shovel, we wondered if the holes would be deep enough to support the posts securely.
The soil type made digging a bit tricky, but like many of us, we embraced it as a learning opportunity.
As we worked, we thought about how relatable this experience is—whether we’re setting up a garden or fixing something around the house.
The satisfaction of seeing the posts firmly in place made all the effort worthwhile, and we’re sure many of you have felt that same mix of anxiety and accomplishment.
It’s those small victories that make these projects rewarding, turning a daunting task into a fulfilling experience.
Depth and Width of the Holes
When we started digging post holes for our ground mount clothesline, we felt the same apprehension many of you might experience with a new DIY project.
The instructions suggested making the holes one-third the height of the post above ground, with a diameter of 8 to 12 inches, and we found ourselves questioning if we were doing it right.
We decided on holes about 250mm wide and 600 to 650mm deep, hoping they'd provide the necessary stability.

As we worked, we thought about others in their backyards, facing similar challenges and uncertainties.
It was comforting to know that this was a shared experience.
The satisfaction of seeing our clothesline standing strong made all the effort worthwhile, and we're sure many of you have felt the same sense of accomplishment when a plan comes together despite initial doubts.
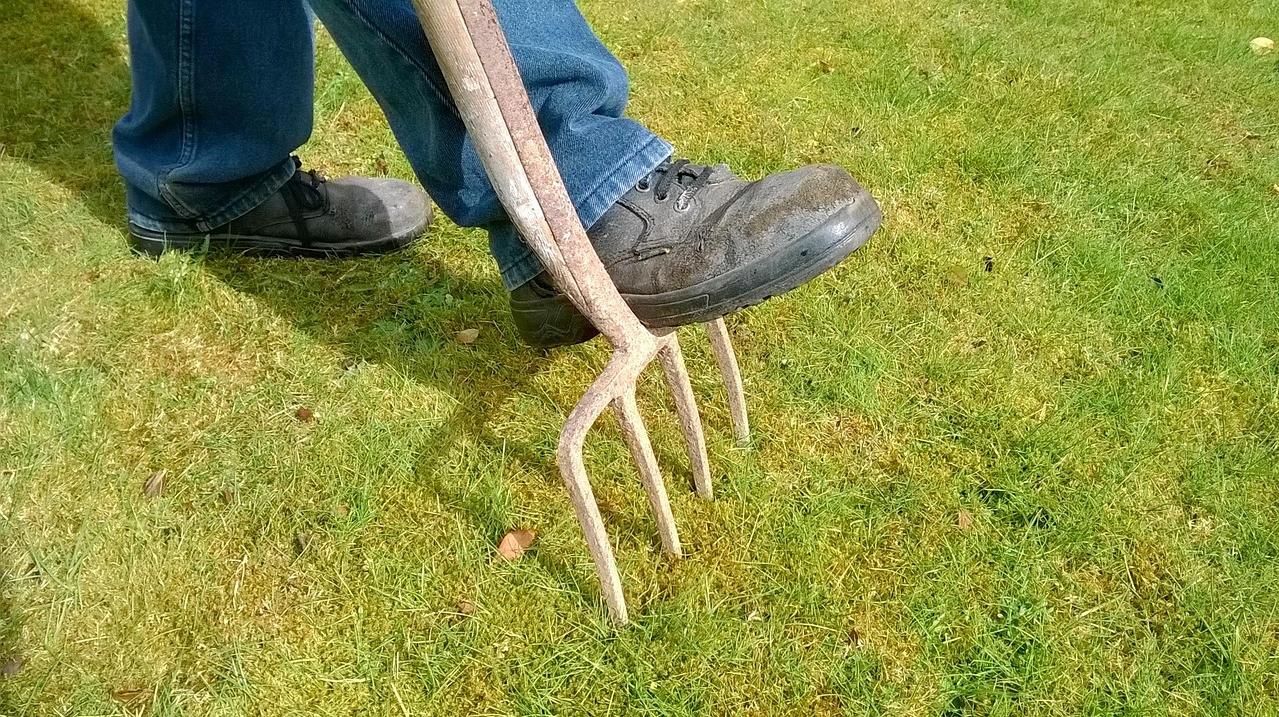
Using a Shovel or Post Hole Digger
Tackling the task of digging post holes for a ground mount clothesline was both exciting and daunting.
I discovered that while a post hole digger is efficient for narrow, deep holes, a trusty shovel works wonders for wider excavations.
Breaking up compacted soil with a pry bar turned out to be a lifesaver, making the whole process go more smoothly.
Digging in a circular motion prevented the sides from collapsing, resulting in a more uniform hole shape.
I'm sure many of you can relate to the mix of anticipation and challenge that comes with these DIY projects in your own backyards.
The rewarding sight of the clothesline standing strong made all the effort worthwhile, a feeling I'm certain resonates with many who enjoy the satisfaction of a job well done.
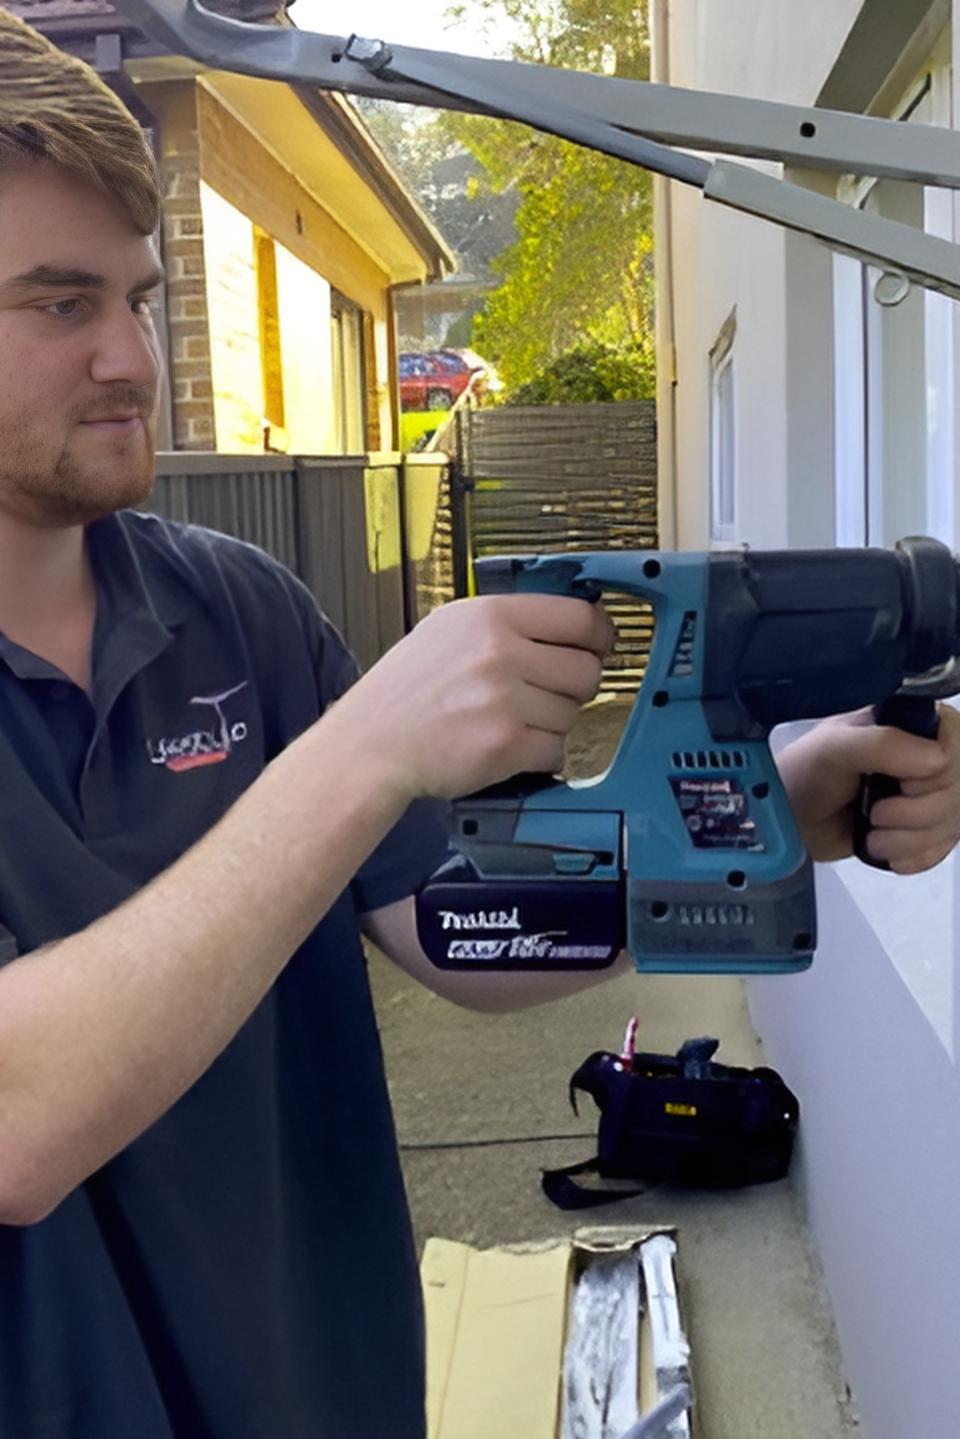
Installing the Clothesline Post
Placing the clothesline post in the ground initially felt like a daunting task, but it quickly became a rewarding experience.
The versatility of the ground mount posts allows for installation in various environments such as soil or concrete.
I’m sure many of you have been there, standing with a shovel, wondering if you can handle the challenge ahead.
Ensuring the post was level and stable was crucial, and we found ourselves constantly checking with a carpenter’s level to get it just right.
The mix of excitement and nerves was palpable, knowing this step was key to the clothesline’s support and functionality.
Watching the concrete set, we felt a wave of accomplishment, eagerly anticipating the simple joy of hanging freshly washed clothes to dry in the sun.
It’s a feeling we believe many of you can relate to—when a DIY project comes together perfectly and brings a sense of satisfaction and pride.
Placing the Post in the Ground
Inserting the post or ground sleeve into the hole was a task that many of you might find familiar if you’ve ever taken on a DIY project.
There are different types of ground mounting kits available, including options for soil/grass or concrete mounting, and these kits are compatible with various models.
We were determined to get it perfectly straight, using a carpenter’s level to check the alignment repeatedly.
It was like a balancing act that required patience and precision.
We even used temporary bracing to keep the post upright while the concrete set, which added to the sense of being hands-on problem solvers.
The whole process reminded us of putting together a puzzle, where every piece needed to fit just right.
Watching it all come together felt incredibly satisfying, and we’re sure many of you have experienced that same moment of triumph when a plan finally comes to life.
Need Help Installing a Clothesline?
Professional Clothesline Installation Service
Lifestyle Clotheslines is now offering a clothesline installation service for all outdoor clothesline products purchased through our website.
We have a dedicated team of installers throughout Sydney, Melbourne, Brisbane, Adelaide, Perth and Canberra...
...plus many other major cities in Australia, who take the hassle out of installing your new clothes line.
If you are not sure about an installation please feel free to give us a call on 1300 798 779 and discuss your needs with one of our expert clothes line customer support staff.
Customer "Kay" shared:
"Very happy with the clothesline installation. Kristian was punctual, efficient and friendly.
I appreciated the removal of the old steel clothesline."
Using Concrete Slab for Extra Stability
Mixing and pouring concrete into the hole was a bit nerve-wracking for us, especially since we wanted to ensure the post would withstand strong winds and the loose soil in our backyard.
Quick-setting concrete felt like a turning point, promising the durability we needed.
Like many of you, we found ourselves saturating the hole with water before pouring, hoping it would help with curing.
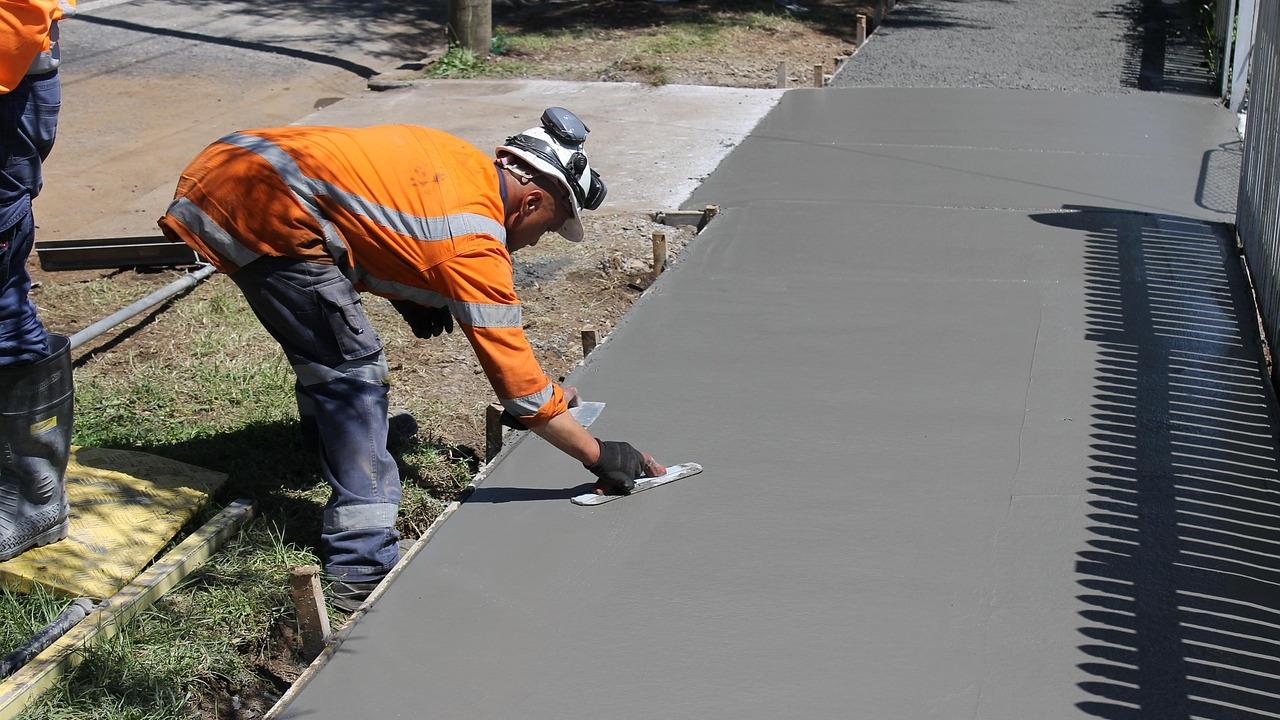
Those three days waiting for the concrete to set seemed to stretch on forever, but we knew it was essential for the post’s strength.
We’re sure others have felt the same anticipation, waiting to see if their hard work pays off.
Finally seeing the post standing firm was incredibly rewarding, a reminder of the effort and patience invested in the project.
Aligning the Clothesline
Ensuring the clothesline was perfectly horizontal felt like a balancing act, but using a level tool really helped us.
We found ourselves rushing to adjust the posts' alignment before the concrete set, wanting everything to be just right.
Keeping the tension in the clothesline was a bit of a challenge; we knew that sagging would compromise its drying efficiency.
We've all been there, right?
That mix of excitement and nerves, hoping our efforts will pay off.
It's that satisfying moment when we step back and see our handiwork come together, knowing we've accomplished something meaningful.
Attaching the Clothesline
Attaching the clothesline to the posts was a moment that many of us can relate to when tackling a DIY project.
Standing there with the kit, we felt the familiar mix of anticipation and doubt, wondering if we were following the instructions correctly.
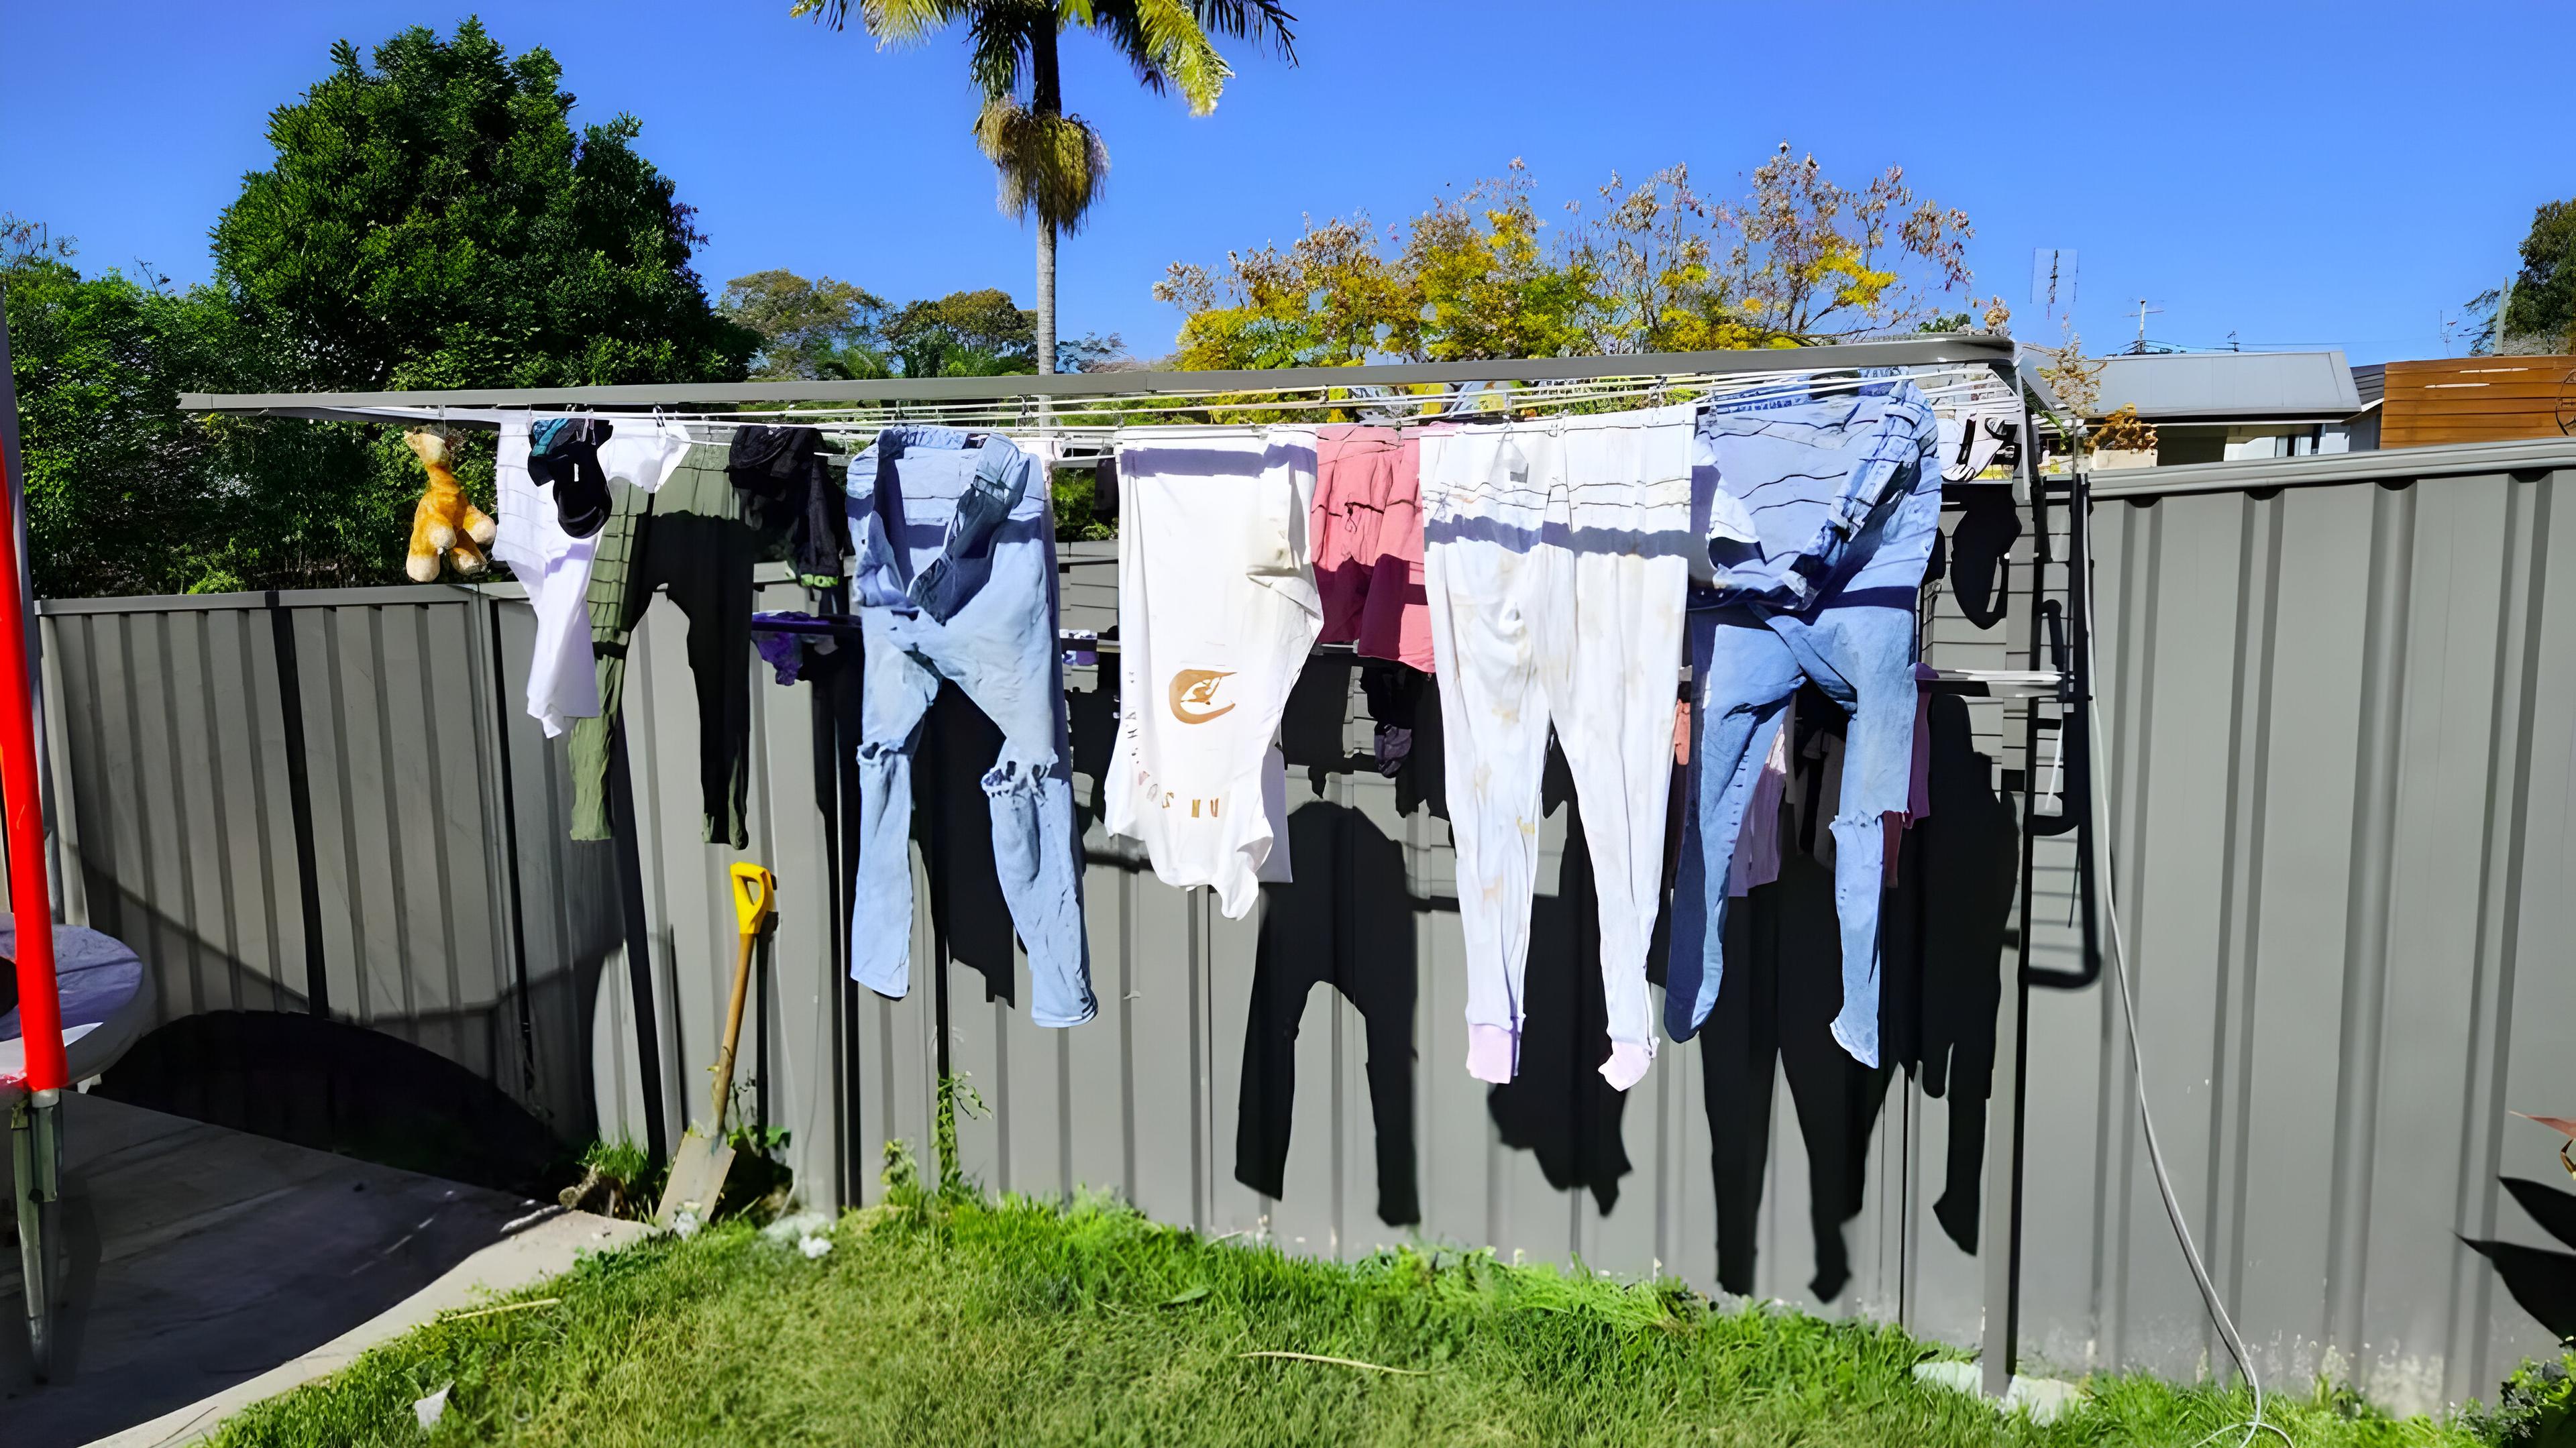
When not in use, the fold down clothesline frame rests against the upright posts in the folded position, highlighting its compact nature.
It’s that moment we’ve all experienced when you’re eager to see your efforts pay off.
As we secured the line, ensuring it was taut, we couldn’t help but think of those times when a project finally starts to take shape, and the sense of achievement is palpable.
We know many of you have felt the same blend of excitement and relief when a task is nearing completion.
Seeing the clothesline ready to hold freshly washed clothes was incredibly rewarding, a reminder of why we take on these challenges in the first place.
Attaching the Line to the Posts
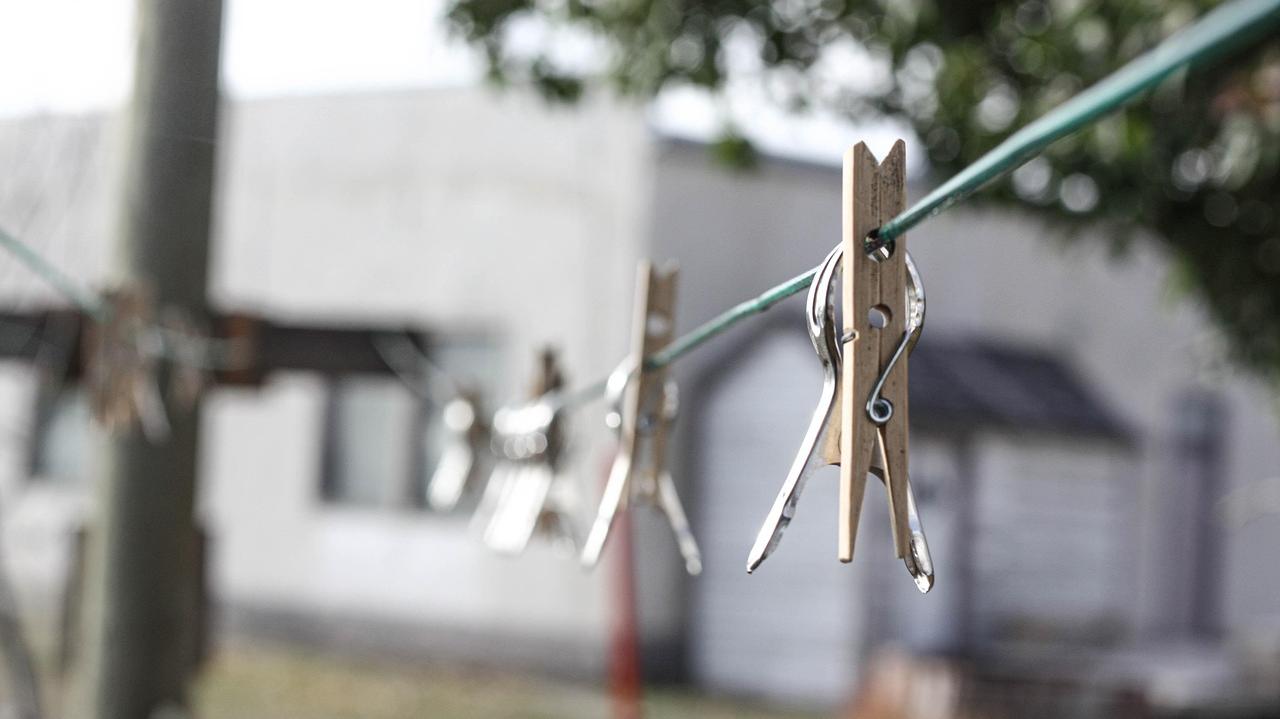
When attaching the line, we made sure to use sturdy hooks and brackets for strong anchor points, as nobody wants a sagging clothesline.
The fold down clothesline is designed to rest against upright posts when not in use, thanks to its foldown frame rests, which emphasise its space-saving feature.
Like many of you, we relied on a tensioning mechanism to keep everything taut, which was a real lifesaver.
Keeping a level handy, we double-checked to ensure the line was perfectly horizontal—it felt like putting together a puzzle.
The sense of accomplishment when it all came together was incredibly satisfying.
We’re sure many of you have experienced that blend of excitement and relief when a DIY project starts to take shape.
It’s those little victories that make the effort worthwhile, isn’t it?
Tightening the Line
Adjusting the tension of our clothesline was a bit of a learning curve, but we quickly realised how crucial it was to prevent sagging while still allowing flexibility when hanging clothes.
Using a clothesline tightener became our go-to tool, helping us maintain the line’s tension over time.
We found ourselves regularly re-tensioning the clothesline, which enhanced drying efficiency and kept our clothes elevated and dry.
It's a task that felt tedious at first, but seeing our clothes dry properly made it all worthwhile.
We bet many of you have experienced that moment of satisfaction when a small adjustment makes a big difference.
It's those little tweaks that ensure everything runs smoothly, making laundry day a breeze for all of us.
Final Adjustments and Testing
After setting up our ground mount clothesline, we were eager to make those final adjustments and see how it held up.
The ground mount kit enables the clothesline to be installed free standing, allowing for flexibility and accessibility in various locations around the home or garden.
I think many of us can relate to that moment of anticipation, gently shaking the posts to ensure they’re steady.
Checking with a level, we wanted everything to be perfectly horizontal before putting it to the test.
As we hung up our first load of laundry, we felt a wave of satisfaction seeing the line hold firm and taut.
It’s a rewarding feeling, knowing that the effort put into a project is paying off, and our clothes will dry just right.
We’re sure many of you have experienced that same sense of accomplishment when a DIY project comes together seamlessly.
Checking for Stability
As we stood there, gently shaking the posts, we felt that familiar mix of anticipation and pride, hoping they were as stable as they seemed.
It's a bit like those times when we're assembling furniture, hoping everything fits perfectly.
Using a level to confirm the clothesline was horizontal brought back memories of hanging picture frames, trying to get them just right.

Testing the clothesline with a load of laundry was like waiting for bread to bake, hoping it rises just as expected.
Seeing it hold firm was incredibly satisfying, knowing that the effort had truly paid off.
I bet many of you have felt that same sense of accomplishment when a project comes together seamlessly, turning a simple task into a rewarding experience.
Testing the Clothesline
As we hung our clothes on the line for the first time, we felt that familiar mix of excitement and nervousness that many of us experience when trying something new.
It's like when you first test a newly assembled piece of furniture, hoping it holds strong.
Adjusting the tension was a bit of a balancing act, much like when a small tweak makes all the difference in a project.

Gently shaking the posts, we felt a sense of relief, similar to the satisfaction of seeing a picture frame hang perfectly straight.
These little victories, like watching the clothesline hold taut, remind us why we take on these challenges.
The effort and patience poured into this project were truly rewarding, just like the simple joy of a well-done DIY task that many of us can relate to.
Maintenance Tips
We’ve discovered from our own experiences that regular maintenance, including periodic inspections and cleaning, is essential for keeping a clothesline in top condition.
Regular maintenance also includes ensuring the clothesline is set to the user's correct height for optimal use and convenience.
It’s a lot like tending to a garden; ignoring small issues can lead to bigger headaches down the road.

There was a time when we overlooked checking for rust and loose bolts, which resulted in a sagging line that nearly gave way.
Since then, we’ve made it a routine to inspect the clothesline regularly, tightening any loose parts and cleaning the lines to prevent dirt buildup.
It’s a simple task, much like remembering to change the oil in your car, but it truly pays off.
We believe many of you can relate to the satisfaction of seeing something you care for working efficiently and lasting longer.
Regular Inspections
We've learned the importance of regularly inspecting our clothesline through experience, and we're sure many of you can relate.
There was a time we overlooked a few loose bolts, only to find our freshly washed clothes on the ground.
Now, we make it a habit to check for wear and tear, like sagging lines or rust, and tighten any loose screws.

It's similar to keeping tabs on your car's oil level—easy to forget but crucial for avoiding bigger issues.
These routine checks not only prevent larger problems but also provide peace of mind, knowing everything's in order.
We think we all appreciate that sense of satisfaction when something we care for works seamlessly.
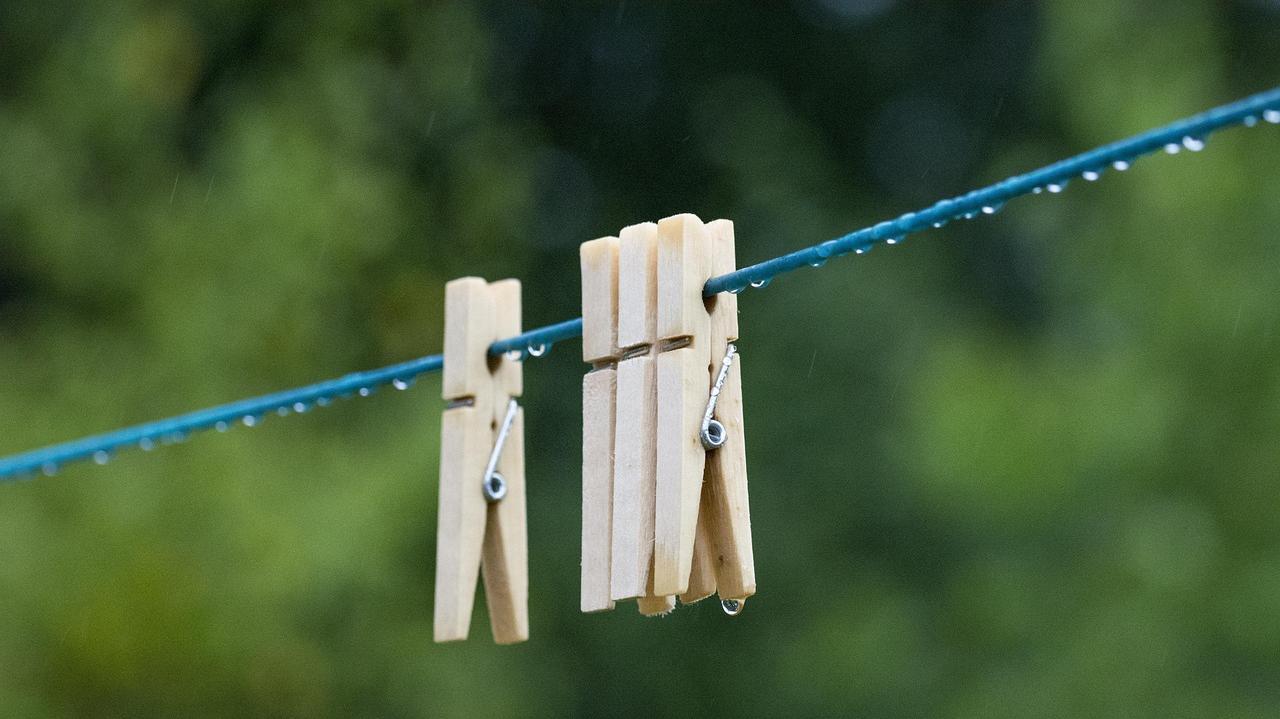
Cleaning the Line
We've found that keeping the clothesline clean is crucial, something many of you might have discovered as well.
After seeing dirt marks on freshly washed clothes, we realised the importance of regular cleaning.
Now, we make it a habit to wipe down the lines monthly with a mild detergent and water mix.
For those with metal lines, this routine can help prevent rust, while cotton lines benefit from a good wash in a pillowcase to remove dirt.
There's a shared satisfaction in knowing our clothes will stay fresh and spotless.
It's a small, relatable task that ensures the simple joy of sun-dried laundry without any unwanted surprises.
Opting for Clothesline Installation Service
For those embarking on the journey of installing a ground mount clothesline, it can quickly become apparent that lacking the necessary tools and materials can be a stumbling block.
Even after reading the guide, the process might still feel overwhelming and lead to moments of uncertainty.
In such cases, opting for a professional installer can be a wise choice.

This approach not only relieves the stress of handling complex tasks but also ensures that everything is set up properly and securely.
The added peace of mind that comes with maintaining the warranty intact is invaluable.
Many have faced similar DIY challenges, and choosing to bring in a pro can truly make a difference.
Final Words
Installing a ground mount clothesline might seem intimidating initially, but with the right tools and a clear understanding of each step, it turned out to be quite manageable.
We remember wandering around our yard, tape measure in hand, trying to find the perfect spot with just the right amount of sunlight and airflow, something I'm sure many of you have experienced.
Digging the post holes was a bit of a workout, and we often wondered if they were deep enough to support the posts securely.
Watching the concrete set was a moment of anticipation, but seeing the clothesline standing strong made all the effort worthwhile.
Regular maintenance, like checking for loose screws and cleaning the lines, has become part of our routine, much like tending to a garden.
Embracing this process has made us appreciate the simple joy of sun-dried clothes, and we're sure many of you can relate to the sense of accomplishment that comes with completing a DIY project.