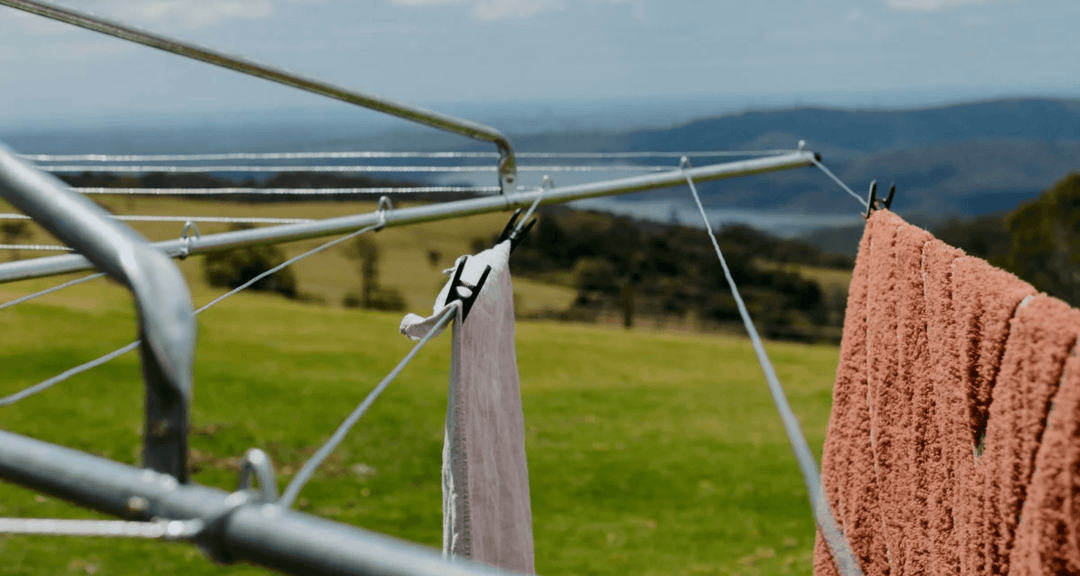
How to Repair Hills Hoist Winder
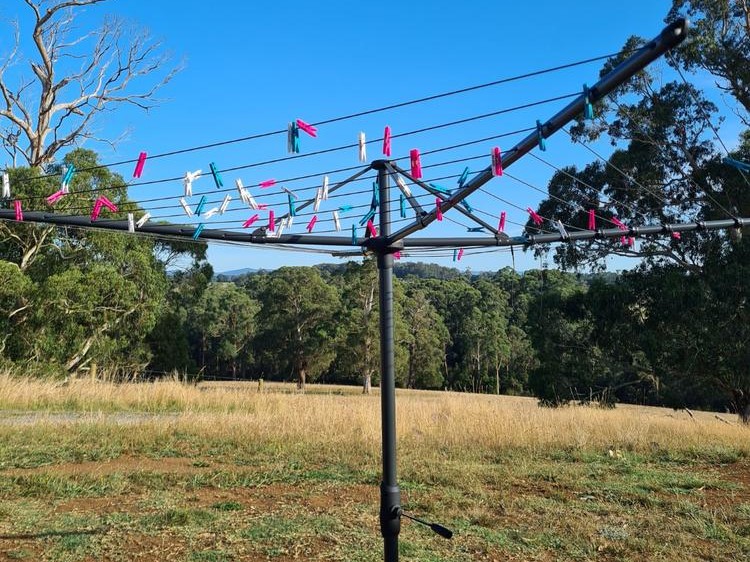
Today, we will help you master the art of repairing your clothes line with a Hills Hoist Winder and extend the lifespan of your clotheslines--all while saving money.
Even with Hills lifetime warranty being offered for some models, it's inevitable that you will have to get spare parts and some elbow grease yourself to ensure the long life of your investment.
So in this article, we will show you how to diagnose problems with your hills hoist, carry out repairs correctly and maintain it for optimal performance.
You can feel confident that becoming an expert in servicing your iconic hills hoist clothes line is within reach once you've read through our helpful guide.
Short Summary
-
Identify the issue with your Hills Hoist Winder and inspect for damage or wear.
-
Disassemble, repair/replace parts, and reassemble following instructions.
-
Ensure proper functioning by maintaining regular inspections and lubrication of moving parts.
Topics in This Article:
Identifying the Issue: Hills Clothesline Parts
Before embarking on the repair journey, it is important to precisely identify what problem your Hills Hoist Winder has.
Even with its classic clothesline design, these seemingly simple machines still require a bit of tender loving care every now and then since they are exposed to the elements 24/7 be it the bitter cold or harsh heat and UV-rays from the sun.
Commonly seen issues include mechanisms that do not wind properly, handles being dysfunctional or the top assembly not raising/lowering correctly or entirely.
Not to mention, worn-out components that are in dire need of replacement. Now let's start finding out what's wrong with your Hills clothes hoist!
If nothing is seen outside, it would be wise to remove the cover/case so the internals can be inspected to repair accordingly.
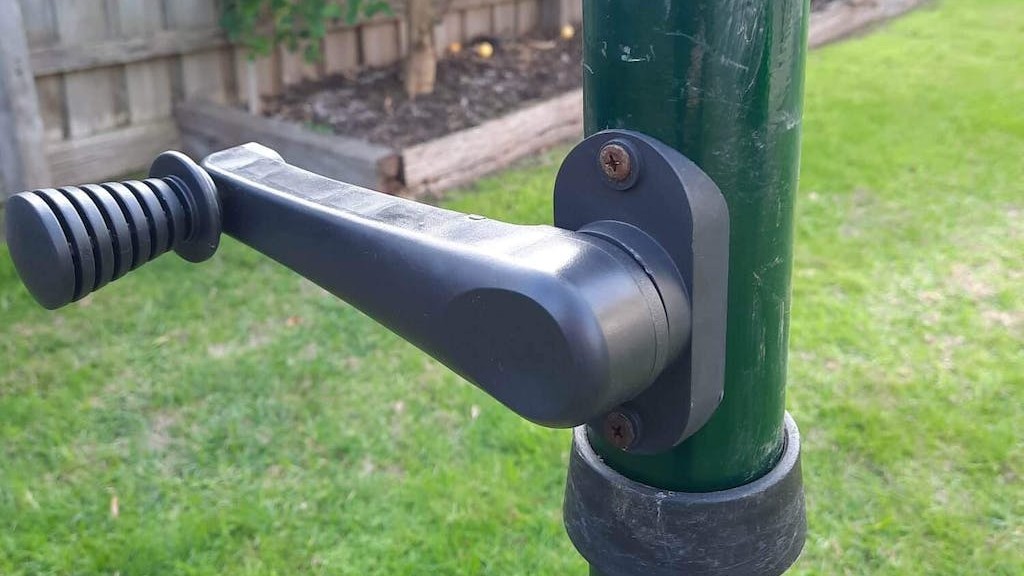
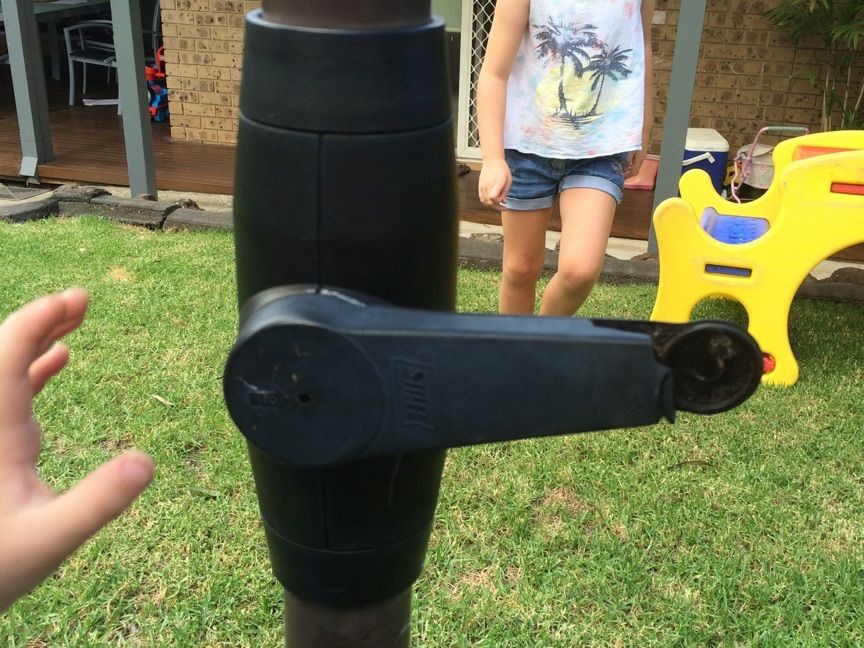
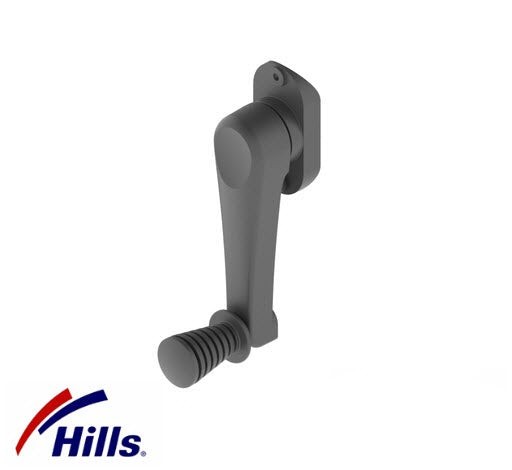
Inspect the handle for any signs of wear and tear like cracks (for plastic models), minor rusting on galvanised steel handles can usually be remedied by some sanding and clear paint.
Consider replacing the handle if needed, a replacement handle assembly kit can be found here.
If getting a replacement part is not at all possible, a broken plastic handle may be salvaged by using an epoxy putty but your mileage may vary.
Depending on their state, you may need to repair or replace them in order to ensure that your Hills hoist is functioning correctly.
Disassembling the Hills Hoist Winder
It is essential to disassemble the Hills Hoist Winder in order to determine and address any damages.
This involves removing the handle, casing, and inspecting all internal components for wear or damage.
Follow the disassembly and inspection steps below to ensure a smooth DIY repair process:
Step 1: Remove the Handle and Casing
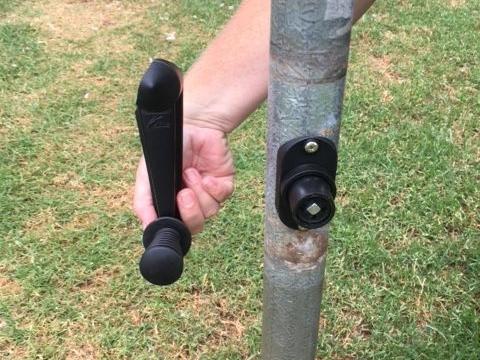
To access the internals of the winding mechanism that might need repair or replacement, begin by removing the handle and casing.
For Hills Hoist Heritage or galvanised steel models
If the bolts are rusted and hard to twist off, spray some WD40 and wait for a few minutes before proceeding. This will help make the process a lot easier.
Carefully remove its handle horizontally in order to disengage from gear drive, this will enable you to take metal gear off both the casing and pole easily.
For Folding Hills Hoist models
Fold down the arms of the clothesline, unscrew four of the screws that are holding the bottom clothes line handle case to the clothesline main standard then you can simply unmount hills clothesline parts from the case assembly.
Proceed to unscrew the outer tube centre square key screws then remove the centre square key so you can gain access to the inner casing of the handle assembly.
Lay the main post on the ground then pull the arm assembly from the Main Post -- this will give you access to the internal winding mechanism.
Inspecting the Internal Components
After removing the handle and casing, it's time to examine the internal parts for any signs of wear or damage.
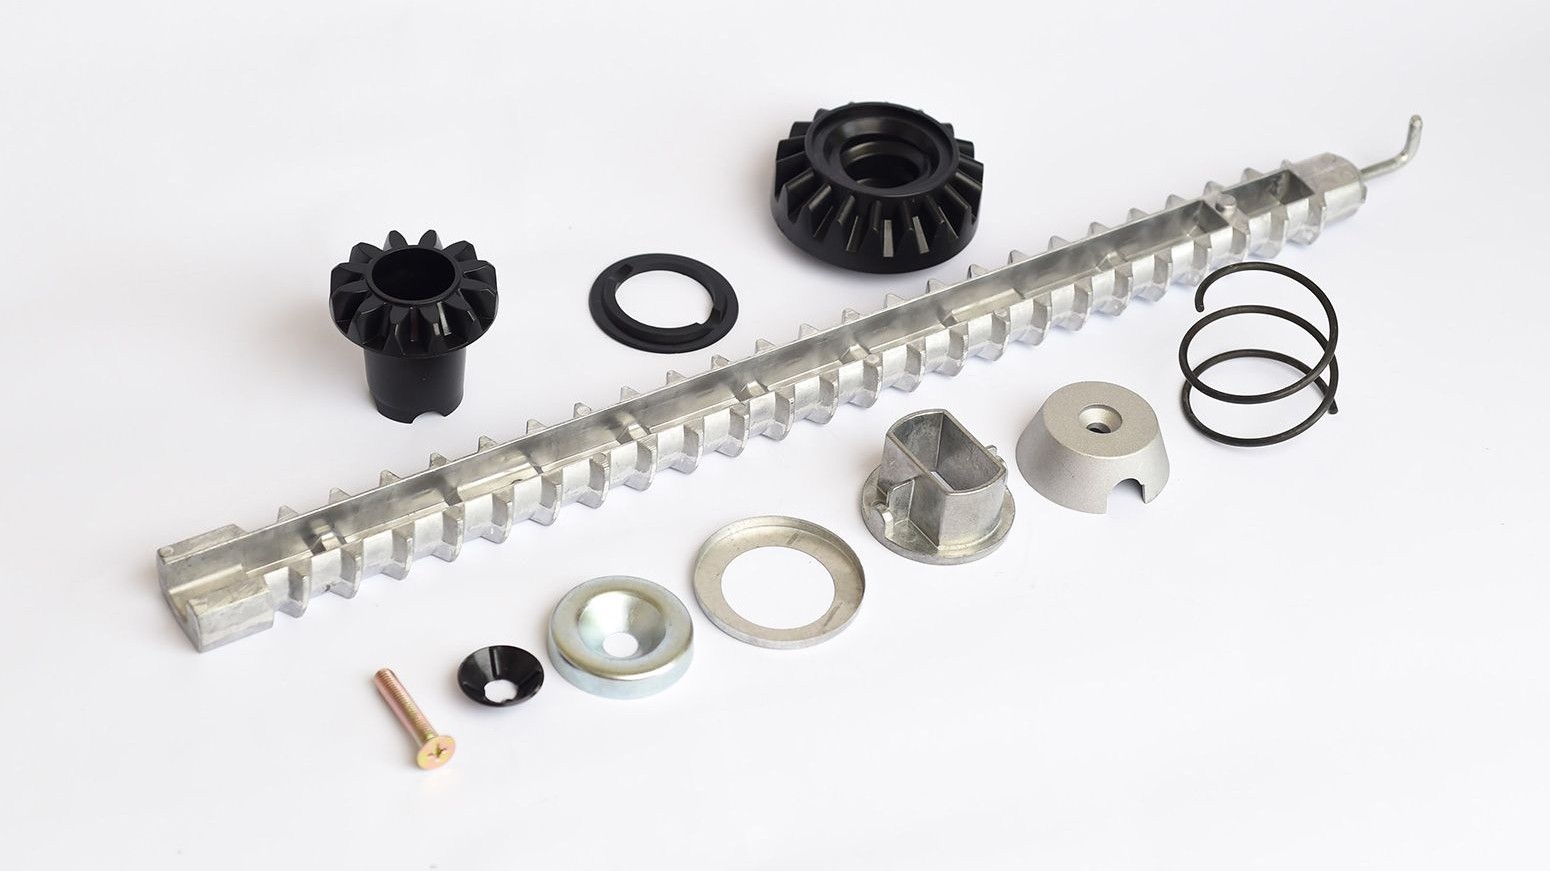
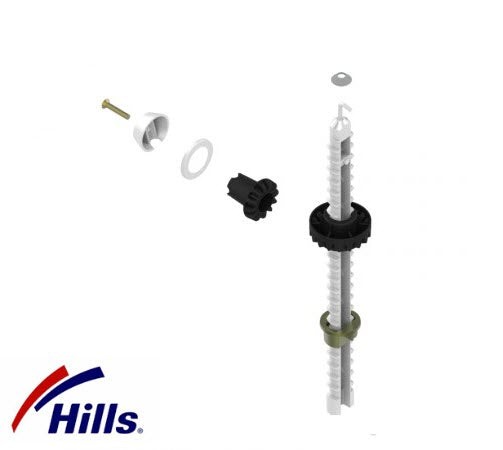
Assess if these components are broken or appears worn out (below is a general list of components found inside Hills Rotary Hoists, not all may be found on your specific model):
-
Crown Wheel
-
Pinion
-
Pinion Cover
-
Stabiliser Plug
-
Spring
-
Thrust Ring
-
Worm
Assessing Damage and wear
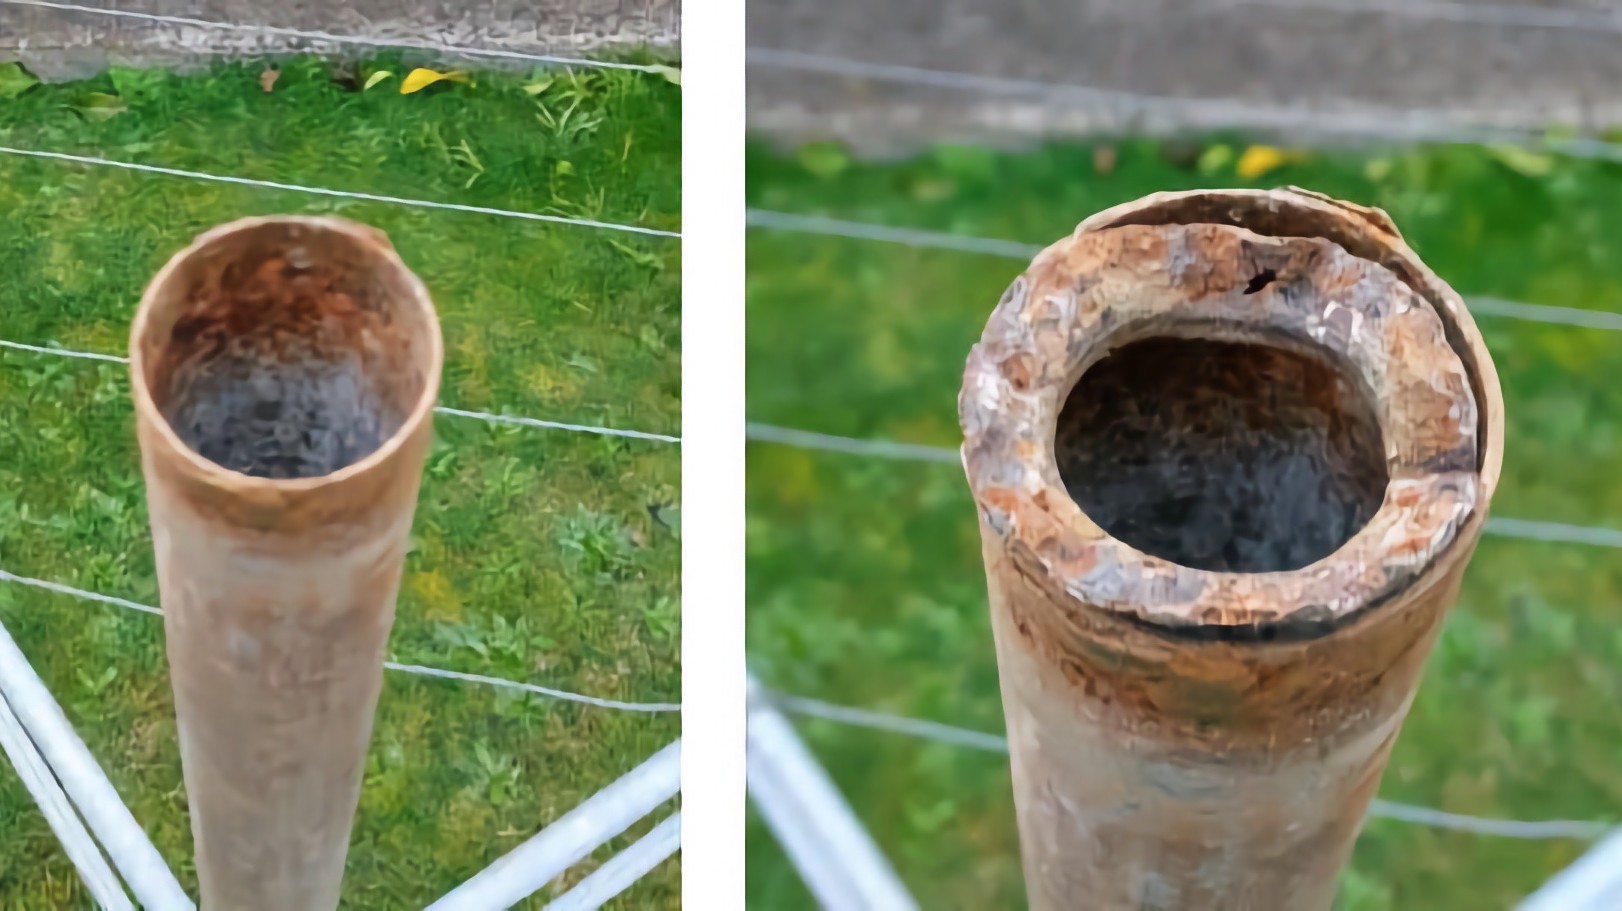
While you disassemble the gear case or winding mechanism, inspect each component for wear, damage, or signs of corrosion.
Clean any dirt or debris that may have accumulated.
We recommend using a steel brush to scrub away buildups on the components which may hamper the operation of your clothesline.
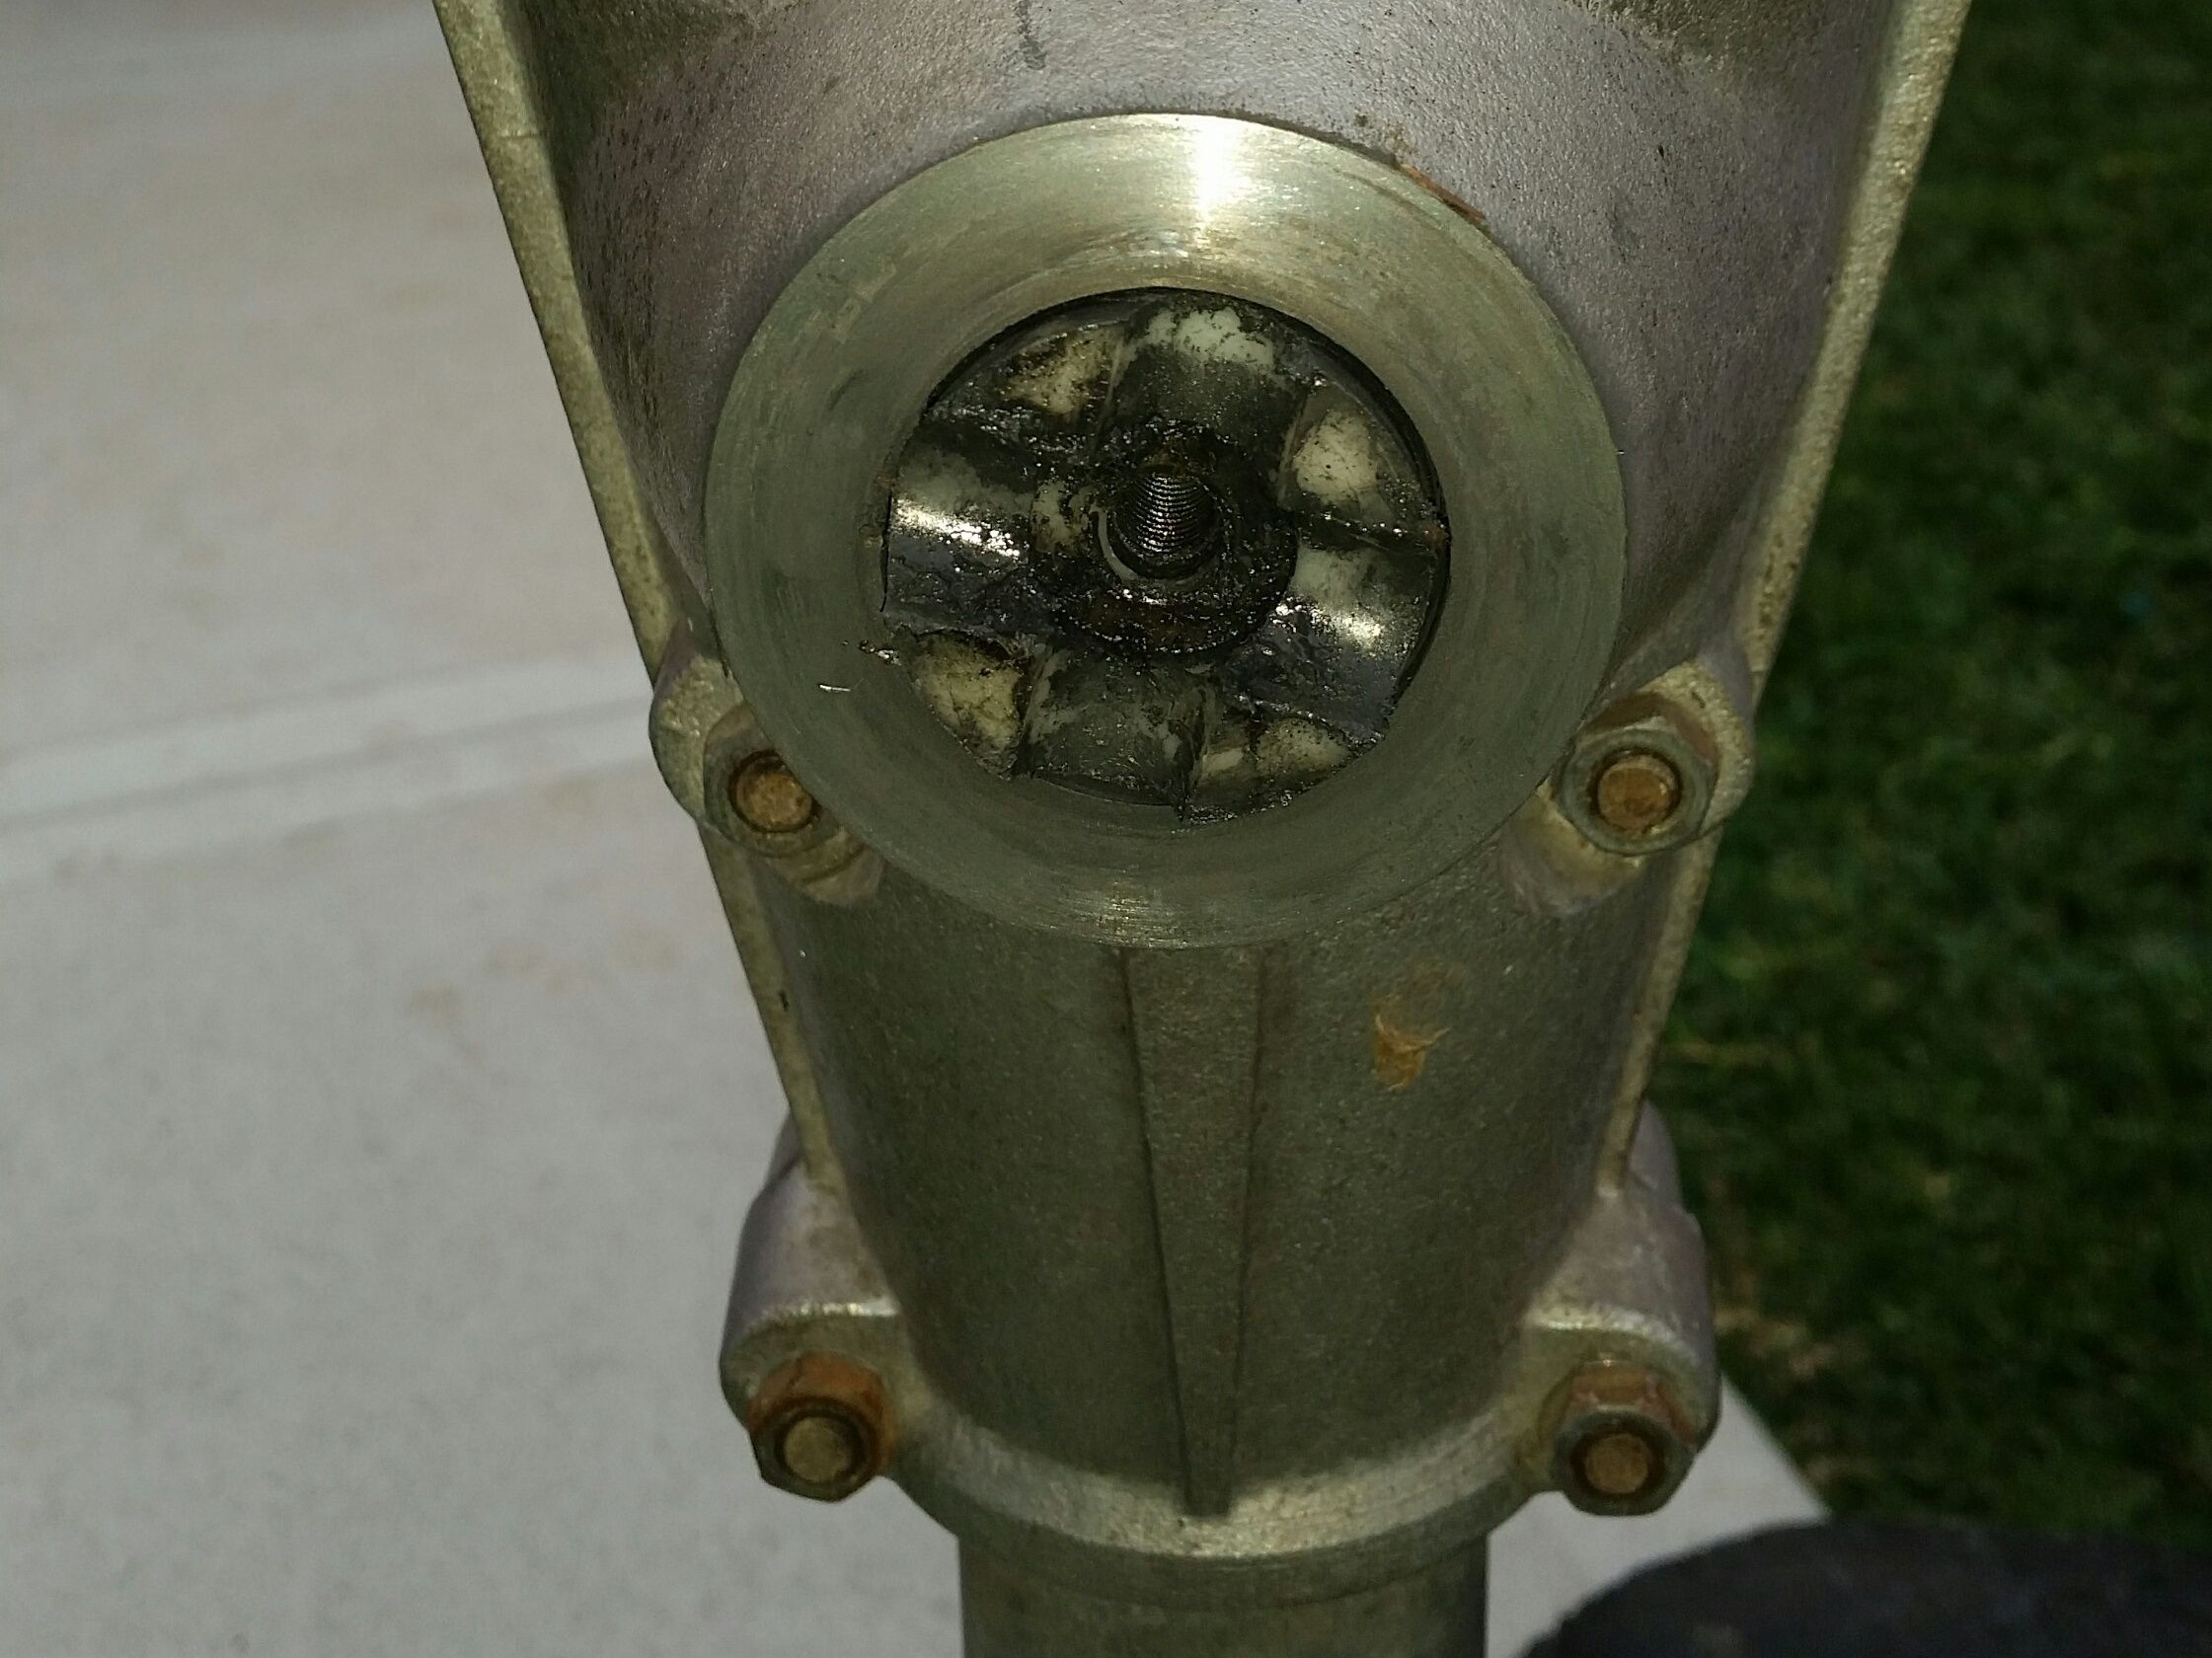
We recommend using a steel brush to scrub away buildups on the lines and various components which may hamper the operation of your clothesline.
This is also an excellent opportunity to lubricate the gears and moving parts, if needed, using an appropriate gear oil or silicone spray.
Although most of these spare parts may be purchased individually, we recommend replacing the assembly/set entirely to guarantee the service life of spare parts for your Hills hoist.
Repairing or Replacing Winder Parts or Handle
Now that you have pinpointed the problem and dismantled your Hills Hoist Winder, it is time to fix or change out any broken components.
This may include repairing the winding mechanism, substituting the current one for a new metal or nylon gear and thrust ring, etc.
We always recommend purchasing a fresh set of winding repair kit for your galvanised steel here or folding rotary hoist here to make the process easier and to guarantee a good outcome.
A rotary hoist repair kit comes with everything you need to solve most of the winding mechanism issues that users encounter.
Most Commonly Replaced Hills Hoist Parts:
Hills Heritage Repair Kit
Consists of all the vital components required to get the winding mechanism of your Hills rotary clothes hoist back in working order.
Hills Winding Gear Assembly
Designed for Hills' range of folding rotary clothes hoists, made of strong, durable plastic designed to last a very long time.
Hills Everyday Rotary Handle
A complete handle assembly designed for use with Hills' Everyday Rotary clothes hoists. Easily installed in just a few minutes.
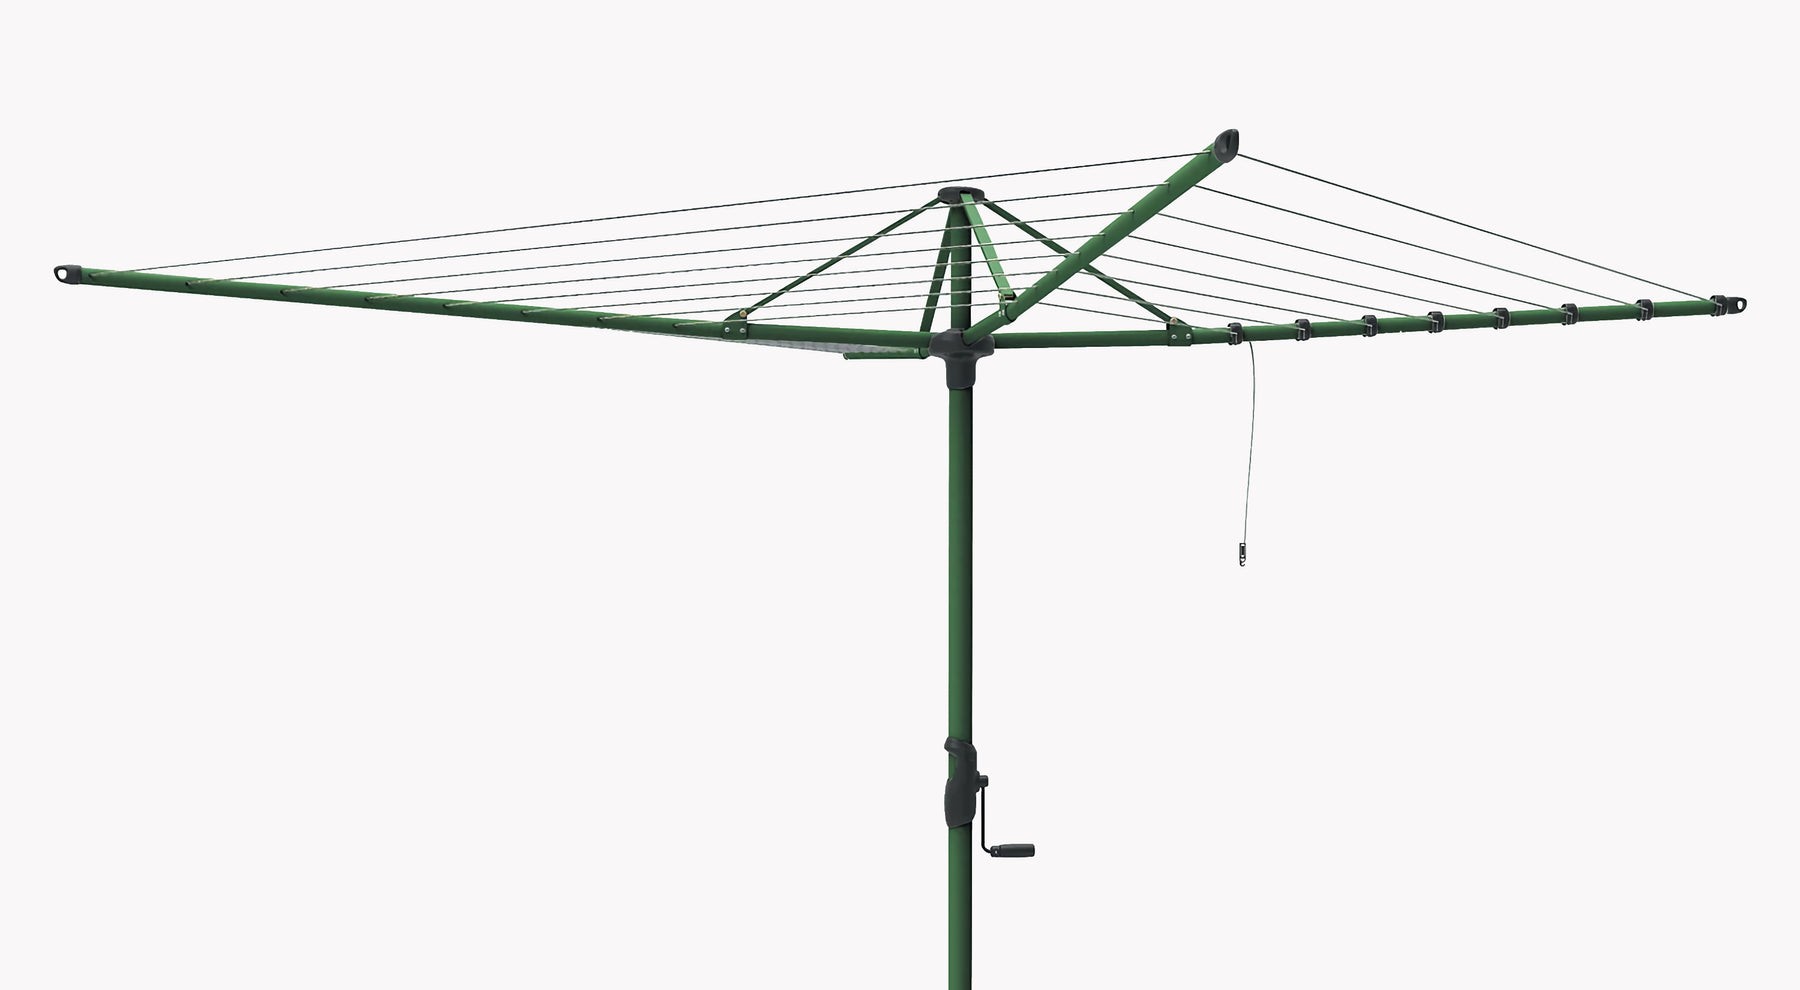
To properly reinstall the casing and handle of a Hills Galvanised Steel Rotary Hoist, refer to the manual by clicking on the link below:

For properly reinstalingl the casing and handle of a Hills Folding Rotary Clothes Hoist, click on the link below:
Testing the Repaired Winder
Make sure the clothesline is winding properly at both its highest point and lowest points - this evaluation should be done for both lines in each direction (winding lines/unwinding lines).
Squeaking, grinding, or wobbling should no longer occur and the whole operation should be smooth or effortless.
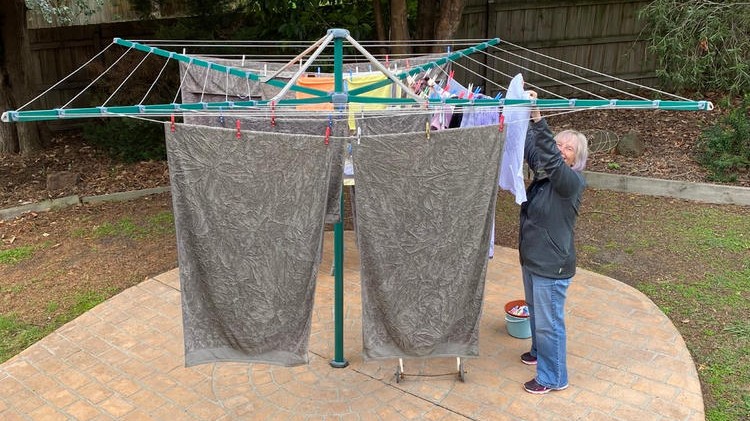
If something's amiss, it's high time to do a second inspection and refer to the repair kit installation instructions to find out what went wrong.
Professional Assistance for Hills Hoist Winder Repairs
If all else fails, you will be glad to know that there experts who can help you with clothesline repairs.
That's understandable since not everything can go smoothly mostly when it is your first time to repair a rotary or clothes line hoist winder.
Identifying Complex Issues and Consulting a Qualified Professional
If you're unable to diagnose the problem with your Hills Hoist Winder or consider it a complex repair that is beyond your abilities, then consulting an expert could be a better route.

Undertaking DIY repair versus hiring an expert can be beneficial in making sure that your hills hoist is correctly serviced so as not to waste time or money on repairs.
Not to mention the stress and time required to do the repairs yourself instead of being able to be more productive in things that matter the most to you.
Expert knowledge and specialised tools may well be required for effective resolution of such issues.
If you are in dire need of help, you can consult trusted clothesline professionals for help here.
Comparing Costs and Benefits
Weigh the pros and cons of bringing in a technician or handling the winder repair alone.
Prices may differ depending on style, size, plus extra components needed to mend it properly.
Consider if you are getting enough benefit from doing this fix compared to what purchasing a brand new one would cost.
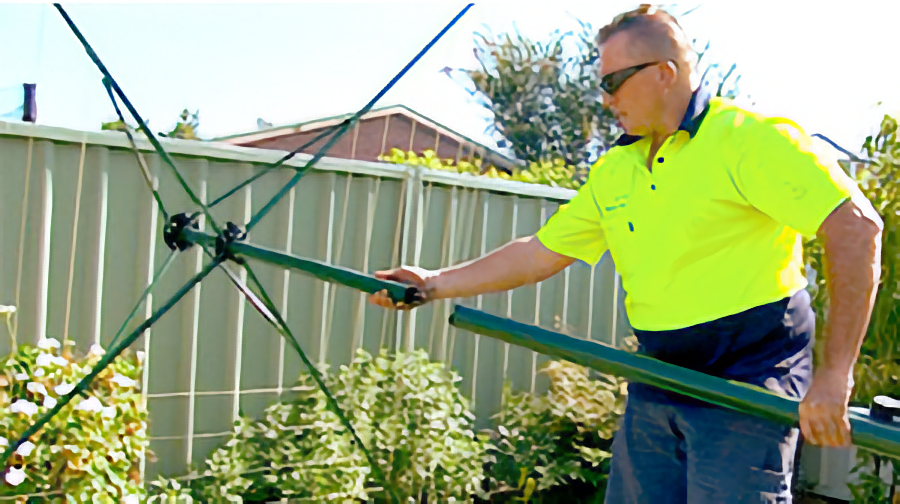
More often than not, consulting a clothesline repair expert won't just get your clothesline up and running quickly but guarantee a job well done instead of gambling on your DIY skills.
Investigate how long-lasting your winder will be after its repairs have been completed before deciding whether to go through with them or not.
Doing so will keep buyer's remorse away and help you realise if it is worth the cost.
Preventative Maintenance for Your Hills Hoist
Routine Inspections
As the saying goes: "prevention is better than cure".
To prolong the life of your Hills Hoist Winder, regular preventive maintenance is essential.
Routine inspections for signs of wear and tear such as corrosion or loose parts, and lubrication of its moving components can drastically reduce the need for future repairs.
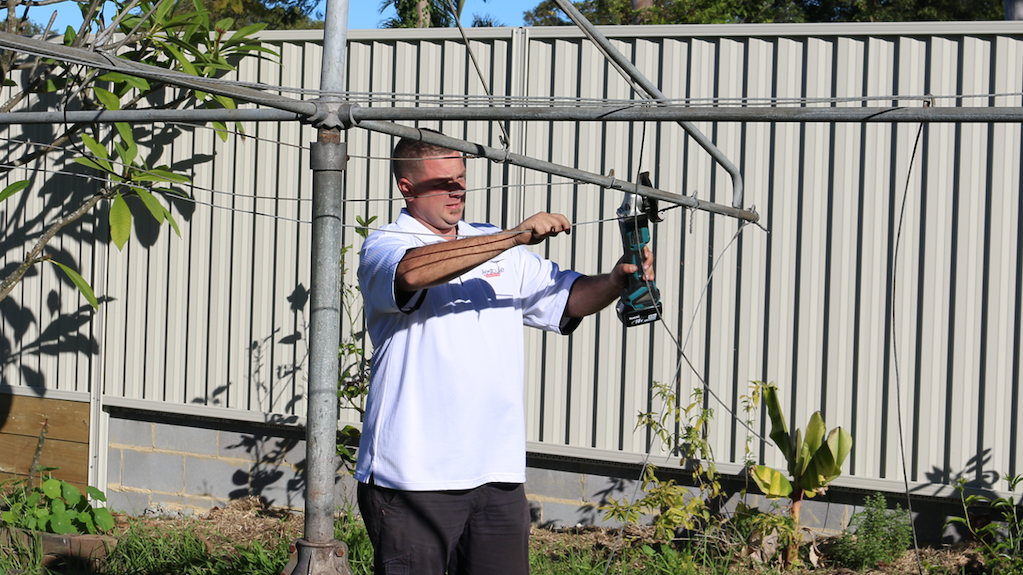
Consistent checkups will let you identify any deterioration in time so that it can be corrected with minimal effort.
By keeping up these preventative measures, your Hills hoist should serve you reliably, headache-free for many years to come.
How to Lubricate a Hills Hoist Winder Easily
Keeping your Hills Rotary Hoist in perfect working order is easy as pie:
Wind the hoist to its maximum height, locate the small hole then pour in about 5 millilitres (1 teaspoon) of oil suitable for the secondary standard.
Once that's done, apply a few drops of oil through the oil hole which can be found in the gear case, right above the handle shaft.
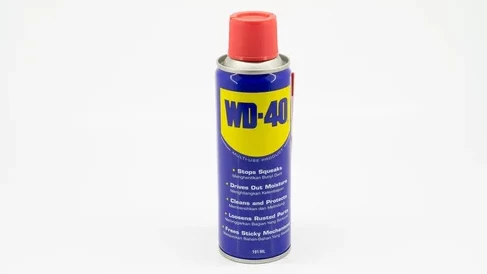
We recommend that you use a lightweight silicone oil or a Lanolin-based lubricant for best and long-lasting performance.
This will guarantee the smooth operation of your Hills Hoist, minimises friction as well as protect the internal moving parts from moisture.
Frequently Asked Questions
A possible cause of your Hills Hoist not winding down could be an issue with the stabilizer plug or winder mechanism.
Replacing the Secondary Standard Assembly, which includes a metal plug at its base that may have corroded over time, this usually resolves the problem.
Fixing these issues can restore proper functioning to such common fixtures as hills hoists by ensuring their winding mechanisms are intact and working properly.
Try resetting the winding mechanism of the clothesline:
If the head is at its lowest point, you try rotating the handle clockwise and push the head up at the same time.
If the head is at its highest point, try rotating the handle counter-clockwise while simultaneously pulling the head down.
If none of those work, there may be an issue with the winding mechanism of your rotary clothes line.
It could possibly result from obstructions in the gear assembly or the gears aren't catching.
Follow the steps we've provided above to inspect the winding mechanism and have the issue fixed.
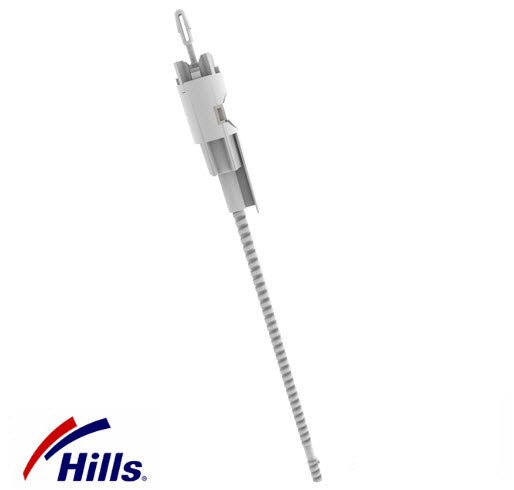
For models that are older than ten years, you may need to replace the latch.
If it is a new Rotary 6, 7 or 8 series, please inspect if the line sections are over tensioned.
If that is the cause, we recommend re-tensioning the line correct by consulting the user's manual.
Final Words
By taking the initiative to repair your Hills Hoist Winder, you can gain a sense of satisfaction and save yourself some hard-earned money.
Firstly, identify what is causing the issue then dismantle it, this step allows for either replacement or mending of parts before reassembling.
Doing regular maintenance on the winder, using your rotary hoist in an appropriate way, and proper care ensures that its service life will be prolonged.
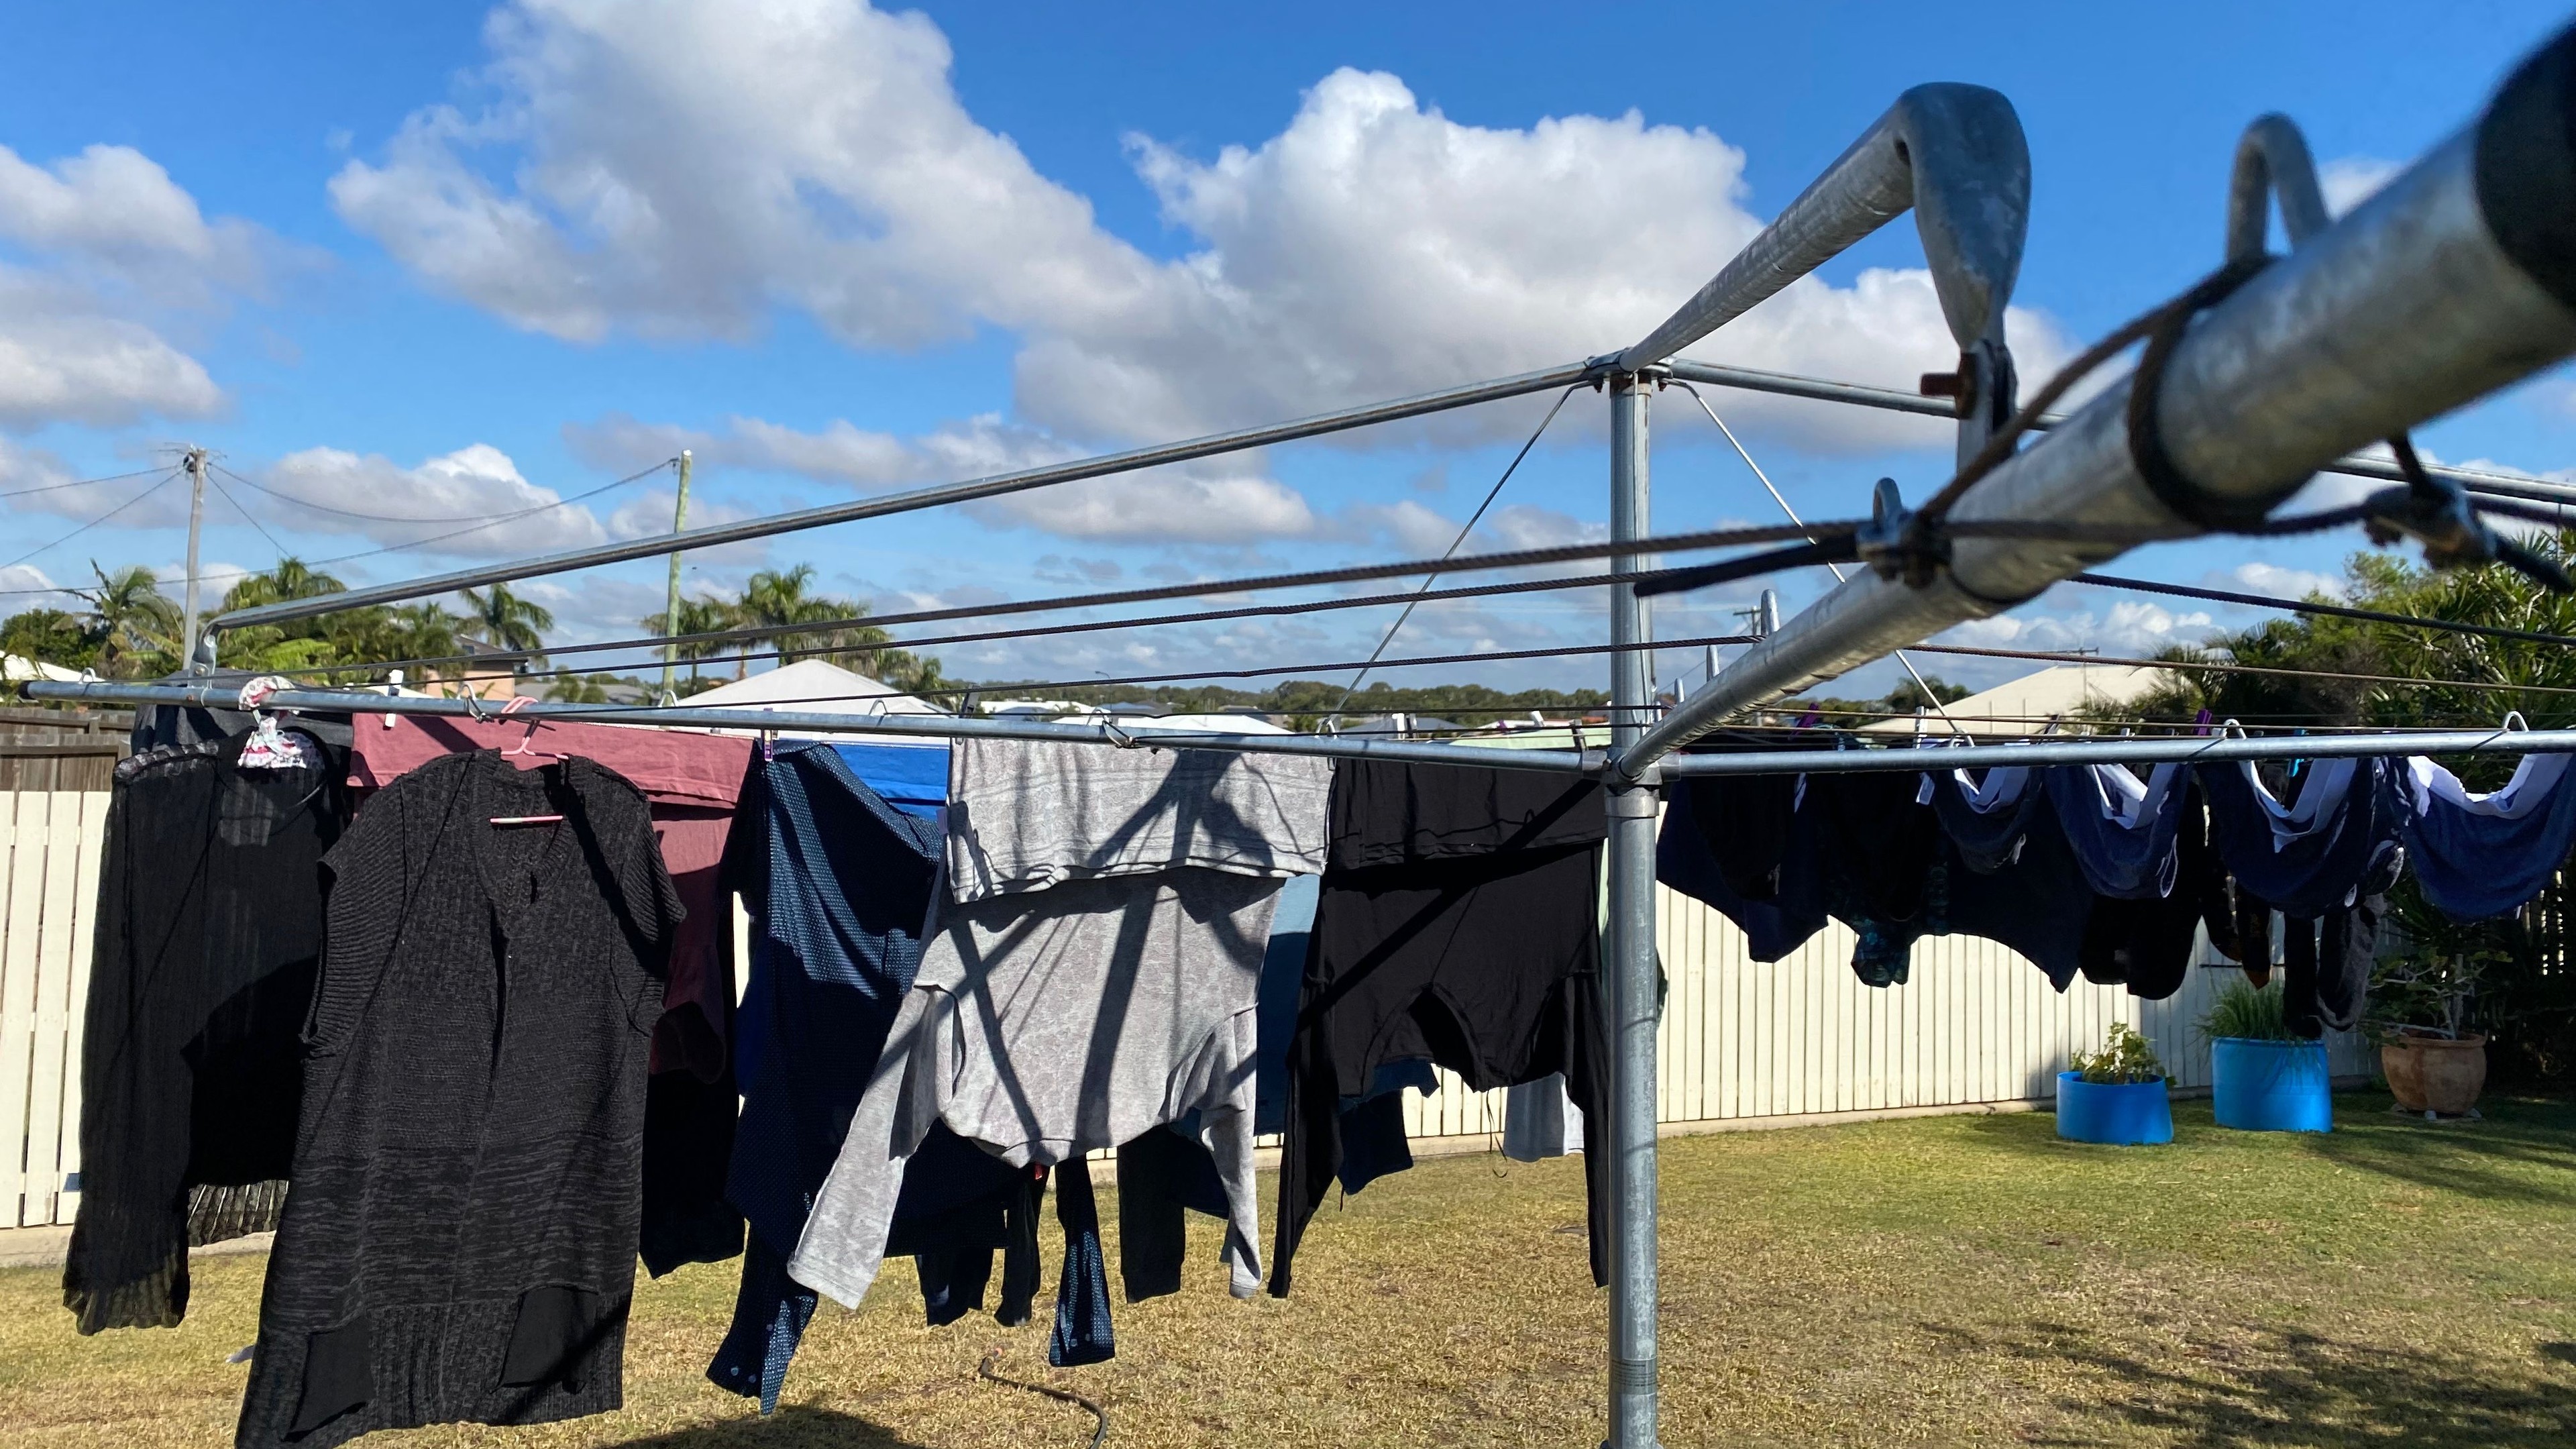
So start gathering the necessary tools and bring back the glory days of your beloved Hills Hoist!
And don't forget, if the DIY route seems to daunting of a task for you, friendly and highly reputable clothesline repair specialists can help out!
 Fold Down

 Rotary Hoist
 Retractable
 Portable
 Ceiling Airer
 Covers


